Water Heater TLC: Essential Tips for Longevity
By Brian on October 22, 2025
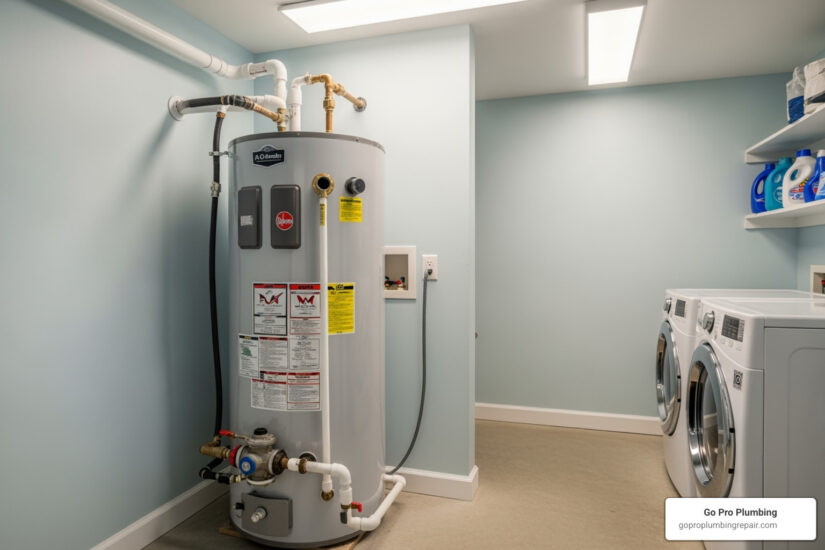
Why Your Water Heater Deserves More Attention
Water heater maintenance is a task most homeowners forget until there’s no hot water. But this hard-working appliance deserves attention. Regular care can extend its life, improve efficiency, and save you money.
Essential Water Heater Maintenance Tasks:
- Test the TPR valve annually to prevent dangerous pressure buildup.
- Flush the tank every 6-12 months to remove sediment.
- Check the anode rod every 1-3 years to prevent corrosion.
- Adjust temperature to 120°F for safety and energy savings.
- Insulate pipes and tank to reduce heat loss.
- Inspect for leaks every 6 months to prevent water damage.
Here’s the reality: a neglected water heater may last only 8-10 years, while a well-maintained unit can exceed 15 years. That difference can save you thousands on a premature replacement.
Furthermore, simple tweaks yield significant savings. Lowering the temperature by 10 degrees can cut energy costs by up to 5%, and proper insulation can reduce water heating bills by up to 9%. Since water heating is 15-20% of your home’s energy use, these savings add up.
Most of these tasks are simple and require basic tools. An hour of maintenance each year can keep your water heater running efficiently for years.
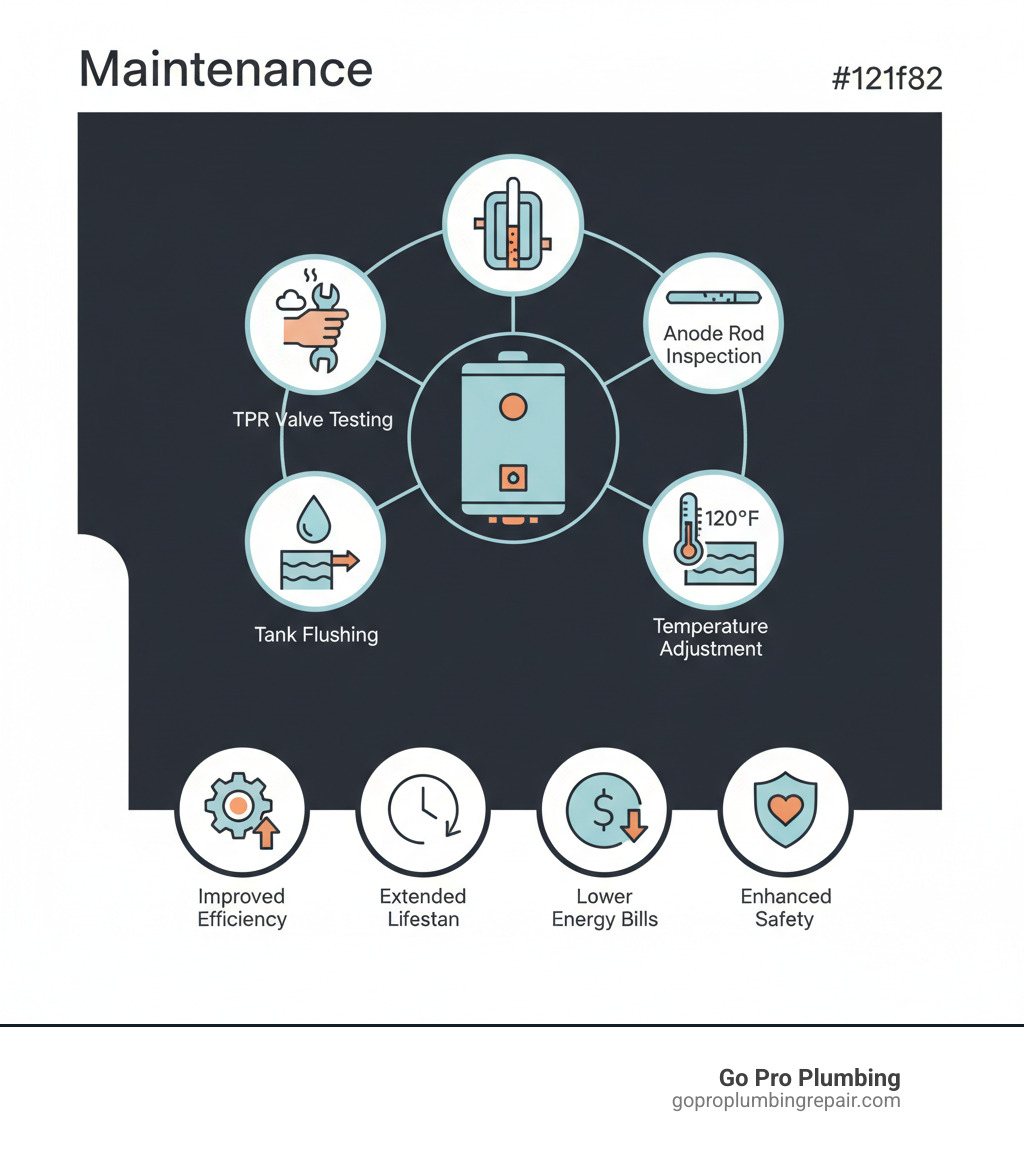
Why Regular Water Heater Maintenance is Non-Negotiable
When was the last time you thought about your water heater? For most, it’s an out-of-sight, out-of-mind appliance until a cold shower ruins their morning. But proactive water heater maintenance is essential for any homeowner who wants to avoid costly surprises and save money.
The most immediate benefit is improved energy efficiency. Sediment buildup in the tank forces the heating element to work harder, consuming more energy. Regular flushing removes this layer, allowing your unit to heat water quickly and efficiently. This translates directly to lower utility bills, as water heating accounts for 15-20% of home energy costs.
Maintenance also extends your appliance’s lifespan. A neglected water heater might fail in 8-10 years, but a well-cared-for unit can last over 15 years. This means preventing costly breakdowns. Replacing a corroded anode rod costs $20-50; waiting for the tank to leak can lead to a $1,500+ replacement.
Safety is another crucial factor. Your unit’s temperature and pressure relief (TPR) valve is a key safety feature, but it only works if maintained. A faulty valve can lead to dangerous pressure buildup. Regular checks also help you catch small leaks before they cause major water damage, flooring ruin, and mold growth, ensuring home safety.
Finally, don’t overlook better water quality. Flushing the tank removes rust and mineral deposits that cause discolored, metallic-tasting water. For more on issues maintenance can prevent, see our guide on Common Water Heater Problems and Solutions.
In short, regular care delivers reliable hot water, lower bills, fewer emergencies, and peace of mind.
Your Annual Water Heater Maintenance Checklist
Most water heater maintenance tasks are straightforward and don’t require specialty tools. With a few common items and about an hour, you can keep your unit in top shape.
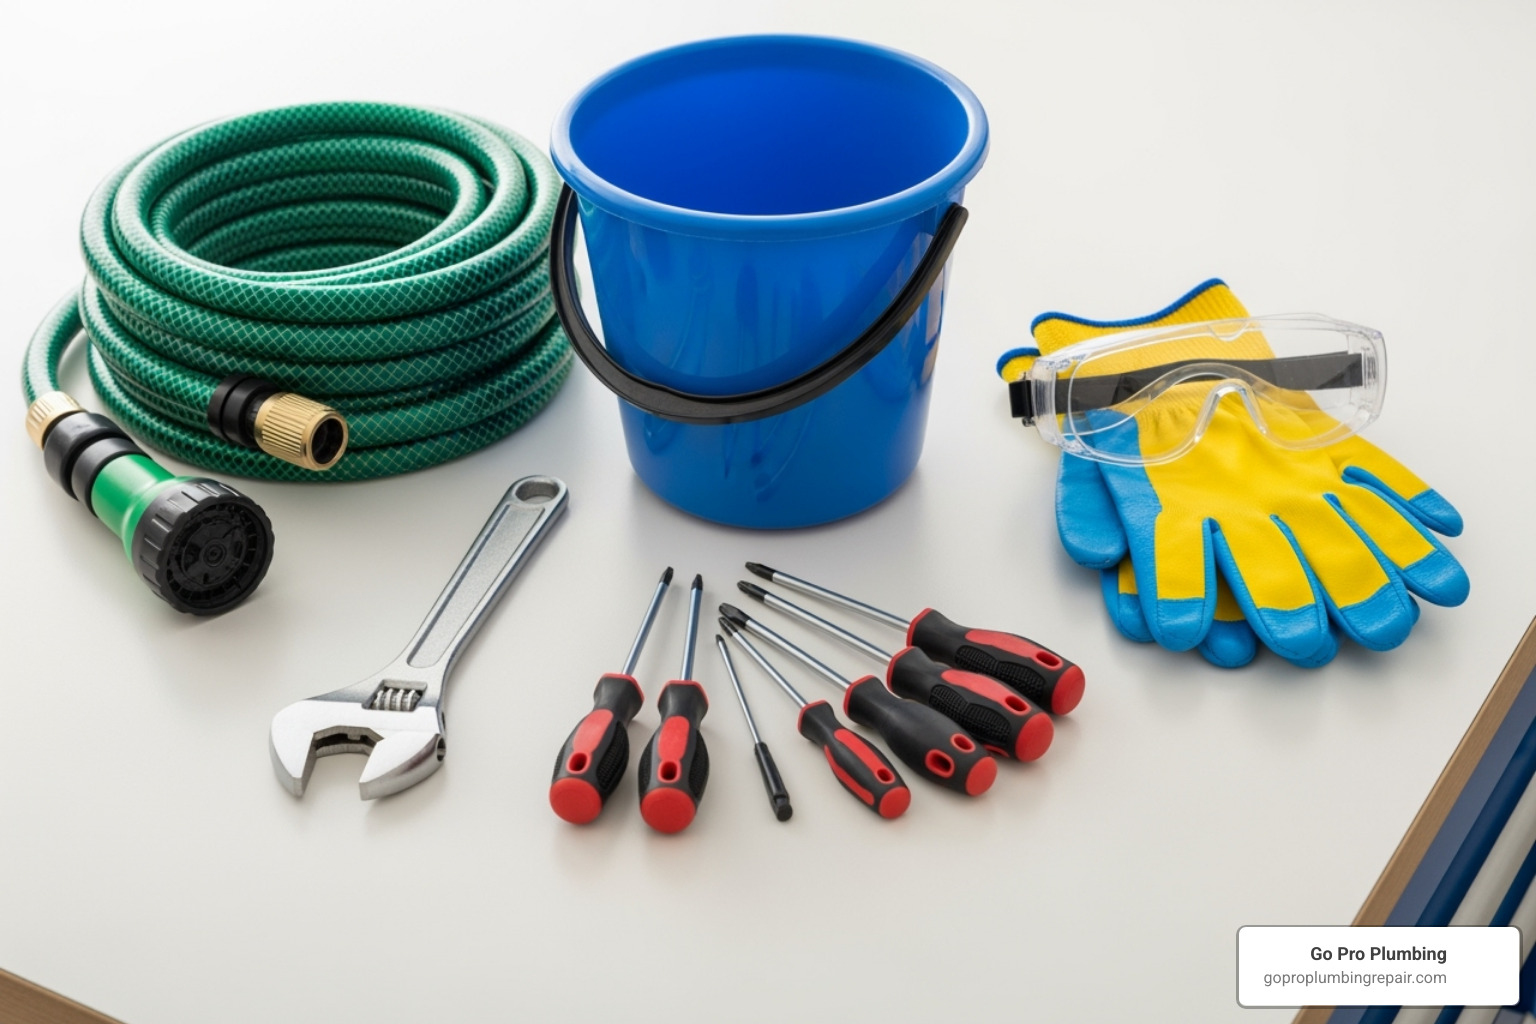
Tools and Materials:
- Garden hose
- 5-gallon bucket
- Adjustable wrench
- Screwdriver (Phillips and flathead)
- Protective gloves and safety goggles
Safety First: Before starting, take these precautions:
- Cut the Power: For an electric heater, turn off its circuit breaker. For a gas heater, turn the gas control valve to “OFF” or “PILOT.” If you smell gas, stop and call a professional.
- Shut Off Water: Turn the cold-water inlet valve at the top of the tank to the closed position.
- Cool Down: Allow the water in the tank to cool for several hours to prevent burns, especially if you plan to drain it.
Step 1: Test the Temperature and Pressure Relief (TPR) Valve
The TPR valve is a critical safety mechanism that releases pressure to prevent explosions. Testing it annually is essential.
Place a bucket under the discharge pipe. Gently lift the valve’s lever. You should hear a hiss and see a rush of water. Release the lever; it should snap shut and stop the flow completely. If the valve leaks, drips, or doesn’t release water, it’s a faulty valve that needs professional replacement. A malfunctioning TPR valve is a serious safety hazard. For more tips, see these Water Heater Maintenance Tips.
Step 2: Drain the Tank and Flush Sediment
Sediment buildup, especially from hard water, is a major cause of reduced efficiency and strange popping noises. It forces your heater to work harder, increasing energy bills. Flushing the tank removes this sediment.
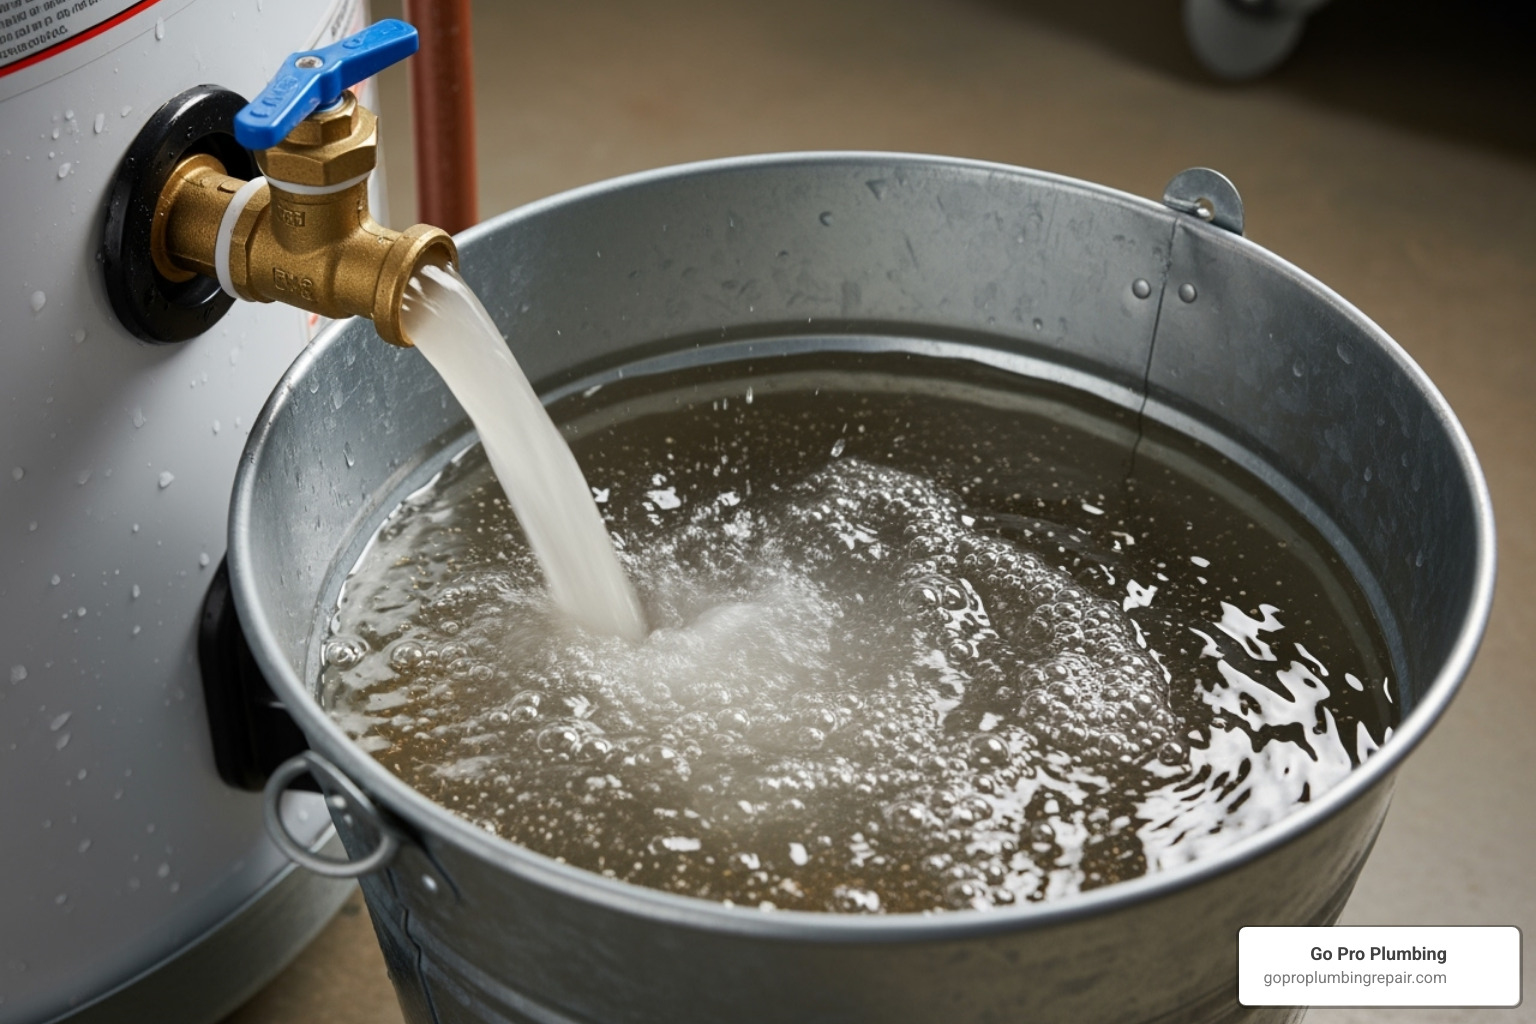
- Attach a garden hose to the drain valve at the bottom of the tank, running the other end to a safe drainage area.
- Open a hot water faucet in your house to prevent a vacuum.
- Open the drain valve. The water may be discolored—this is normal.
- Once the tank is empty, briefly turn the cold-water supply on and off to stir up remaining sediment. Drain again.
- Repeat the flush until the water runs clear.
- Close the drain valve, remove the hose, and refill the tank. Run a hot water faucet for a few minutes to purge air before restoring power.
For a detailed walkthrough, see our guide on the Best Way to Flush Water Heater.
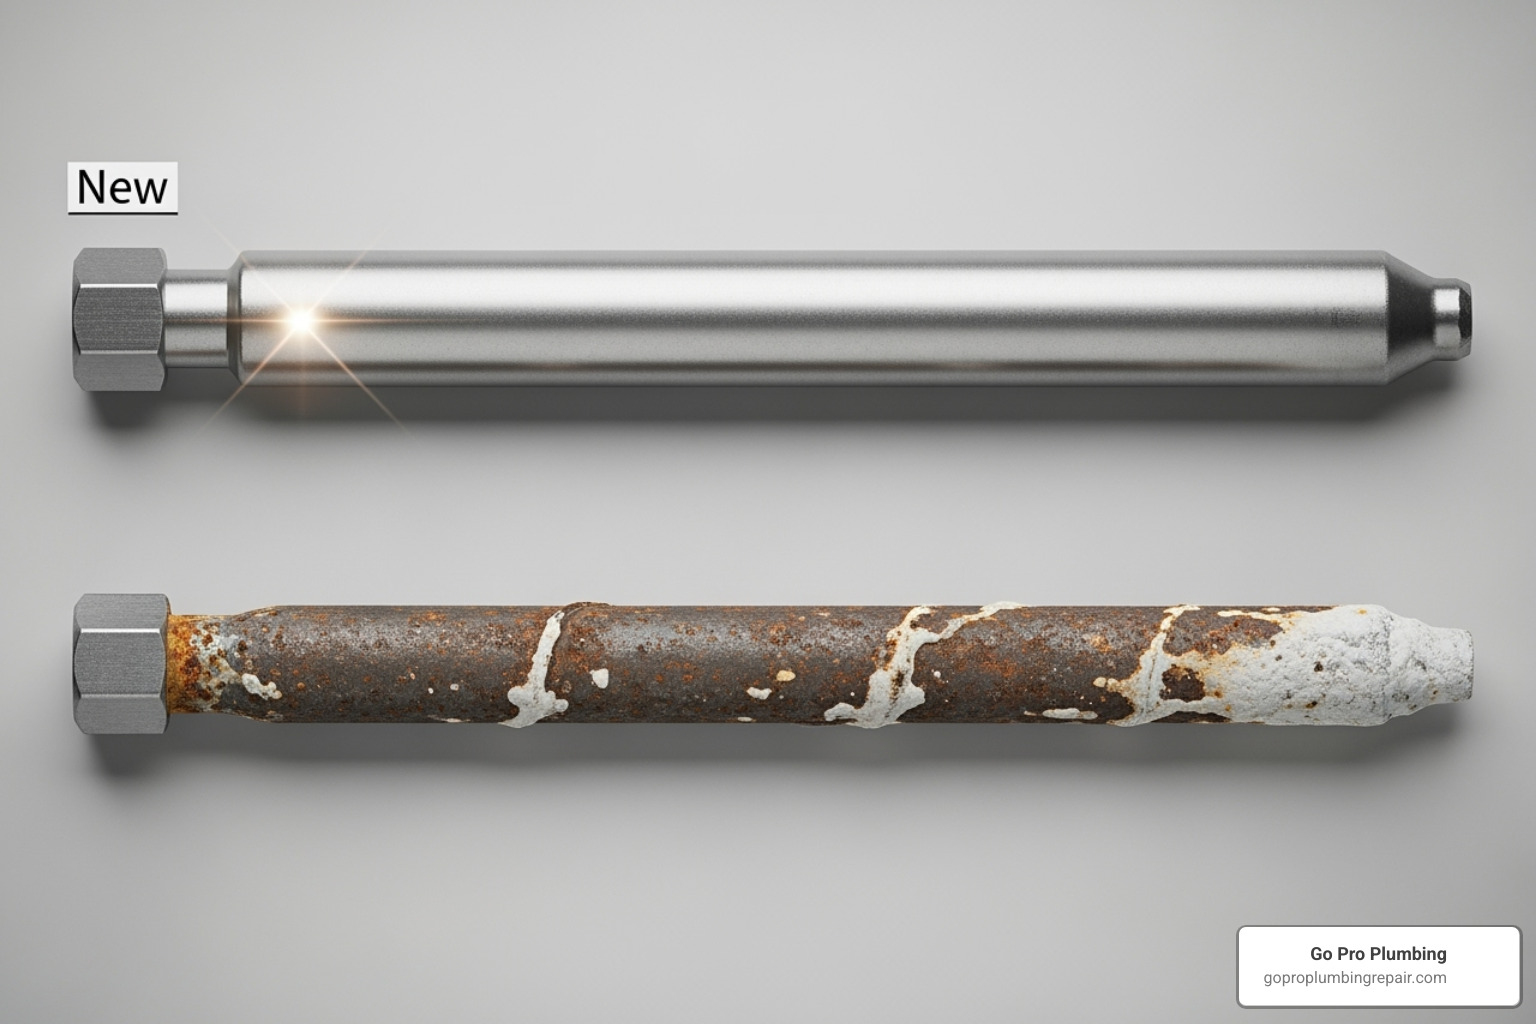
Step 3: Inspect the Sacrificial Anode Rod
The anode rod is a metal rod that prevents tank corrosion by attracting corrosive elements through electrolysis, sacrificing itself to protect the steel tank. Replacing a worn rod is much cheaper than replacing the entire heater.
To inspect it, turn off the power and water, and drain a few gallons to relieve pressure. The rod is usually located at the top of the tank. Use an adjustable wrench or a 1 1/16″ socket to unscrew it. It may be tight.
Once removed, examine it. Signs of a worn-out rod include being pencil-thin, covered in heavy corrosion, or having large sections missing. If it’s heavily deteriorated, it’s time for a replacement. As a rule, check the rod every 1-3 years (annually if you have a water softener). Replacing it is a smart investment that can add years to your tank’s life.
Optimizing for Efficiency and Savings
Beyond basic maintenance, a few simple adjustments can optimize your water heater’s performance, leading to long-term savings on your energy bills.
Adjusting the Temperature for Safety and Savings
Finding the right temperature balances comfort, safety, and efficiency. The magic number is 120°F. This is hot enough for household needs but significantly reduces the risk of scalding. Water at 140°F can cause third-degree burns in seconds, making 120°F a much safer setting, especially for homes with children or elderly residents.
From a savings perspective, for every 10 degrees you lower the temperature, you can save up to 5% on water heating costs. Dropping from 140°F to 120°F could mean a 10% reduction in your water heating bill.
- On gas models, simply turn the dial on the gas control valve near the bottom of the tank.
- On electric models, first turn off the circuit breaker. Remove the access panels on the side of the tank, pull back the insulation, and use a flathead screwdriver to set both thermostats to the same temperature.
For more on high-efficiency units, explore our guide on the Energy Efficient Water Heater.
Insulating Your Tank and Pipes
If your water heater tank feels warm to the touch, it’s losing heat. Proper insulation can reduce this heat loss by up to 45% and cut water heating costs by as much as 9%.
- Tank Insulation: Wrap your tank in an insulation blanket (or jacket). Be careful not to cover the thermostat, TPR valve, or any vents and access points on gas units. The tops of gas and oil heaters must be left uncovered for safety.
- Pipe Insulation: Insulate the first six feet of both hot and cold water pipes connected to your heater. This keeps hot water hotter and prevents condensation on cold pipes. Pre-slit foam pipe insulation is easy to install. This simple upgrade works 24/7, preventing pipes from freezing in winter and reducing energy waste.
For more ideas, check out this expert advice on water heater efficiency.
Gas, Electric, and Tankless: Key Maintenance Differences
While basic maintenance principles are similar, different types of water heaters have unique needs. Understanding these differences is key to providing the right care.
| Maintenance Task | Traditional Gas Water Heater | Traditional Electric Water Heater | Tankless Water Heater |
|---|---|---|---|
| Flushing Tank | Annually (more for hard water) to remove sediment. Crucial for efficiency. | Annually (more for hard water) to remove sediment. Important for element longevity. | Not required (no tank). Descaling (vinegar flush) is needed for mineral buildup. |
| Anode Rod Inspection | Annually/every 3 years. | Annually/every 3 years. | Not applicable (no tank). |
| TPR Valve Test | Annually. | Annually. | Annually. |
| Temperature Adjustment | Dial on gas control valve. | Behind access panels, adjust with screwdriver. | Digital control panel. |
| Insulation | Tank blanket (avoiding vents), pipe insulation. | Tank blanket, pipe insulation. | Pipe insulation for efficiency. |
| Pilot Light/Burner | Inspect, clean, relight pilot. Clean air intake/FVIR system. | N/A (no combustion). | N/A (no pilot light). |
| Heating Elements | N/A. | Inspect for scale, replace if faulty. | N/A. |
| Air Intake/Venting | Clean regularly. Ensure clear flue. | N/A. | Clean inlet filter. |
| Descaling | N/A. | N/A. | Annually (especially in hard water areas) using a vinegar solution. |
| Professional Service | Recommended annually for safety & efficiency. | Recommended annually for safety & efficiency. | Recommended annually for specialized descaling and inspection. |
Traditional Gas vs. Electric Water Heater Maintenance
Beyond tank flushing and anode rod checks, gas and electric heaters have distinct needs.
Gas water heaters require attention to their combustion system. You should know how to safely relight the pilot light. The burner assembly and air intake vents must be kept clean to ensure safe, efficient operation. Modern units have a Flammable Vapor Ignition Resistant (FVIR) system that can lock out if its flame arrestor gets dirty.
Electric water heaters have no combustion parts. Their main unique component is the heating elements. These can accumulate scale, reducing efficiency. A critical safety rule is to never power on an electric heater unless the tank is completely full, as this will burn out the elements instantly. For service on either type, our team can help with Hot Water Heater Repair and Replacement.
Caring for Your Tankless Water Heater
Tankless water heaters can last up to 20 years but require specialized care. Their primary maintenance task is descaling to remove mineral buildup from the heat exchanger, especially in hard water areas.
This is typically done with a vinegar flush, where vinegar is circulated through the unit to dissolve scale. You should also regularly clean the inlet filter to prevent debris from clogging the system.
While some tasks are DIY-friendly, many manufacturers recommend annual professional service for tankless units due to the specialized process. If you’re considering an upgrade, we offer Tankless Water Heater Financing options.
When to Call a Professional
While DIY maintenance is great, knowing your DIY limitations is crucial for ensuring safety and recognizing serious problems. Some issues require the specialized tools and expertise of a professional plumber.
Warning Signs Your Water Heater Needs a Pro
Your water heater will often signal when it needs professional help. Look for these signs of failure:
- Tank Leaks: Water pooling under the tank itself usually indicates internal corrosion and means the unit needs replacement. Don’t wait, as this can cause major water damage. For immediate help, see our Water Heater Leak Repair services.
- Rusty Water: Brown or reddish water from hot taps suggests the anode rod is gone and the tank is corroding.
- No Hot Water: If you’ve checked the breaker (electric) or pilot light (gas) and still have no hot water, the issue could be a faulty thermostat, heating element, or gas valve.
- Major Pressure Valve Issues: A TPR valve that constantly drips or releases large amounts of water indicates a potentially dangerous pressure problem.
- Gas Smell: If you smell gas, leave the area immediately, call your gas company, and then a plumber. Do not investigate yourself.
- Age: If your unit is over 10 years old and showing problems, a professional evaluation can determine if repair or replacement is more cost-effective.
The Benefits of Professional Water Heater Maintenance
While you can handle basic tasks, professional water heater maintenance offers several advantages:
- Thorough Inspection: A pro can check gas lines, electrical connections, and internal components that are difficult for a homeowner to assess.
- Specialized Tools: Professionals have equipment to measure pressure accurately, descale tankless units efficiently, and remove stubborn parts like anode rods.
- Complex Repairs & Peace of Mind: An experienced plumber can diagnose and fix complex issues safely and correctly, ensuring your unit runs at peak efficiency and giving you peace of mind.
If you’re looking for reliable Water Heater Service Near Me in Sacramento, Rancho Cordova, or Northern California, Go Pro Plumbing offers same-day service and expert care.
Frequently Asked Questions about Water Heater Care
Here are quick answers to the most common questions we get about water heater maintenance.
How often should I flush my water heater?
As a general rule, flush your water heater annually. If you have hard water (which causes mineral spots on dishes), do it every 6 months. Flushing removes sediment that reduces efficiency and can damage the tank, leading to higher energy bills and a shorter lifespan.
What does a popping or rumbling noise from my water heater mean?
This noise is typically caused by sediment buildup. What’s happening is that water gets trapped under the sediment layer and boils, causing the sound as steam bubbles escape. It’s a clear sign your tank needs to be flushed. A thorough tank flush will usually solve the problem and restore quiet, efficient operation.
Is it difficult to replace a water heater’s anode rod?
It can be a straightforward DIY task if you’re comfortable with basic tools. However, the rod can be very difficult to remove without an impact wrench, as it can seize up over time. If it’s stuck or you’re not comfortable with the task, a professional can replace it quickly. It’s better to call for help than to risk damaging the tank. A new rod is a small price to pay to prevent a full tank replacement.
Conclusion: Protect Your Investment with Proper Care
Regular water heater maintenance is one of the smartest ways to protect your home and your budget. As we’ve covered, simple, consistent care extends your unit’s longevity, improves efficiency, and ensures your family’s safety.
These tasks save you money on premature replacements and high energy bills. Testing the TPR valve, flushing sediment, and inspecting the anode rod are all manageable DIY tasks that provide immense value and peace of mind.
Of course, DIY maintenance empowerment also means knowing when to call for help. For complex issues, stubborn parts, or a professional inspection, expert assistance is invaluable.
For professional service in Northern California, Go Pro Plumbing offers expert assistance with same-day service and a commitment to outstanding customer care. Whether you need routine maintenance or an emergency repair, we’re here to help.
Your water heater works hard for you. With these tips, you can return the favor. For all your family’s plumbing needs in Northern California, contact us today!
