Faucet Freedom: A Beginner’s Guide to DIY Sink Faucet Replacement
By Brian on October 10, 2025
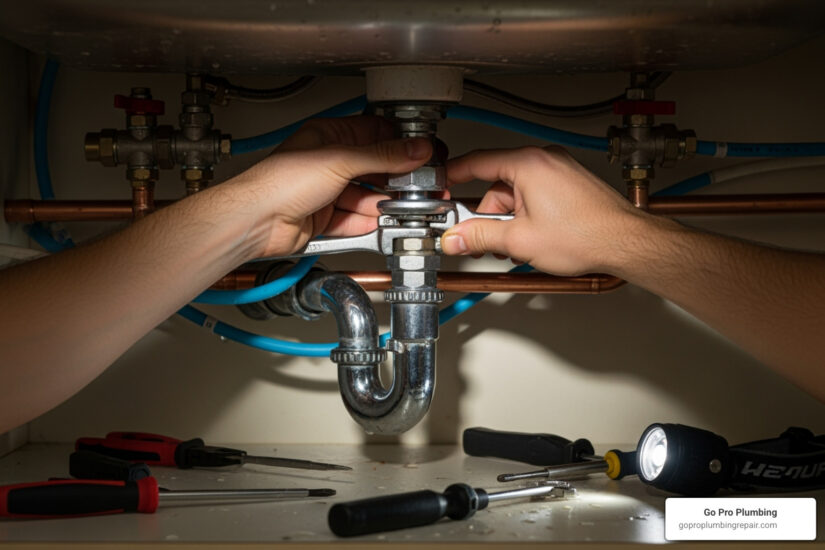
Why Changing Out a Sink Faucet is Easier Than You Think
Changing out a sink faucet is one of the most rewarding DIY plumbing projects you can tackle – and it’s much simpler than most homeowners think. Whether you’re dealing with a leaky old faucet or just want to refresh your kitchen or bathroom, this project can be completed in just a few hours with basic tools.
Quick Answer: How to Change Out a Sink Faucet
- Turn off water supply valves under the sink
- Disconnect supply lines and remove old faucet mounting nuts
- Lift out old faucet and clean the sink surface
- Install new faucet with gasket and mounting hardware
- Connect water lines (hot to hot, cold to cold)
- Test for leaks and flush the system
Most bathroom faucet replacements take no more than an hour, while kitchen faucets typically require 2-3 hours for most DIY projects. The key is having the right tools and understanding your sink’s configuration before you start.
This guide will walk you through every step of the process, from choosing the right faucet for your sink to troubleshooting common issues. You’ll learn how to work with different faucet types, handle tricky connections, and ensure your new faucet works perfectly for years to come.
Ready to give your sink a fresh new look? Let’s explore everything you need to know about changing out a sink faucet like a pro.
Changing out a sink faucet further reading:
Preparation: Gathering Your Tools and Choosing the Right Faucet
Here’s the truth about changing out a sink faucet: half the battle is won before you even touch a wrench. The difference between a smooth, satisfying DIY project and a frustrating afternoon of multiple trips to the hardware store? Proper preparation.
I’ve seen too many enthusiastic homeowners dive headfirst into faucet replacement, only to find they’re missing a crucial tool or, worse yet, they’ve bought a faucet that doesn’t fit their sink. Let’s make sure that doesn’t happen to you.
Essential Tools & Materials
Think of your tool collection as your faucet-replacement dream team. Each member has a specific role to play, and when they work together, magic happens.
Your adjustable wrench will be your go-to for most nuts and bolts, while the basin wrench – with its long shaft and pivoting head – is specifically designed for those awkward, hard-to-reach mounting nuts lurking under your sink. Trust me, trying to work in that cramped space without one is like trying to eat soup with a fork.
You’ll need pliers for gripping and holding components steady, and don’t forget a bucket or shallow pan to catch the inevitable water spillage when you disconnect those supply lines. Nothing ruins a DIY mood quite like a puddle spreading across your bathroom floor.
Cleaning rags and all-purpose cleaner are essential for prepping your sink surface – you’d be amazed how much grime accumulates around an old faucet. A putty knife will help you scrape away old sealant, while a flashlight or headlamp will illuminate those dark under-sink mysteries.
Safety first: safety glasses protect your eyes from debris and splashes. Your new faucet should come with mounting hardware, but check if you need separate supply lines. For sealing, you’ll want either plumber’s putty or silicone sealant (some newer faucets include gaskets that eliminate this step entirely), plus Teflon tape for threaded connections.
Here’s a pro tip from years of plumbing experience: keep some penetrating oil handy for stubborn, rusted nuts, and grab a pillow for under the sink. Your back will thank you later.
How to Choose the Perfect Faucet for Your Sink
Choosing the right faucet isn’t just about picking something pretty – though aesthetics certainly matter. The most critical factor is compatibility with your existing sink configuration.
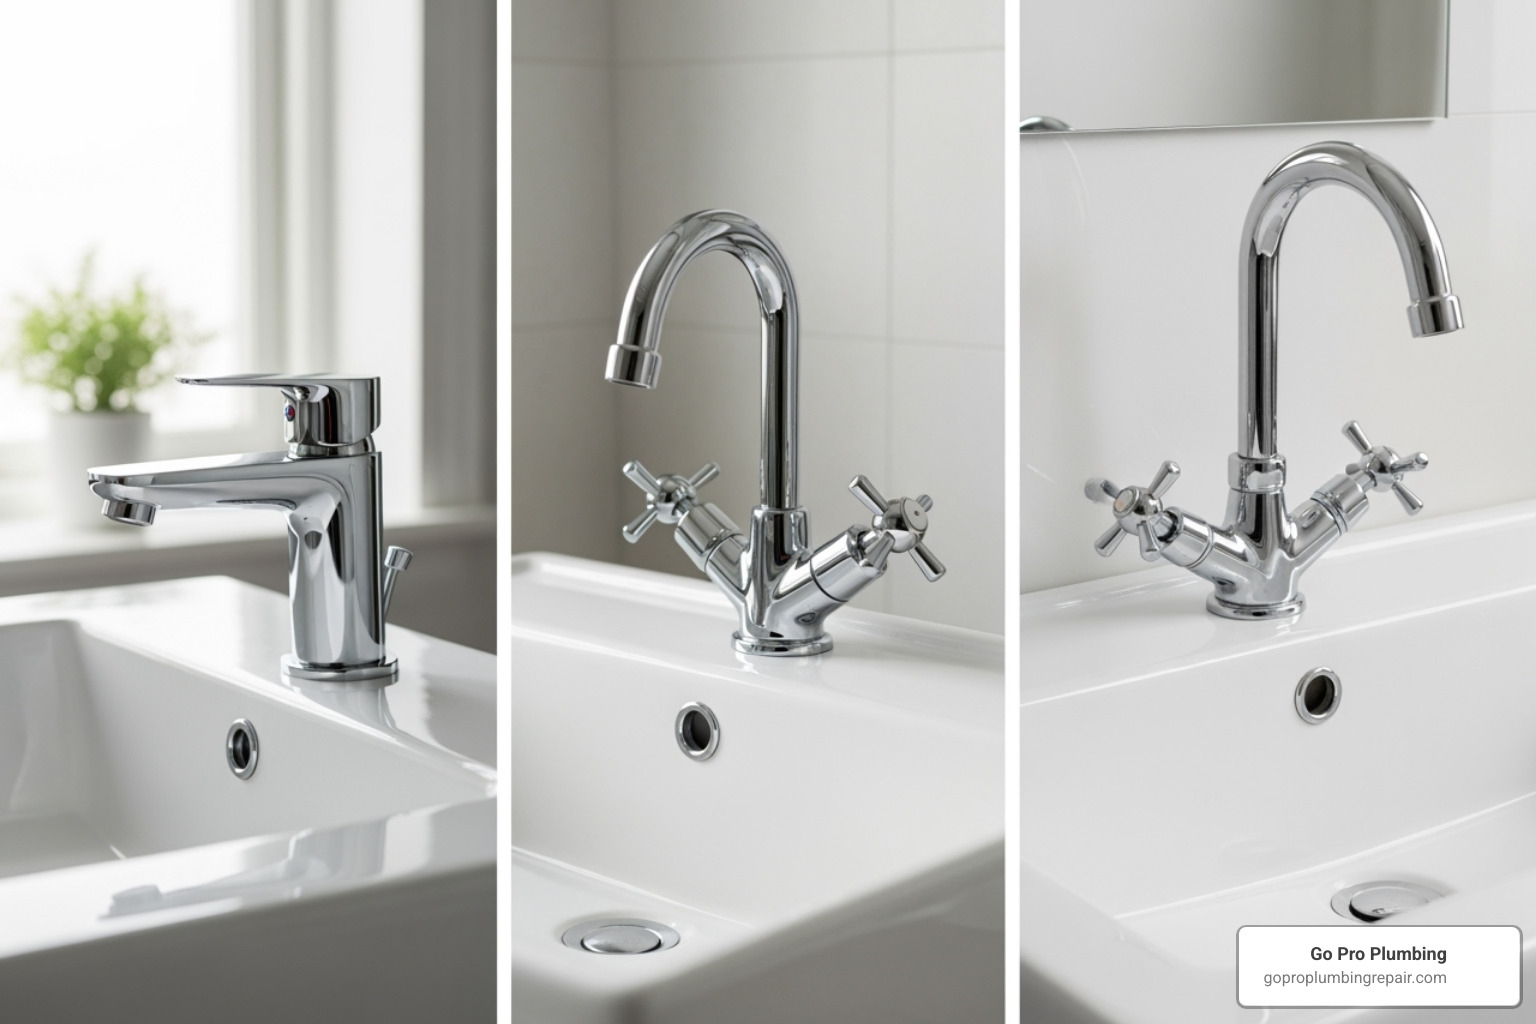
Before you fall in love with that gorgeous faucet online, grab a measuring tape and check your sink’s hole configuration. Single-hole faucets are perfect for modern sinks with just one opening – sleek and contemporary. Many come with an escutcheon plate that can cover three existing holes if you’re upgrading from an older style.
Centerset faucets are bathroom favorites, designed for three holes spaced about four inches apart. The spout and handles typically connect through a single base or escutcheon plate, creating a unified look that’s both classic and functional.
For sinks with holes six or more inches apart, you’ll need a widespread faucet. These create an neat, spread-out appearance where the spout and handles appear as separate pieces – perfect for larger vanities or statement sinks.
Kitchen faucets bring their own considerations. Think about your daily routine: do you wash large pots that would benefit from a pull-down sprayer? Would touchless technology be helpful when your hands are covered in flour or raw chicken? Many kitchen sinks have a fourth hole for accessories like soap dispensers or side sprayers.
The key is measuring first, dreaming second. Take those measurements, understand your current setup, and then choose a faucet that not only looks great but works perfectly with your sink’s configuration. This simple step will save you time, money, and the headache of returns or complicated workarounds.
The Step-by-Step Guide to Changing Out a Sink Faucet
Now comes the fun part! With your tools ready and your perfect faucet chosen, it’s time to roll up those sleeves and get to work. Changing out a sink faucet might seem intimidating at first glance, but breaking it down into manageable steps makes it surprisingly straightforward. Think of it like following a recipe – each step builds on the last, and before you know it, you’ll have a beautiful new faucet that works like a dream.
The key to success here is patience and methodical work. Don’t rush through any step, and remember that even professional plumbers encounter stubborn nuts and unexpected surprises. The difference is knowing how to handle them calmly and systematically.
Step 1: Shutting Off Water and Removing the Old Faucet
Safety always comes first in any plumbing project, and nobody wants an impromptu indoor water show! Let’s start by making sure everything is properly shut down and disconnected.
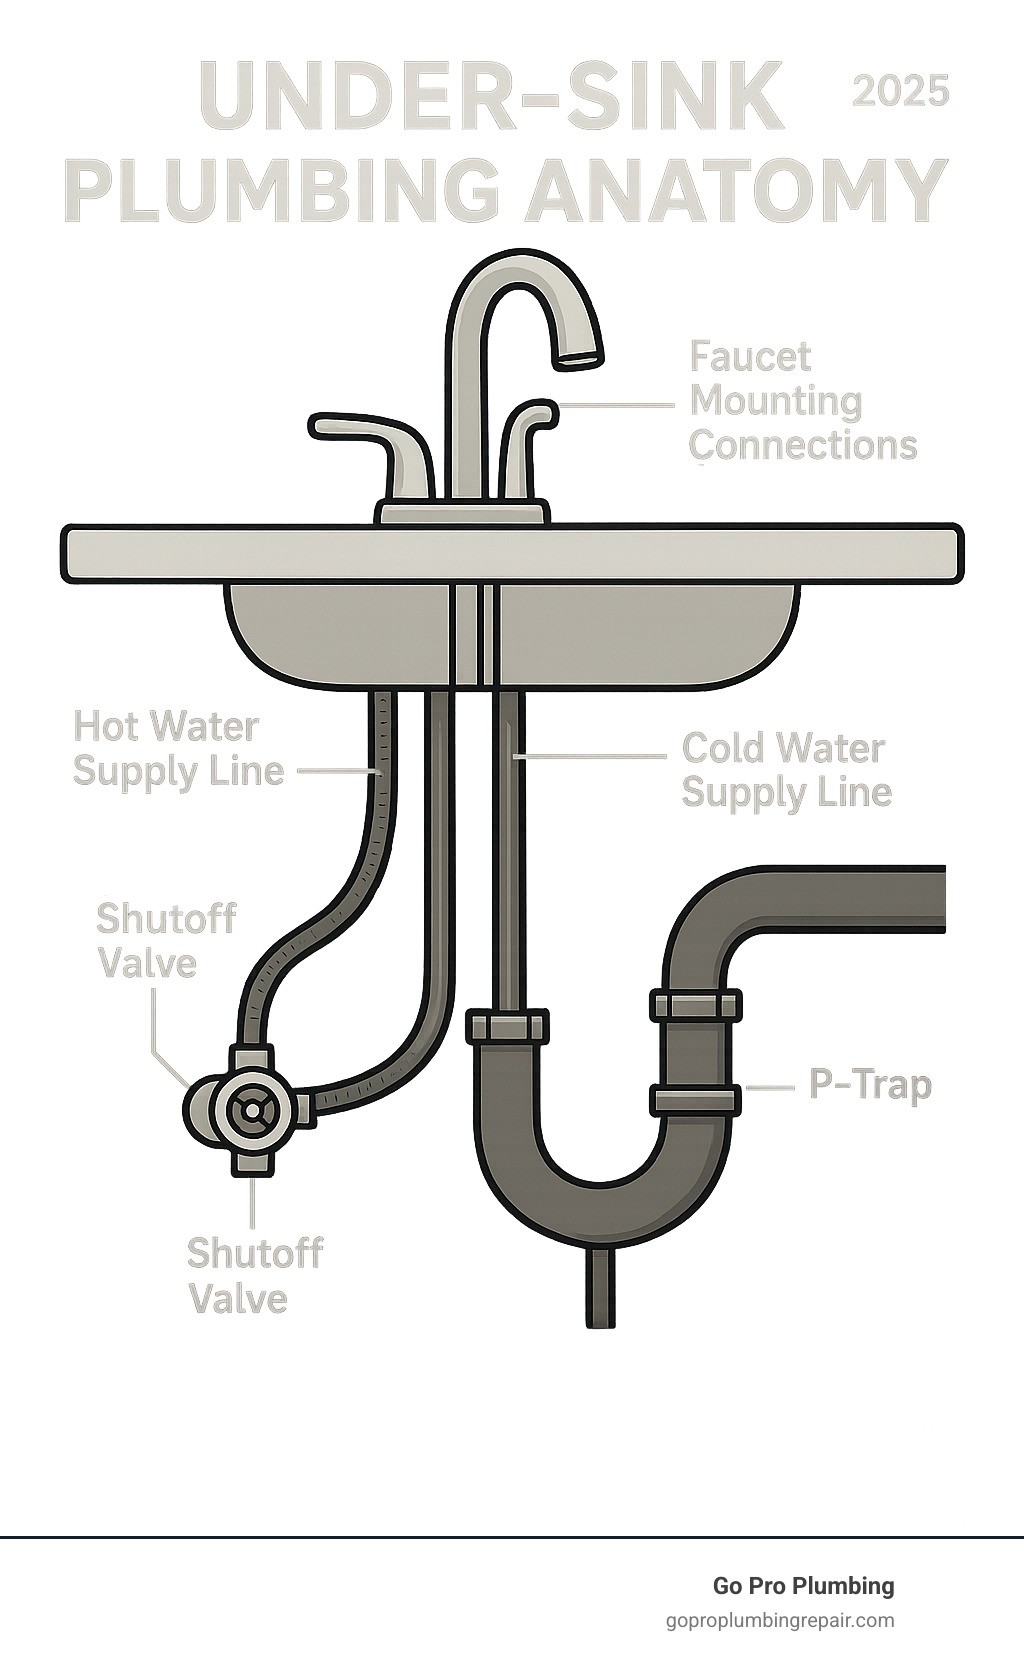
Turn off your water supply by locating those two shutoff valves hiding under your sink – one for hot water and one for cold. Give them a clockwise turn until they’re completely closed. If you can’t find individual shutoff valves under your sink, you’ll need to turn off the main water supply to your house. It’s not ideal, but sometimes that’s what we’re working with in older homes.
Once the water is off, relieve the pressure in your lines by turning on the old faucet handles – both hot and cold. You’ll hear some gurgling and see the last bit of water drain out. This step prevents any surprise splashes when you disconnect the supply lines.
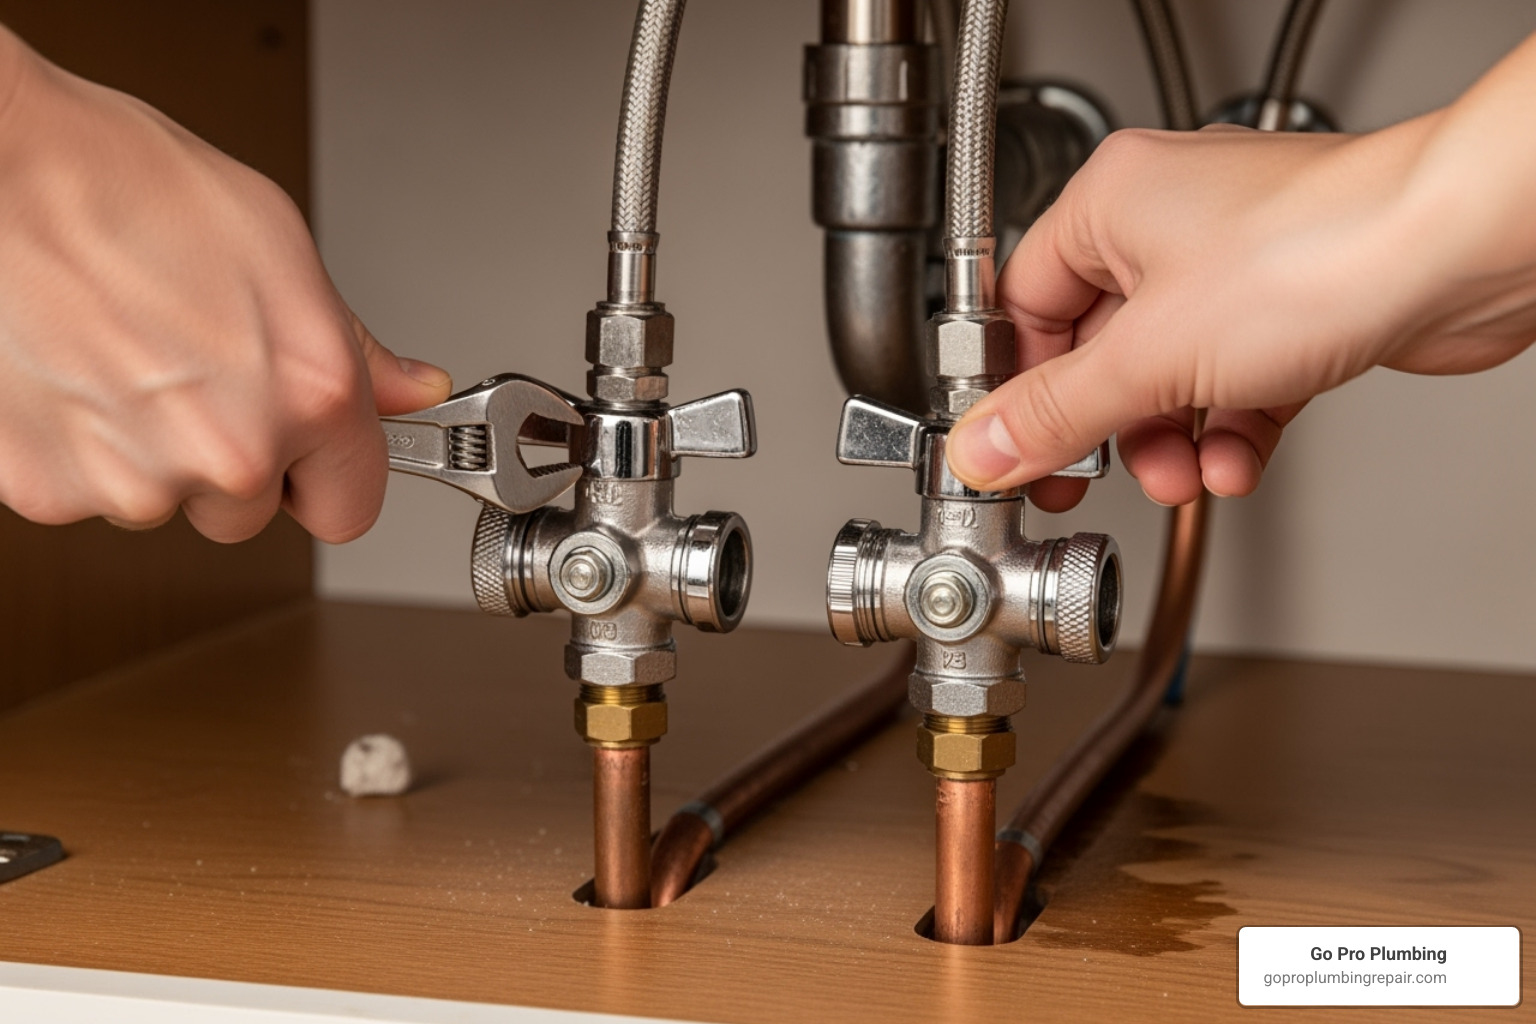
Now grab that bucket or shallow pan and position it directly under the supply lines. Trust us on this one – there’s always more water lurking in those pipes than you expect! With your adjustable wrench in hand, carefully disconnect the hot and cold water supply lines from the old faucet’s shanks. A little water will definitely come out, so don’t be surprised.
Here’s where things can get tricky. Those mounting nuts securing your faucet to the sink are often in the most awkward spots imaginable. This is your basin wrench’s moment to shine! Look up under the sink and locate those nuts, then use your basin wrench to loosen and remove them. If they’re being stubborn (and old plumbing fixtures love to be stubborn), spray them with penetrating oil and give it a few minutes to work its magic.
For bathroom faucets, you’ll need to disconnect the lift rod that controls your drain stopper. It’s usually a simple clip or screw connection that links the faucet handle to the drain assembly.
With everything disconnected, lift out your old faucet from the top of the sink. Sometimes the base is stuck with old caulk or putty, so a gentle rocking motion might be needed to break it free. Don’t force it – patience wins the day here.
Step 2: Cleaning and Preparing the Sink Surface
This might not be the most glamorous part of changing out a sink faucet, but it’s absolutely crucial for a professional-looking result. That ring of grime, old caulk, and hardened putty around your faucet holes needs to go before your beautiful new faucet can shine.
Scrape away all the old sealant using your putty knife. Be thorough but gentle – you don’t want to scratch your sink surface. Sometimes old plumber’s putty can be surprisingly stubborn, but it will come off with persistence.
Once you’ve removed the bulk of the old material, clean the entire area thoroughly with all-purpose cleaner or rubbing alcohol. This step removes any remaining residue and discoloration that could interfere with your new faucet’s seal. A clean, dry surface is essential for preventing future leaks, so take your time here and make sure everything is spotless.
Dry the surface completely before moving to the next step. Even a small amount of moisture can prevent your new sealant from adhering properly, and nobody wants to deal with leaks later on.
Step 3: Installing Your New Faucet and Drain Assembly
Here’s where your project really starts to come together! Installing your new faucet is exciting because you can finally see your vision becoming reality.
Position the gasket that came with your new faucet. Most modern faucets include a rubber or plastic gasket that sits between the faucet base and your sink. If your faucet requires plumber’s putty or silicone sealant instead, apply a thin, even bead around the underside of the faucet base before positioning it.
Lower your new faucet carefully into the sink’s mounting holes, making sure it’s perfectly aligned and sits flat against the surface. If you’re installing a kitchen faucet with a pull-down sprayer, thread that hose through the main hole as you position the faucet.
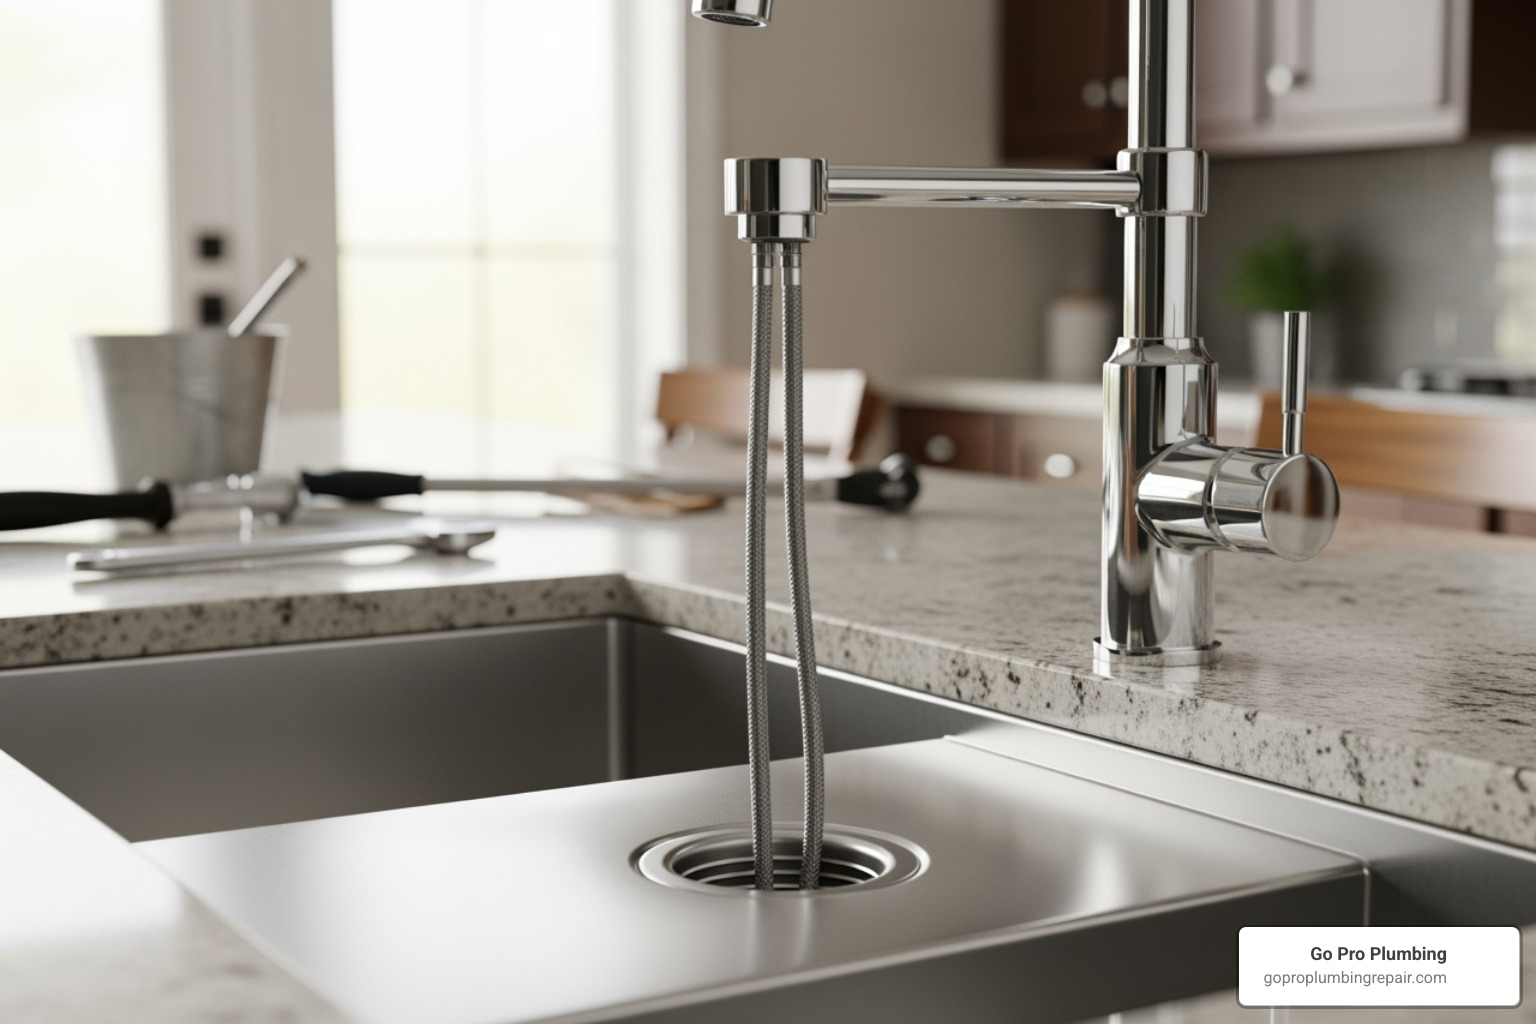
From underneath the sink, secure the mounting nuts by first sliding on any washers, then threading the nuts onto the faucet shanks. Start by hand-tightening them to ensure everything is properly aligned, then use your basin wrench to make them snug. The key here is firm but not overly tight – you want security without risking damage to porcelain sinks or the faucet itself.
If you’re installing a new drain assembly (common with bathroom faucets or when upgrading an old drain), now’s the perfect time. Apply silicone gel to the underside of the new drain flange, insert it into the drain hole from above, then attach the drain body from underneath. Make sure all gaskets and washers are properly positioned, and connect the pop-up drain rod for bathroom installations, testing that it operates smoothly.
Step 4: Connecting the Water Supply Lines
We’re in the home stretch now! Connecting your supply lines correctly is the final crucial step for leak-free operation.
Prepare the threads by wrapping a few layers of Teflon tape clockwise around the threaded shanks of your faucet and the threads of your shutoff valves. This creates a watertight seal that prevents those annoying drips.
Connect hot to hot and cold to cold – this seems obvious, but it’s easy to get confused when you’re working in tight spaces. Look for the ‘H’ or red marking for hot water, and ‘C’ or blue for cold water on your new faucet. Connect the corresponding supply lines to these inlets, then attach the other ends to your shutoff valves.
Tighten all connections by hand first to avoid cross-threading, then use your adjustable wrench to give each connection a final quarter-turn. Remember our golden rule: snug, not gorilla-tight! Overtightening can strip threads or crack fittings, creating bigger problems than you started with. If you’re using flexible supply lines, leave a little slack for easy future access and to prevent stress on the connections.
Final Checks, Troubleshooting, and Maintenance
We’re almost there! The real test of a successful faucet installation isn’t just getting water to flow – it’s making sure everything works perfectly without any surprise leaks or problems down the road.
Testing for Leaks and Flushing the System
This is honestly the most nerve-wracking part of changing out a sink faucet, but it’s also the most satisfying when everything works perfectly.
Start by slowly turning your water back on. Head back to those shutoff valves under the sink and turn them counter-clockwise very gradually. Listen carefully – any hissing or gurgling sounds could indicate a problem. Don’t rush this step; a slow, controlled approach helps you catch issues early.
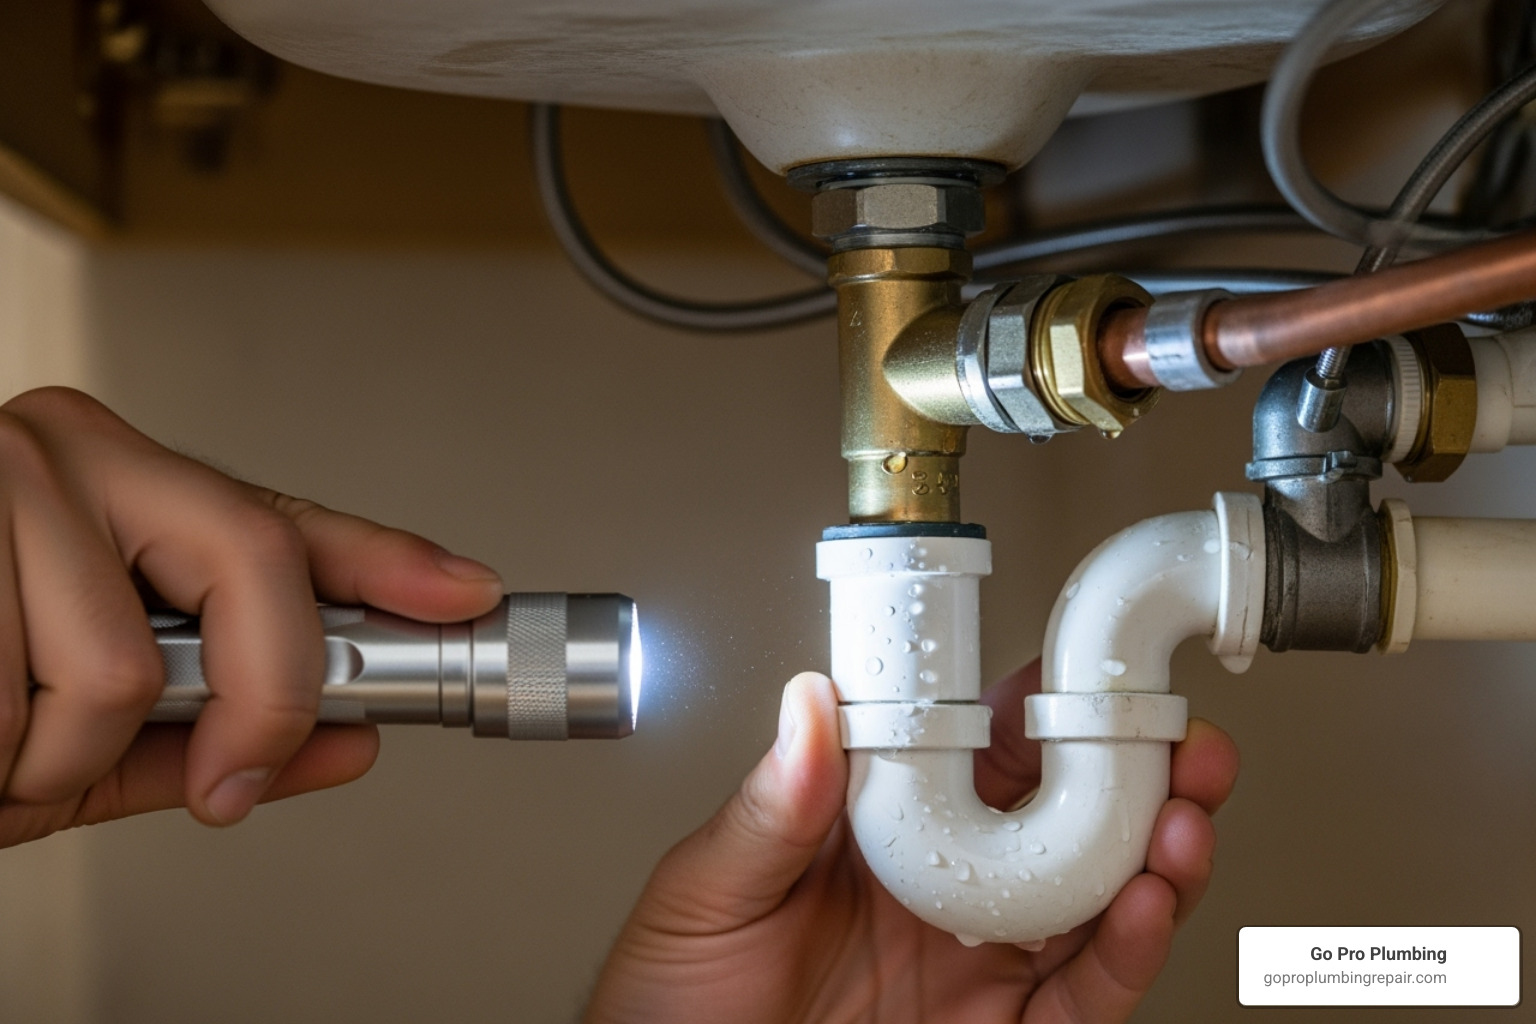
Now grab your flashlight and become a detective. Check every single connection point you touched during the installation. Look under the sink at the supply line connections, around the base of your new faucet, and at the drain assembly if you replaced that too. Even the tiniest drip now can become a bigger problem later.
Remove the aerator from your faucet’s tip before you start using it regularly. This little screen at the end of the spout can get clogged with debris that gets stirred up during installation. Turn on both hot and cold water at full blast for about a minute to flush out any sediment, pipe dope, or other particles that might have gotten into the lines.
Once the water runs clear and smooth, turn off the faucet and screw the aerator back on. Now you can truly enjoy your handiwork!
Common Problems When Changing Out a Sink Faucet
Even the most careful DIYer runs into challenges sometimes. The good news? Most problems have straightforward solutions, and you’ve probably got this handled.
Stuck nuts and corroded fittings are probably the biggest headache when changing out a sink faucet. Old plumbing can seem like it’s been welded together! If you encounter a stubborn nut, spray it generously with penetrating oil and let it soak – sometimes overnight works wonders. For really stuck fittings, patience is your best friend.
Post-installation leaks can feel devastating after all your hard work, but don’t panic. Most are easy fixes. If water pools around your faucet’s base, the seal probably needs attention. Check that your mounting nuts are properly tightened and that you applied enough plumber’s putty or silicone gel.
Supply line leaks usually mean the connections need slight adjustment. Turn off the water, double-check that you applied Teflon tape correctly, and gently tighten the nuts a bit more. Remember – snug, not gorilla-tight!
Low water pressure from your beautiful new faucet is often just a clogged aerator or shutoff valves that aren’t fully open. Remove and clean the aerator first, then verify your shutoff valves are completely open. Also check that your supply lines aren’t kinked or bent.
Sometimes old shutoff valves decide to act up after being disturbed. If they won’t close completely or start dripping, it might be time to replace them. This is where calling a professional like Go Pro Plumbing can save you time and hassle.
Maintaining Your New Faucet for Longevity
Your new faucet is installed and working beautifully! A little regular care will keep it looking great and functioning smoothly for many years.
Daily or weekly cleaning is simple but effective. Wipe down your faucet with a soft cloth and mild soap solution. Avoid harsh chemicals or abrasive cleaners that can damage the finish – your faucet will thank you for the gentle treatment.
Hard water can be tough on faucets, leaving mineral deposits around the spout and aerator. A simple solution of equal parts water and white vinegar works wonders. Let it soak for a few minutes, scrub gently, and rinse thoroughly.
Check your aerator periodically by unscrewing it and giving it a good cleaning. Sediment and mineral buildup can reduce water flow over time, but regular maintenance prevents this.
Take a quick peek under your sink every few months to ensure all connections remain tight and leak-free. Catching small issues early prevents bigger headaches later. It’s also a good time to feel proud of your DIY accomplishment!
If you live in an area with very hard water, consider a water softener system. It’s an investment that extends the life of your new faucet and all your plumbing fixtures.
While changing out a sink faucet is definitely a manageable DIY project, there’s no shame in calling professionals when you need them. Complex plumbing issues or problems beyond basic faucet replacement are best left to experts who can ensure everything is done safely and correctly.
Frequently Asked Questions about Faucet Replacement
We get calls every day from folks wondering about changing out a sink faucet, and honestly, the questions are usually pretty similar. Let me share the answers to the ones we hear most often – these might help you decide whether to tackle this project yourself or give us a call.
How long does it take to replace a sink faucet?
This is probably our most popular question, and the answer really depends on what you’re working with and how comfortable you are with basic plumbing.
For a bathroom faucet, most homeowners find they can complete the job in about an hour. Bathroom setups are usually more straightforward – you’ve got better access under the sink, and there aren’t as many bells and whistles to worry about.
Kitchen faucets are a different story. Plan on 2-3 hours for most DIY projects when changing out a sink faucet in the kitchen. These installations can get a bit more involved, especially if you’re dealing with pull-down sprayers, soap dispensers, or that cramped space under the sink where the garbage disposal lives.
Now, if you call a professional plumber (like our team at Go Pro Plumbing), we can typically knock out a kitchen faucet replacement in less than an hour. Sometimes that professional speed and experience is worth every penny, especially if you’re dealing with old, stubborn plumbing or just don’t have the time to spend your weekend under the sink.
What’s the main difference between replacing a kitchen and a bathroom faucet?
While the basic steps for changing out a sink faucet are pretty much the same regardless of location, there are some key differences that can affect your installation time and complexity.
Kitchen faucets often come with more moving parts. You might be dealing with a pull-down sprayer that has its own hose and counterweight system, or additional holes for a side sprayer or soap dispenser. The space under kitchen sinks can also be more challenging to work in – between the garbage disposal, larger pipes, and all the cleaning supplies we tend to store there, it can feel like a puzzle just to get your tools in position.
Bathroom faucets, on the other hand, frequently include a pop-up drain assembly with a lift rod that controls the sink stopper. This means you’ll need to disconnect and reconnect this little mechanism during your faucet replacement. Many folks find it’s actually easier to replace the drain assembly at the same time – it’s already accessible, and a fresh drain can really complete the look of your updated sink.
Can I replace a 3-hole faucet with a 1-hole faucet?
Absolutely! This is actually one of our favorite upgrades to see homeowners make. If you’ve got a sink with three holes but you’re drawn to the clean, modern look of a single-hole faucet, you’re not stuck with your current setup.
The secret is using an escutcheon plate (sometimes called a deck plate). This handy piece of hardware is essentially a decorative cover that sits over all three holes, giving your new single-hole faucet a solid, seamless base. Most quality single-hole faucets come with one included, but if yours doesn’t, you can purchase one separately – just make sure it matches your faucet’s finish.
The result is a beautifully clean look that completely transforms your sink area. It’s one of those simple changes that can make a big visual impact in your kitchen or bathroom.
Conclusion: Enjoy Your New Faucet!
Take a step back and admire your handiwork – you’ve just completed a fantastic home improvement project! Changing out a sink faucet is one of those satisfying DIY wins that delivers both immediate visual impact and long-term functionality improvements. Your kitchen or bathroom now has a fresh, updated look, and you’ve gained valuable hands-on plumbing experience along the way.
There’s something deeply rewarding about turning on that new faucet for the first time and seeing everything work perfectly. You’ve not only saved money by doing the work yourself, but you’ve also gained the confidence to tackle similar projects in the future. Every time you use that sink, you’ll have a little moment of pride knowing you installed it with your own two hands.
When to call in the professionals – While most faucet replacements are perfectly manageable DIY projects, sometimes you might encounter situations that require professional expertise. Perhaps you finded severely corroded pipes hiding behind that old faucet, or maybe your home’s plumbing is older and more complex than expected. Sometimes life just gets busy, and spending your weekend under a sink isn’t how you want to spend your free time.
If you run into complex issues like outdated supply lines, problematic shutoff valves, or find that your sink configuration is more complicated than anticipated, don’t hesitate to call for backup. There’s no shame in recognizing when a project has grown beyond your comfort zone or available time.
At Go Pro Plumbing, we understand that every homeowner’s situation is different. We’re here to support your DIY efforts when possible, and we’re ready to step in with professional expertise when needed. Our commitment to outstanding customer service means we’ll treat your home with the same care we’d give our own, and our same-day service can get you back to enjoying your kitchen or bathroom without the hassle.
Whether you’re celebrating a successful DIY faucet installation or need professional help with a tricky situation, good plumbing is an investment in your home’s comfort and value.
Contact us for professional Faucet & Sink Installation Services in Sacramento, CA – we’ll get your water flowing perfectly in no time!
