
Don’t Let Your Toilet Drip: Easy Steps to Repair Any Leak
By Brian on July 9, 2026
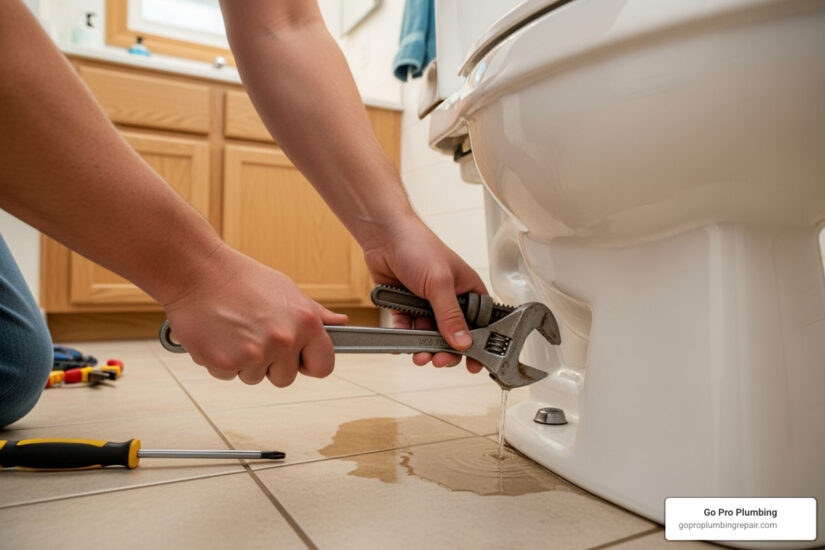
Why Toilet Leak Repair Matters for Your Home and Wallet
Toilet leak repair is one of the most important home maintenance tasks you can tackle. According to the EPA, 20-40% of toilets leak, and these silent water wasters contribute to the 1 trillion gallons of water lost annually in American homes—equal to the water use of more than 11 million homes.
Quick Answer: Most Common Toilet Leak Repairs
- Leaking Flapper – Replace the worn rubber flapper in the tank ($5-10, 15 minutes)
- Running Toilet – Adjust the float or replace the fill valve ($10-20, 30 minutes)
- Base Leak – Replace the wax ring seal ($8-15, 2-3 hours)
- Tank-to-Bowl Leak – Replace gasket and bolts ($15-20, 1-2 hours)
The good news? Most toilet leaks are easy to fix yourself with basic tools and parts that cost less than $20.
Why you should care: A single leaking toilet can waste thousands of gallons per year. If your family of four uses more than 12,000 gallons per month, you likely have a serious leak. That’s not just bad for the environment—it can add hundreds or even thousands of dollars to your water bill.
Toilets account for nearly 30% of your home’s indoor water use. Older toilets that use 6 gallons per flush waste even more water when they leak. By fixing leaks promptly and upgrading to WaterSense labeled models, the average family can save nearly 13,000 gallons per year and more than $140 annually in water costs.
Whether you’re dealing with a constantly running toilet, water pooling around the base, or mysterious phantom flushing, this guide will walk you through every common toilet leak scenario with simple, step-by-step solutions.
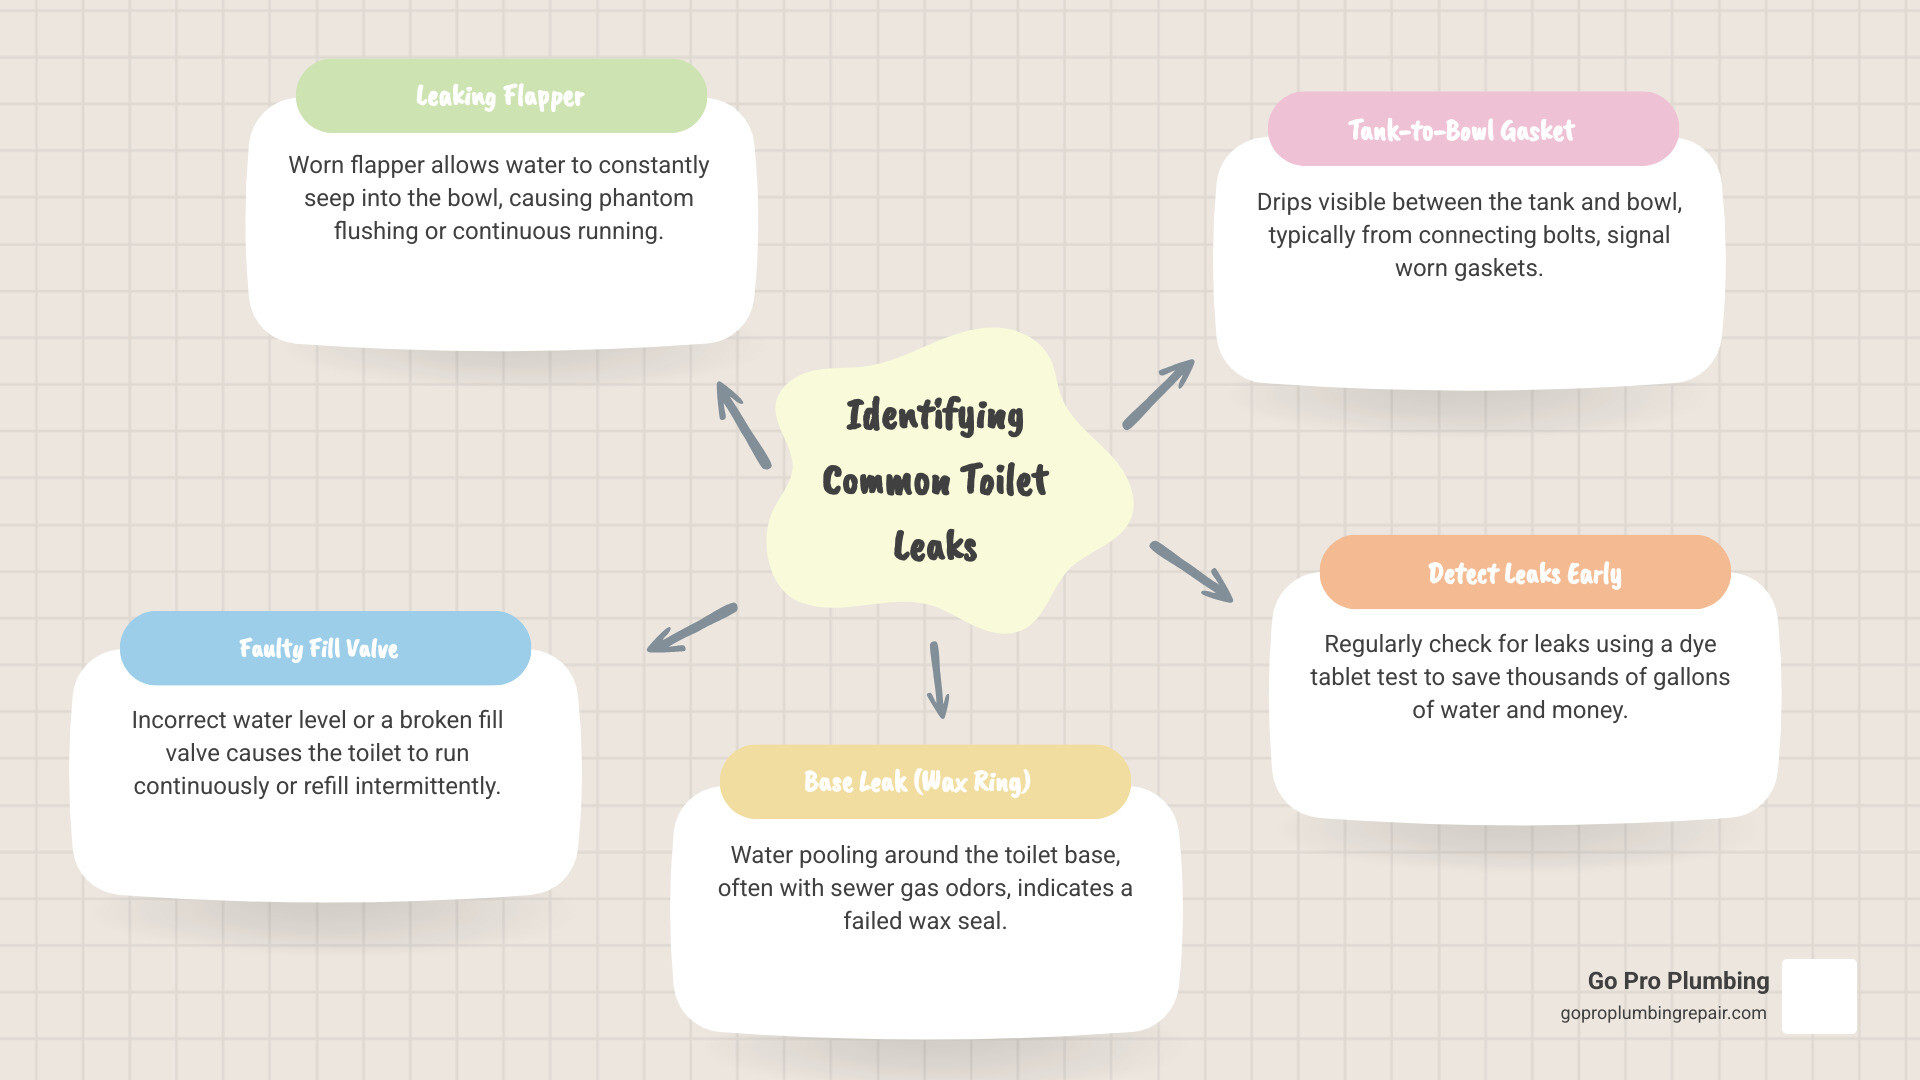
Common toilet leak repair vocab:
Identifying the Source of Your Toilet Leak
Before you grab your wrench, you need to know exactly what you’re fixing. A toilet leak repair can involve clean water dripping from the tank or, more concerningly, dirty water seeping out from the base.
Start with a visual inspection. Is the floor wet? Check the toilet water line repair area first. Sometimes the leak isn’t a leak at all, but “sweating”—condensation forming on the outside of a cold tank in a humid Sacramento summer. Wipe it down with a towel and see if the moisture returns.
However, if you see water pooling around the bolts or the base, or if you hear a constant hissing sound, you have a real leak. Look closely at the porcelain; a crack in the tank or bowl is one of the few issues that can’t be fixed with a simple part. If you find a crack, it’s time to replace the unit entirely. For more complex diagnostics, you can follow this guide on how to test a toilet for leaks.
How to Check for Leaks Using Food Coloring
Many leaks are silent. You might not hear the water running, but your water meter is spinning. The easiest way to catch a silent thief is the food coloring test.
- Remove the tank lid.
- Drop in a dye tablet or about 10 drops of food coloring (blue or red work best).
- Do not flush.
- Wait 15 to 30 minutes.
- Check the water in the toilet bowl.
If the color has seeped into the bowl, you have a leak, likely caused by a faulty flapper. Be sure to flush immediately after the test to avoid staining the porcelain. For a visual walkthrough, check out this video tutorial on detecting leaky toilets.
Signs of a Leaking Toilet Flapper
The flapper is the rubber disc at the bottom of the tank that lifts when you flush. Over time, mineral buildup or chemical decay from toilet bowl cleaners causes the rubber to warp or become brittle.
Common signs of a bad flapper include:
- Phantom Flushing: The toilet suddenly starts refilling for a few seconds even though no one used it.
- The Jiggle Requirement: You have to jiggle the handle to get the toilet to stop running.
- Trickling Sound: A constant, faint sound of water moving.
If you notice these, it’s time to learn how to replace your leaky toilet flapper. It’s the most common and least expensive toilet leak repair you’ll ever perform.
Common Toilet Leak Repair Solutions for Running Toilets
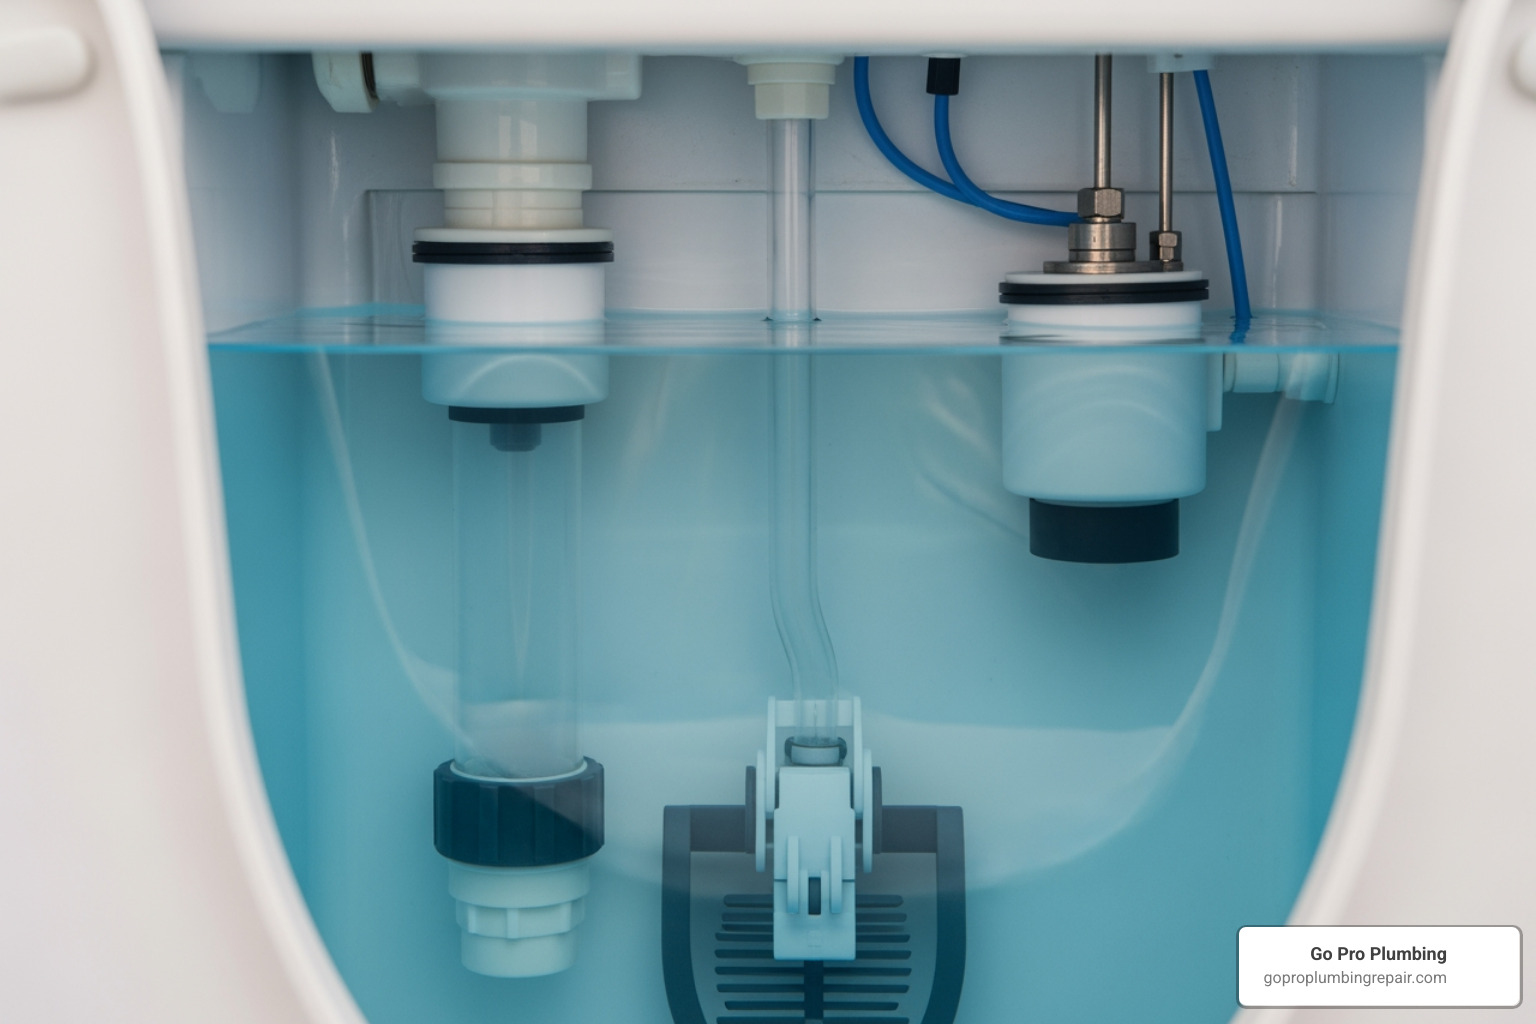
A running toilet is usually a tank-side issue. Most of the time, it’s either the flapper we just mentioned or the fill valve. If the flapper is clean and sealing well, but the water continues to run, the fill valve is likely the culprit.
When performing running toilet repair, you should also check for sediment buildup. In parts of Northern California, hard water can leave mineral deposits that prevent valves from closing fully. Sometimes, simply cleaning the valve diaphragm can solve the problem, but if the part is old, removing the toilet fill valve and installing a new one is the more permanent fix.
Troubleshooting a High Float and Toilet Leak Repair
If your toilet runs constantly, the water level might be set too high, allowing water to spill into the overflow tube. The “float” tells the fill valve when to stop. If it’s set too high, the water never reaches the “off” position before it starts draining into the overflow.
- Ball Float: If you have an older style with a copper or plastic ball on a metal arm, you can often gently bend the arm downward to lower the water level.
- Vertical Float: Modern toilets use a “cup” float that slides up and down the fill valve. Look for a screw or a clip on the side to adjust the height.
The water level should typically be about 1/2 to 1 inch below the top of the overflow tube. If adjusting the float doesn’t work, you may need to consult a cost-replacing toilet fill valve guide to see if a full replacement is necessary.
Steps to Replace a Faulty Fill Valve
If the fill valve is hissing or won’t shut off regardless of float adjustment, it’s time for a new one.
- Turn off the water: Use the shut-off valve on the wall behind the toilet.
- Drain the tank: Flush and use a sponge to soak up the remaining water.
- Disconnect the supply line: Use an adjustable wrench to unscrew the line from the bottom of the tank.
- Remove the old valve: Unscrew the locknut under the tank and pull the valve out.
- Install the new valve: Place the new valve in the hole, ensuring the shank gasket is seated properly to prevent leaks.
- Tighten and Reconnect: Hand-tighten the locknut, then give it a 1/4 turn with a wrench. Reattach the supply line and the refill tube to the overflow pipe.
For a detailed walkthrough, see our guide on how to replace a bottom entry fill valve.
Fixing Leaks Between the Toilet Tank and Bowl
If you see water dripping from the center of the toilet onto the floor every time you flush, the tank-to-bowl gasket has likely failed. This large “sponge” gasket creates the seal where water passes from the tank into the bowl. Over time, it can dry out or be eaten away by bacteria and hard water.
This toilet leak repair requires removing the tank entirely. While you have it off, it is a “best practice” to replace the tank bolts and their rubber washers as well. These bolts are a frequent source of slow, nagging drips. If you’re experiencing toilet flush valve problems, this is also the perfect time to address them, as the flush valve is much easier to access with the tank removed.
Choosing the Right Gasket Size
Not all gaskets are created equal. Using the wrong size is a guaranteed way to keep the leak alive.
| Gasket Size | Common Usage |
|---|---|
| 2-Inch Gasket | Standard on most older toilets and many modern ones. |
| 3-Inch Gasket | Found on high-performance, newer toilets designed for a faster flush. |
When you head to the hardware store in Sacramento or Rancho Cordova, it’s always best to bring the old gasket with you to ensure a perfect match. Also, look for a complete hardware kit that includes brass bolts—they won’t rust like steel ones. For more help, check out our toilet flush valve replacement guide.
How to Handle a Toilet Leak Repair at the Base
A leak at the base of the toilet is the most serious because it involves “dirty” water. If you see water seeping out from under the porcelain when you flush, or if you notice a faint sewer gas odor, your wax ring has failed.
A wax ring doesn’t “wear out” in the traditional sense, but it can be ruined if the toilet is wobbly. If the toilet moves when you sit on it, it eventually pinches or breaks the wax seal. If the subfloor is rotten or the toilet flange repair is needed because the flange is broken or too low, the wax ring won’t be able to do its job. To fix this, you must learn how to replace a toilet wax ring properly.
Wax vs. Wax-Free Toilet Leak Repair Seals
When you go to the store for your toilet leak repair supplies, you’ll see two main options for sealing the base.
- Traditional Wax Ring: These have been the standard for decades. they are inexpensive and effective, but they are messy and “one-shot” deals. If you set the toilet down slightly crooked and have to move it, you’ve likely ruined the seal and need a new one.
- Wax-Free (Synthetic) Seals: These are made of rubber or foam. They are much less messy and, crucially, they allow you to reposition the toilet if you don’t get it right the first time. Many Northern California homeowners prefer these for DIY projects because they are more forgiving.
You can find more info on these in our guide to plumbing materials for the toilet.
Preventing Future Base Leaks and Mold
Once you’ve replaced the seal, you want to make sure it stays fixed. A wobbly toilet is the enemy of a good seal. Use plastic or rubber shims to level the toilet on the floor before you tighten the bolts. This prevents the rocking motion that destroys wax rings.
Also, take signs of mold seriously. If you’ve had a leak at the base for a while, there may be moisture trapped under the flooring. You should learn more about mold from the EPA to understand the risks. The key is to dry the water-damaged area within 24 to 48 hours to prevent mold growth.
Finally, apply a bead of bathroom caulk around the front and sides of the base, but leave a small gap at the very back. This gap allows you to see if a leak develops in the future rather than trapping the water underneath where it can rot your floor joists. If you suspect deeper pipe issues, you may need to fix a leaking toilet pipe in the crawlspace or basement.
When to Upgrade to a WaterSense Labeled Toilet
Sometimes, the best toilet leak repair is a replacement. If your toilet is more than 20 years old, it likely uses 3.5 to 6 gallons per flush. Even if it’s not leaking, it’s wasting money.
Federal law now requires all new toilets to use 1.6 gallons per flush or less. However, the real stars are WaterSense labeled models. These are independently tested to be 20% more efficient than the standard, using only 1.28 gallons per flush.
The benefits of upgrading:
- Water Savings: The average family can save 13,000 gallons of water every year.
- Cost Savings: You could save more than $140 per year on water bills, totaling $2,900 over the toilet’s lifetime.
- Performance: Modern low-flow toilets actually flush better than the “clunky” models of the 90s.
When shopping in Sacramento, remember to measure your “rough-in”—the distance from the wall to the center of the floor bolts. The standard is 12 inches. You might also consider a “comfort height” or ADA model, which sits about 18 inches high compared to the standard 15 inches. You can experience luxury with a toilet upgrade in Sacramento by choosing a model that fits your home’s needs and saves you money. For more data, learn about EPA water saving facts.
Frequently Asked Questions about Toilet Leaks
How do I know if my wax ring is leaking?
The most obvious sign is water pooling at the base of the toilet on the floor. However, if the bathroom is on the second floor, you might first notice water stains or bubbling paint on the ceiling directly below the bathroom. A persistent sewer smell is another major red flag.
Can I fix a cracked toilet tank or bowl?
No. Porcelain cracks cannot be reliably repaired. While some “epoxy” kits exist, they are temporary fixes at best. A cracked toilet is a structural failure that can lead to a catastrophic flood if the tank suddenly gives way. If you find a crack, replace the toilet immediately.
Why does my toilet run intermittently without being flushed?
This is almost always a “phantom flush” caused by a leaking flapper. Water is slowly leaking from the tank into the bowl. When the water level in the tank drops low enough, the fill valve turns on for a few seconds to top it off. Replacing the flapper will solve this.
Conclusion
A leaking toilet is more than just a nuisance; it’s a drain on your finances and a waste of our precious California water resources. From simple flapper swaps to replacing a wax ring, most toilet leak repair tasks are well within the reach of a handy homeowner.
However, we know that not everyone has the time or the desire to spend their Saturday afternoon elbow-deep in a toilet tank. If you’ve tried the DIY route and the leak persists, or if you’ve finded a broken flange or rotten subfloor, don’t hesitate to call in the professionals.
At Go Pro Plumbing, we are proud to serve Northern California, including Sacramento and Rancho Cordova. We are committed to outstanding customer service and offer same-day service to get your bathroom back in order quickly. Whether you need a simple repair or a full high-efficiency upgrade, we’re here to help.