How to Silence the Drip: Repairing Your Kitchen Faucet’s Leaky Spout
By Brian on March 4, 2026
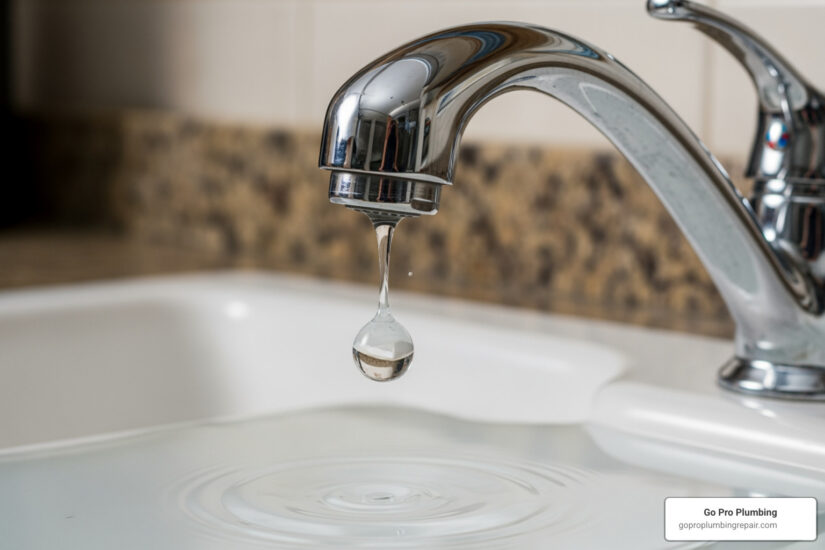
Why That Constant Drip Demands Your Attention
A kitchen sink faucet leaking from spout is more than just an annoying drip; it’s a waste of water and money that needs your attention.
Quick Fix Summary:
- Turn off the water supply under the sink.
- Identify your faucet type (compression, cartridge, ceramic disk, or ball-type).
- Replace the worn component (e.g., washer, O-ring, or cartridge).
- Test for leaks and adjust as needed.
According to the Environmental Protection Agency, a faucet dripping just once per second wastes over 3,000 gallons of water annually—enough for more than 180 showers. That wasted water can add up to $20 per month on your utility bill.
The good news is that most kitchen faucet leaks are fixable with basic tools and parts costing between $10 and $30. You don’t need to be a plumbing expert to tackle this common household problem. This guide will walk you through diagnosing the cause, gathering the right tools, and fixing it yourself, regardless of your faucet type. We’ll also help you recognize when it’s time to call a professional.

Kitchen sink faucet leaking from spout vocab to learn:
First, Diagnose the Drip: Common Causes and Faucet Types
A dripping faucet is more than an annoyance; it’s a sign of a problem. Whether you see puddles at the base, hear a constant drip, or notice a spike in your water bill, it’s time to investigate. The cause is usually a worn-out internal part like an O-ring, washer, or cartridge, often due to age and mineral buildup from hard water.
Identifying the Cause of a kitchen sink faucet leaking from spout

Where the water escapes tells you what’s wrong.
- Drip from the end of the spout: If water drips from the spout’s tip when the faucet is off, the problem is likely an internal component like a worn washer, a corroded valve seat, or a faulty cartridge.
- Leak from the base of the spout: Water pooling around the base of the spout usually means the O-rings are worn out. These rubber rings seal the connection between the spout and the faucet body, and they can dry out or crack over time.
Understanding Your Faucet Type
Before you start, identify your faucet type. Each has different internal parts and repair methods.
| Faucet Type | How it Works – Worn neoprene seals: While the ceramic disks themselves are extremely durable, the rubber seals at the inlet ports can wear out or get clogged with debris, causing leaks. – Medium-Hard: The process is a bit more involved than a simple washer replacement. Care must be taken not to crack the ceramic disks during reassembly. – | Ball-Type | A single-handle design that uses a rotating metal or plastic ball with slots to control and mix hot and cold water. | Worn rubber seats, springs, or O-rings around the ball assembly. Due to many small parts, leaks can be complex and occur from the spout end or base. | Hard: This is often considered the most complex type of faucet to repair due to the number of small, intricate parts. A repair kit is highly recommended. – |
Gearing Up for the Fix: Tools and Materials You’ll Need
Fixing a kitchen sink faucet leaking from spout is a manageable DIY project with the right preparation. Gathering your tools and materials beforehand will make the job smoother and safer.
Preparation is key:
- Turn off the Water Supply: Locate the shut-off valves under your sink (one for hot, one for cold) and turn them clockwise until tight. If you can’t find them, turn off the main water supply to your house. Open the faucet to relieve any remaining pressure.
- Cover the Drain: Place a rag or strainer over the drain to prevent small parts from getting lost.
- Clear Your Workspace: Remove items from under and around the sink. Lay down a towel to protect your countertop and catch water.
Essential Tools and Materials
Having these items on hand will make your repair much easier:
- Adjustable Wrench
- Screwdrivers (Phillips and flathead)
- Allen wrench set
- Pliers (slip-joint and needle-nose)
- Silicone-based plumber’s grease
- Replacement parts (O-rings, washers, or cartridge)
- Rags and a small bucket
- Penetrating oil (for stubborn parts)
- Small wire brush or old toothbrush
- White vinegar
Step-by-Step Guide to Fixing a Kitchen Sink Faucet Leaking From Spout
Now that you’re prepped, let’s get down to business. A few general tips will help you along the way:
- Take photos as you disassemble to remember how parts fit together.
- Organize parts in the order you remove them.
- Clean components with a cloth or vinegar to remove mineral buildup.
- Flush the lines by briefly turning the water on with a rag over the faucet to clear debris before reassembly.
- Don’t overtighten screws and nuts when putting everything back together.
How to Fix a Leaky Spout on a Compression Faucet
These two-handle faucets usually leak from a worn-out rubber washer or a corroded valve seat.
- Shut off the water and cover the drain.
- Remove the handle: Pry off the decorative cap and remove the screw underneath.
- Unscrew the packing nut with an adjustable wrench and pull the stem assembly out.
- Replace the washer: At the bottom of the stem, unscrew and replace the old rubber washer. Apply a thin layer of plumber’s grease to the new one.
- Replace O-rings: If the stem has O-rings, inspect them for wear and replace if needed.
- Inspect the valve seat: Look inside the faucet body. If the seat is corroded, you may need a special valve seat wrench to replace it.
- Reassemble: Reinsert the stem, tighten the packing nut, replace the handle, and slowly turn the water back on to check for leaks.
How to Fix a Leaky Spout on a Cartridge Faucet
Common in single-handle designs, these leaks are usually caused by a faulty cartridge.
- Shut off the water and cover the drain.
- Remove the handle: Pry off the decorative cap, loosen the set screw (often with an Allen wrench), and pull the handle off.
- Remove the retaining clip or nut holding the cartridge in place.
- Pull the old cartridge straight out. It may be snug, so pliers can help.
- Identify and replace: Take the old cartridge to a hardware store to find an exact match.
- Insert the new cartridge, ensuring it’s aligned correctly, and push it firmly into place.
- Reassemble: Reinstall the retaining clip/nut, replace the handle, and turn the water on to check for leaks. For help identifying your model, check the manufacturer’s website, like Moen’s guide.
How to Fix a Leaky Spout on a Ceramic Disk Faucet
These durable, single-handle faucets can leak from worn neoprene seals under the ceramic disk.
- Shut off the water and cover the drain.
- Remove the handle: Push the handle back, remove the set screw, and lift the handle off.
- Remove the escutcheon cap and the screws holding the ceramic cylinder.
- Lift out the cylinder to access the neoprene seals underneath.
- Inspect and replace the seals. Clean any mineral deposits from the cylinder openings with vinegar.
- Reassemble: Place the new seals, reinsert the cylinder, and secure it with the screws. Replace the cap and handle.
- Slowly turn the water on. A sudden rush of water can crack the ceramic disk. Check for leaks.
How to Fix a Leaky Spout on a Ball-Type Faucet
Common in older single-handle faucets, these use a rotating ball to control water. A repair kit is highly recommended.
- Shut off the water and cover the drain.
- Remove the handle: Pry off the decorative cap, loosen the set screw with an Allen wrench, and remove the handle.
- Unscrew the cap and collar assembly.
- Remove the cam, washer, and ball. You may need a spanner tool (often included in repair kits).
- Remove the old rubber seats and springs from inside the faucet body using needle-nose pliers.
- Install new parts: Insert the new springs and rubber seats from your repair kit.
- Reinstall the ball, aligning its groove with the pin in the socket.
- Reinstall the cam, washer, and cap assembly.
- Tighten and test: Tighten the adjusting ring on the cap until the leak stops, but don’t overtighten. Replace the handle and turn the water on to check for leaks.
Beyond the Basics: Prevention and When to Call a Pro
Congratulations on fixing your kitchen sink faucet leaking from spout! This DIY repair saves you money and conserves water. A typical DIY fix costs $10-$30, compared to $150-$300 for a professional, and can save you up to $20 per month on your water bill. Now, let’s discuss how to prevent future leaks and when to call for help.
How to Prevent Future Leaks from Your Kitchen Faucet Spout
A little maintenance goes a long way in preventing future drips.
- Regular Cleaning: Periodically clean the aerator by unscrewing it and soaking it in vinegar to remove mineral buildup.
- Gentle Operation: Avoid forcing or overtightening faucet handles, as this can damage internal seals and washers.
- Annual Inspection: Once a year, check your faucets for small drips, loose handles, or unusual noises.
- Address Drips Promptly: A small drip is a sign of a developing problem. Fixing it early prevents bigger issues and saves water.
When to Call a Professional Plumber
While many leaks are simple fixes, some situations require an expert. Call a professional if:
- Your DIY repair didn’t work.
- You find significant corrosion, stripped screws, or a cracked faucet body.
- You’re unsure about the faucet type or the parts needed.
- The repair requires specialized tools you don’t have.
- You suspect the leak is coming from pipes inside the wall.
For residents in Northern California, including Sacramento and Rancho Cordova, our team at Go Pro Plumbing is ready to help. We offer same-day service and are committed to outstanding customer service, ensuring your plumbing issues are resolved efficiently and effectively.
Frequently Asked Questions about Leaky Faucets
Here are answers to some common questions about fixing a leaky faucet.
How does fixing a leaky faucet spout contribute to water conservation?
Fixing a kitchen sink faucet leaking from spout has a significant impact. According to the EPA, a faucet dripping just once per second can waste over 3,000 gallons of water per year. Repairing the leak conserves this water, reduces the strain on water treatment facilities, and lowers your household’s carbon footprint. It’s a small action with a big environmental benefit. You can learn more from the Environmental Protection Agency (EPA) data on leaks.
What’s the cost difference between a DIY repair and hiring a plumber?
The cost difference is substantial:
- DIY Repair: Typically costs $10-$30 for parts like O-rings, washers, or a cartridge.
- Professional Plumber: A service call can range from $150-$300, which includes labor, parts, and expertise.
While DIY is cheaper, a professional is a good investment if the repair is complex, you’re short on time, or you want the peace of mind of a guaranteed fix.
How do I identify the specific parts that need replacing?
Finding the right parts is crucial. Here are a few tips:
- Bring the old part: Take the worn-out component to a hardware store to find an exact match.
- Take photos: Document each part during disassembly for easy reference.
- Check the manufacturer’s website: Brands like Moen and Kohler have online resources to help you find part numbers.
- Find the model number: Look for a model number on the faucet body or on the water lines underneath the sink.
- Consider a universal kit: For older faucets, a universal repair kit might contain the parts you need, but an exact match is always best.
Stop the Drip for Good
Tackling a kitchen sink faucet leaking from spout is a rewarding DIY project that saves water, money, and your sanity. By following this guide, you can confidently handle most common faucet leaks.
Regular maintenance is key to preventing future problems. However, if you encounter a leak that’s beyond a simple fix, or if you’d rather leave it to the experts, we’re here to help. If you’re in Northern California, including Sacramento or Rancho Cordova, and need expert help with your faucet or any other plumbing issue, don’t hesitate to reach out to us at Go Pro Plumbing. We’re committed to providing outstanding customer service and ensuring your home’s plumbing runs smoothly.