Cheat Sheet to Showers and Tubs Repair
By Brian on October 30, 2025
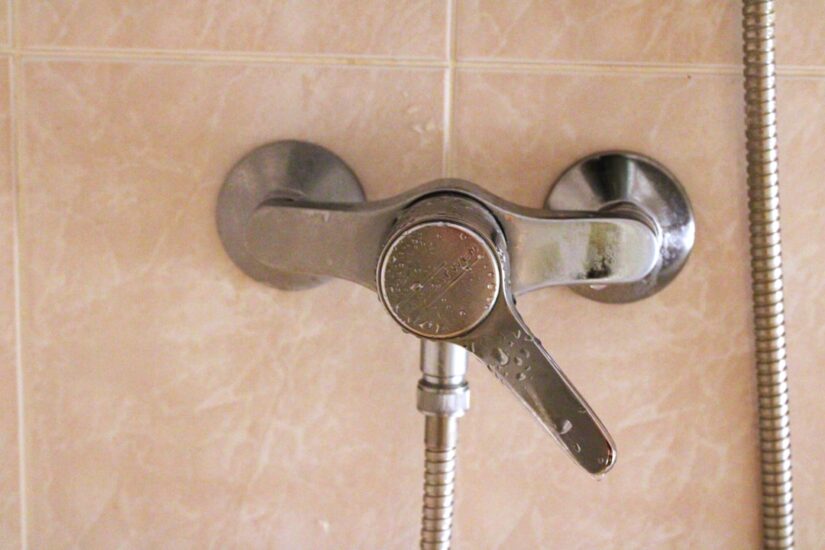
Why Your Shower and Tub Health Matters
Dealing with showers and tubs repair can feel daunting, but catching problems early saves you trouble and money. A damaged shower or tub can turn your bathroom from a relaxing space into a source of stress. Watch for these main signs that your fixture needs attention:
- Leaks or Drips: A faucet or showerhead that won’t stop dripping, or water pooling at the base.
- Cracks, Chips, or Holes: Visible damage on the tub or shower surface.
- Slow Draining: Water takes too long to drain, sometimes with gurgling sounds.
- Mold or Mildew: Dark spots appearing on caulk, grout, or walls.
- Damaged Caulk/Grout: Peeling, cracked, or discolored seals.
Neglecting small issues leads to bigger, more expensive problems. Fixing a small crack now is much easier than a full bathroom remodel later, which can involve new tiles, a new toilet, and a new vanity, costing thousands. Timely repairs also prevent water from leaking into walls and floors, stopping serious structural rot and mold growth. While many showers and tubs repair jobs are simple DIY fixes, others need a professional. Knowing the difference is key to keeping your bathroom safe and functional.
Spotting the Signs: When Your Shower or Tub Needs Repair
Your shower and tub work hard and will eventually show signs of wear. Spotting these clues early can prevent a small fix from becoming a major plumbing emergency. Here’s what your shower or tub might be trying to tell you.
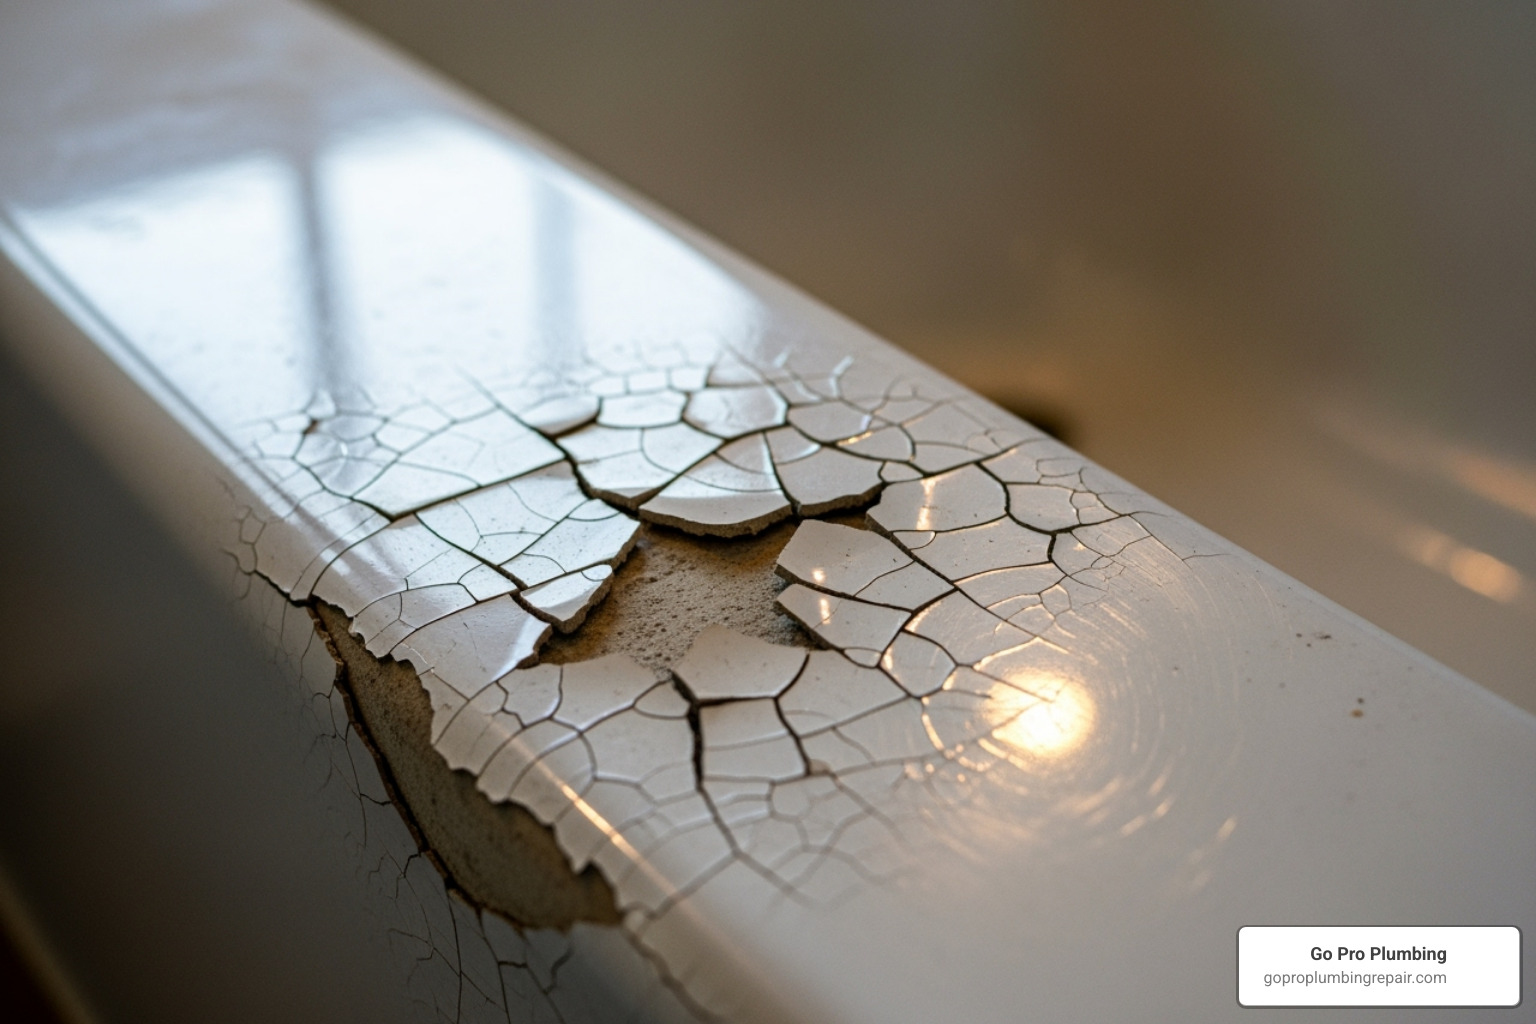
First, look for visible damage. Keep an eye out for cracks, chips, or holes in the surface of your tub or shower pan. These aren’t just cosmetic flaws; they are entry points for water to cause hidden damage and mold growth underneath. A small bathtub hole or crack can often be fixed with a repair kit, but ignoring it can lead to serious structural problems.
Next, watch for water going where it shouldn’t. A constantly dripping faucet or a leaking showerhead wastes water and signals worn-out internal parts. Also, look for water stains on ceilings or walls in adjacent rooms or below the bathroom. Peeling paint or a spongy floor around the fixture are major red flags, pointing to a hidden leak that could be damaging your home’s structure.
Pay attention to drainage. If your tub’s drainage is too slow or you hear gurgling sounds, you likely have a clog from hair and soap scum. While often a DIY fix, a persistent slow drain could indicate a deeper plumbing issue. You can find helpful tips on our page about Unclogging Shower Drain.
Finally, address unwelcome guests like mold or mildew growth and damaged caulk. Dark spots on caulk or grout, often accompanied by a musty smell, mean moisture is sticking around too long. If caulk is peeling, cracked, or discolored, it’s failing to seal out water, which can lead to extensive wall and flooring damage.
If you notice any of these signs, it’s time to consider showers and tubs repair. Catching these issues early will save you significant time, money, and stress.
Gearing Up: Tools, Materials, and Safety for Your Project
Before tackling any showers and tubs repair, gathering the right gear and taking safety precautions is essential for a smooth and successful project.
Understanding Your Tub & Shower Material
Knowing what your tub is made of is crucial, as each material requires a specific repair method. Using the wrong kit can make the problem worse.
- Porcelain: Found in older, heavy tubs, this glass-like coating over cast iron or steel (porcelain enamel) is durable but can chip, revealing the metal underneath. Repairs require specific epoxy or enamel kits.
- Acrylic: A lightweight plastic used in modern tubs, it’s resistant to impact but can get scratches and cracks. Repair kits often use a liquid acrylic filler.
- Fiberglass: A lightweight composite material often used for shower pans. It can crack under stress, sometimes in spiderweb-like patterns. Repairs use epoxy-based kits, often with reinforcement.
- Enameled Steel: An affordable alternative to cast iron with a steel core and enamel coating. It can chip and rust like porcelain, and repairs are similar.
Whether it’s porcelain, fiberglass, or acrylic, always use a repair kit designed for that specific material to ensure a durable, seamless finish.
| Material | Common Issues | Repair Approach |
|---|---|---|
| Porcelain | Chips, deep scratches | Epoxy-based enamel repair kits, color-matched fillers |
| Acrylic | Cracks, surface scratches | Liquid acrylic fillers, epoxy kits for larger cracks, heat gun for minor dents |
| Fiberglass | Cracks (spiderweb), holes | Two-part epoxy resin kits with fiberglass mesh reinforcement |
| Enameled Steel | Chips, rust spots | Enamel touch-up paints, epoxy fillers for chips, rust treatment for rust spots |
Essential Tools and Materials
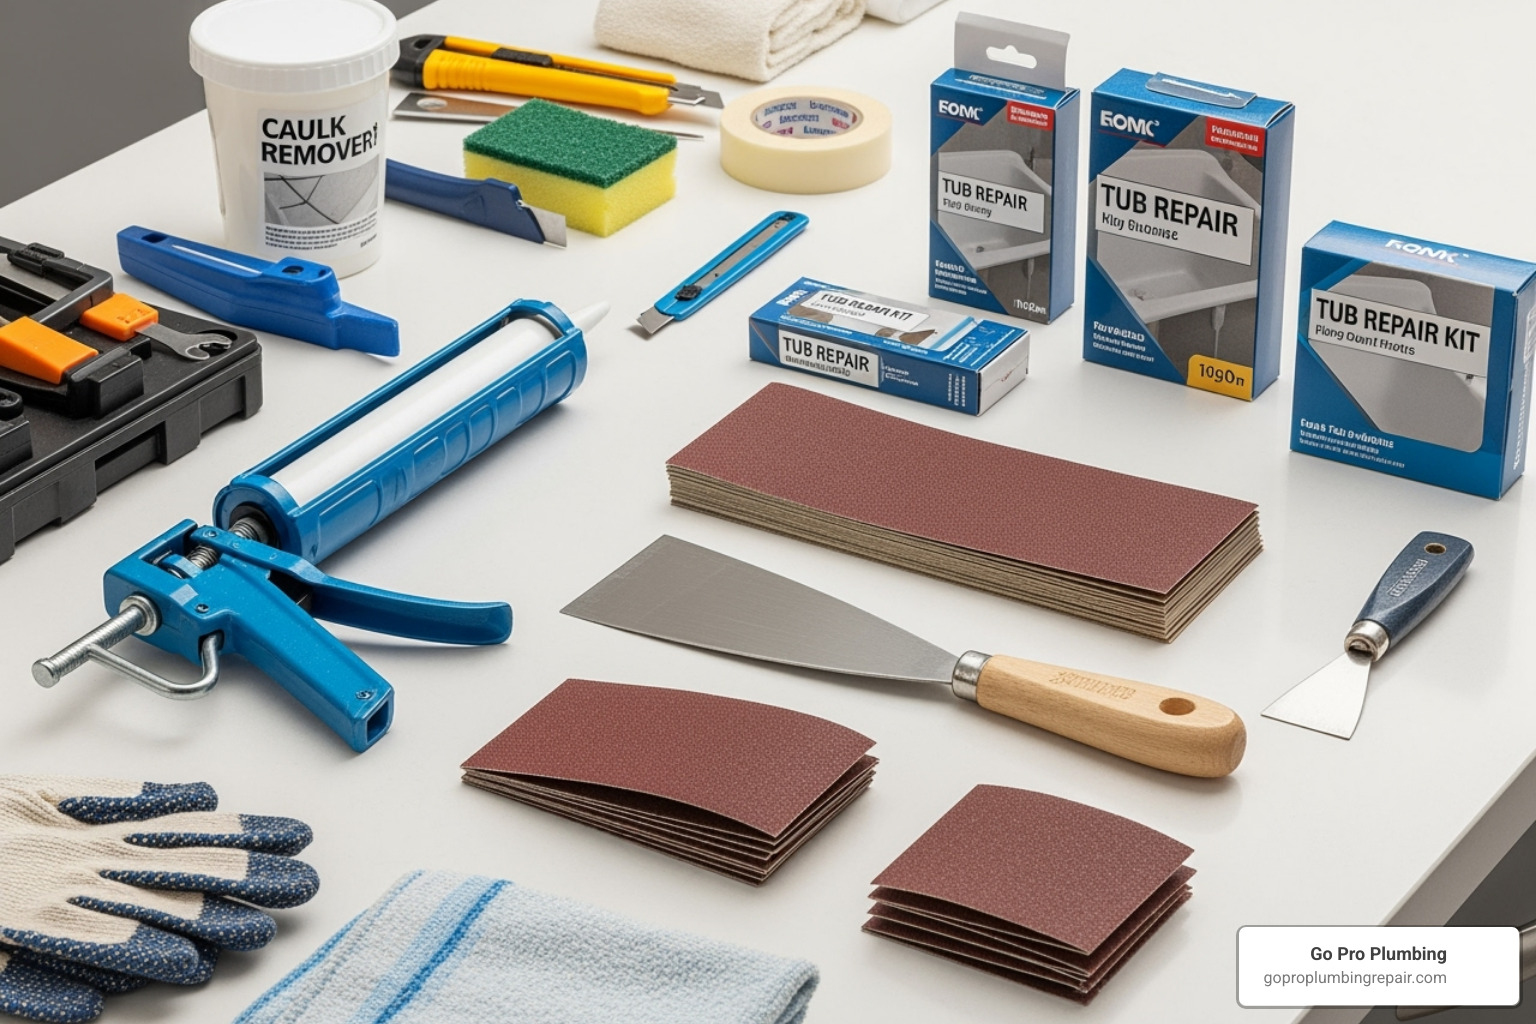
For most showers and tubs repair jobs, you’ll need a few key items:
- Bathtub repair kit: Choose one designed for your tub’s material (porcelain, acrylic, or fiberglass). These often include a two-part epoxy or filler.
- Scraping and Application Tools: A putty knife or scraper is essential for removing old caulk and applying filler. A utility knife helps with precise cuts.
- Finishing Supplies: Sandpaper in various grits (e.g., 220 to 600) is needed for smoothing the repair.
- Sealing Tools: A caulk gun and waterproof silicone caulk (mildew-resistant) are must-haves for creating a watertight seal.
- Cleaning and Clog Removal: Have a plumber’s snake, bucket, sponges, abrasive cleaner, rubbing alcohol, and vinegar on hand for preparation and minor clog removal.
Safety First: Precautions for a Safe Repair
Your well-being is the top priority during any showers and tubs repair. Take these simple precautions to prevent injuries. The OSHA guidelines for personal protective equipment provide comprehensive safety standards that apply to home repair projects as well.
First, wear personal protective equipment. Protective gloves shield your skin from chemicals, and safety goggles protect your eyes from splashes and dust. When working with epoxies or sanding, a respirator mask is crucial to protect your lungs from fumes and fine particles.
Next, ensure your workspace is safe. Always provide proper ventilation by opening a window or using an exhaust fan to disperse chemical fumes. Before starting any plumbing work, turn off the water supply to the fixture to prevent accidental flooding.
Finally, be mindful of electricity. If your shower has electrical components, switch off the power at the circuit breaker before inspection or repair. You can learn more about What are the common issues that require shower repair?, including electrical ones, to stay informed and safe.
The Ultimate DIY Guide to Showers and Tubs Repair
Armed with your tools, it’s time to tackle common showers and tubs repair tasks. Follow these steps to restore your bathroom’s sparkle.
Step 1: Flawless Surface Preparation
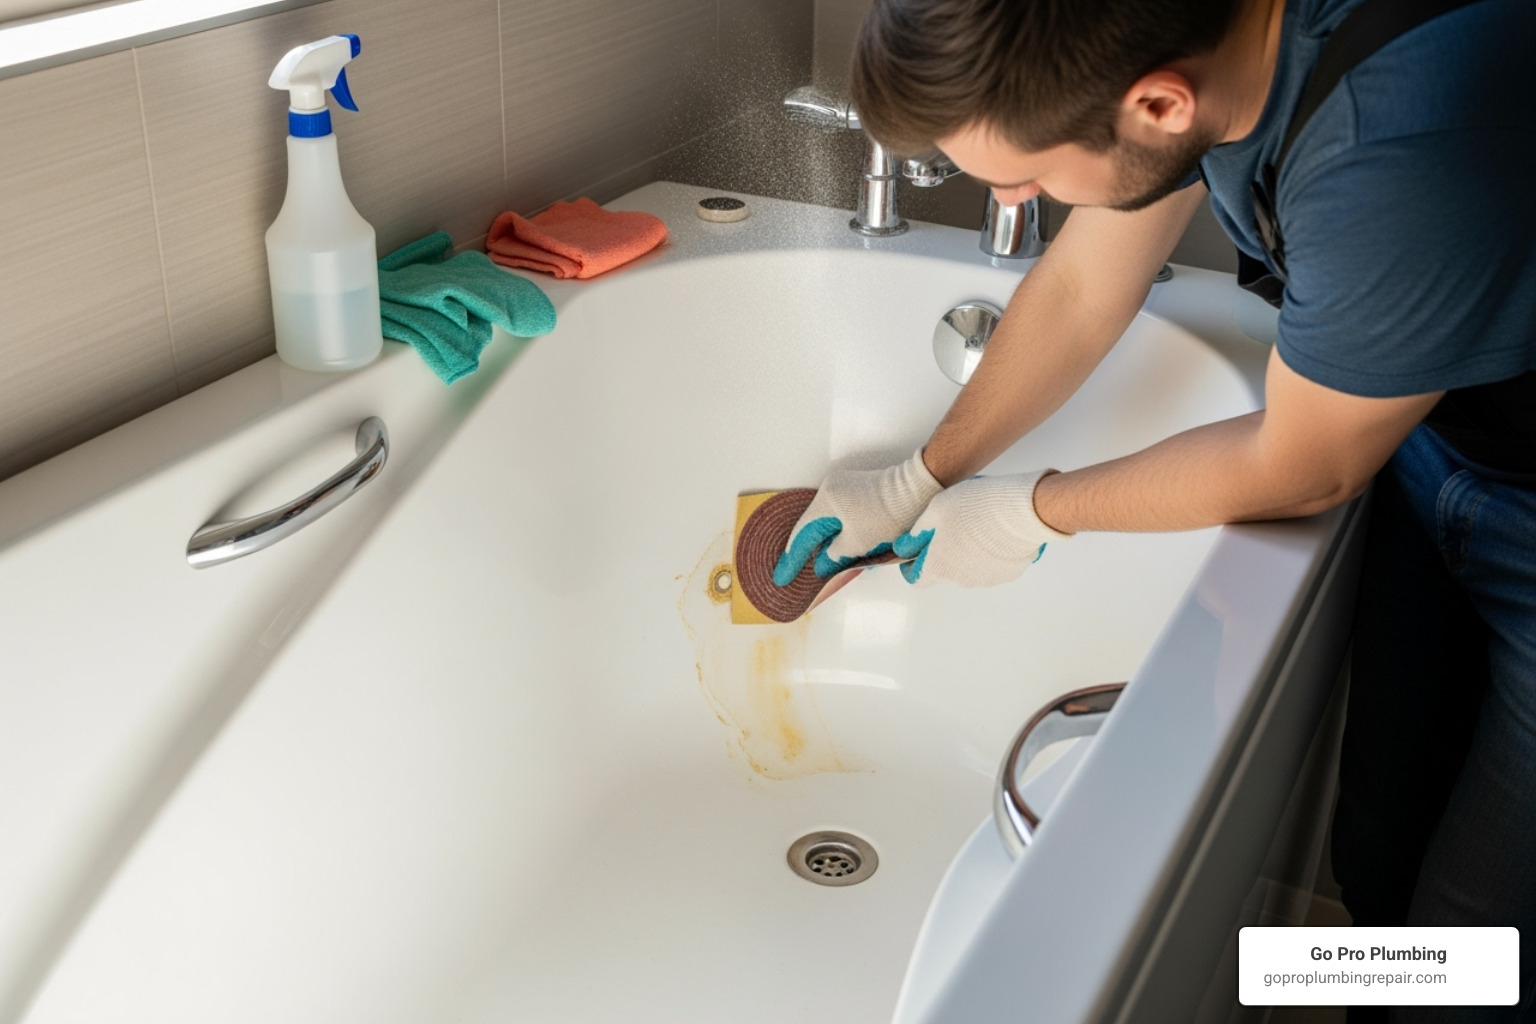
Proper surface preparation is the most critical step for a long-lasting repair. First, thoroughly clean the area around the damage with an abrasive cleaner to remove all soap scum, dirt, and mold. If you’re replacing caulk, use a putty knife or utility knife to scrape away every bit of the old material.
Next, rinse the area with clean water and dry it completely. Any moisture will prevent the repair material from adhering correctly. For cracks or chips, lightly sand the edges of the damaged area with fine-grit sandpaper (220-grit) to roughen the surface for better adhesion. Finally, wipe the area with rubbing alcohol to remove any remaining dust or oils, and let it dry completely.
Step 2: Fixing Cracks, Chips, and Holes
With the surface prepped, you can now fix the damage. Follow the instructions on your bathtub repair kit. Most kits require you to mix two components; do so thoroughly, keeping in mind their limited working time.
Using a small spatula, apply the compound in thin, even layers. This prevents air bubbles and ensures a strong bond. Build up the repair by allowing each layer to dry according to the kit’s instructions before adding the next. Continue until the repair is slightly higher than the surrounding surface.
Once the final layer is fully cured, sand the repaired area for a smooth finish. Start with a medium-fine grit (400-grit) and move to a finer one (600-grit) until the surface is perfectly level. If your kit includes tints, take time to color match the compound to your tub for a seamless look.
Step 3: Stopping Leaks and Re-caulking
Many common leaks are fixable with a little know-how.
Fixing a Dripping Faucet or Leaky Showerhead
Always turn off the water supply first. Dripping faucets or showerheads are often caused by worn-out seals, gaskets, O-rings, or washers. Carefully disassemble the fixture, replace the worn components with new ones from a hardware store, and reassemble.
For a showerhead spraying unevenly, mineral buildup is the likely culprit. Immerse it in a bag of white vinegar for at least 30 minutes (or overnight for heavy buildup) to dissolve the deposits. If a faucet drip persists, you may need to replace the shower cartridge. Our Shower Cartridge Replacement: A Complete Guide can walk you through it.
Re-caulking Your Shower or Tub
Replacing old, cracked caulk is a simple and effective showers and tubs repair. After removing all old caulk, clean and dry the area completely. Load your caulk gun with waterproof silicone caulk (mildew-resistant is best) and apply a steady, even bead along the seam. Immediately smooth the caulk bead with a wet, gloved finger or a caulk tool for a professional finish. Finally, allow the caulk to cure completely (usually 12-24 hours) before exposing it to water.
DIY vs. Calling a Pro: Making the Right Choice
Knowing when to DIY and when to call a professional is crucial for effective showers and tubs repair. A DIY attempt on a major issue can lead to bigger problems and higher costs.
When to DIY
Many smaller, cosmetic, or easily accessible problems are perfect for a DIY approach, saving you money and giving you a sense of accomplishment. You can confidently tackle:
- Fixing small cosmetic chips or minor surface cracks.
- Re-caulking the tub or shower to prevent leaks.
- Clearing a simple drain clog from hair and soap.
- Replacing a showerhead or worn seals and O-rings in a dripping faucet.
Repairing a tub yourself can save hundreds or thousands compared to a full replacement, which can quickly turn into a complete bathroom remodel.
When to Call a Professional Plumber
Some problems require specialized knowledge and tools. Trying to fix these yourself can lead to costly mistakes or safety hazards. It’s time to call a pro for:
- Large or structural cracks, especially if the area flexes under pressure.
- Leaks behind walls, indicated by water stains or spongy drywall.
- A spongy or soft floor around the tub, which points to subfloor water damage.
- Major water pressure issues not related to a clogged showerhead.
- Extensive mold remediation, particularly if it’s behind walls.
- Persistently clogged drains that DIY methods can’t clear.
Any issue involving in-wall plumbing is best left to a professional. While a DIY kit costs $30-$100, a professional repair can range from a few hundred to several thousand dollars. However, the cost of a failed DIY attempt—including potential water damage and a full remodel—often makes calling a pro for complex problems the cheaper option in the long run.
If you’re dealing with a serious issue like a Water Leak Under House, that’s definitely a job for our expert team.
Frequently Asked Questions about Showers and Tubs Repair
Here are concise answers to some of the most common questions we receive about showers and tubs repair.
How can I prevent common shower and bathtub problems?
Regular maintenance is the best way to prevent major repairs. Follow these tips:
- Clean regularly to prevent mold and soap scum buildup. A mix of baking soda and vinegar works well.
- Use a daily shower spray to reduce buildup after each use.
- Wipe down surfaces with a squeegee or towel to minimize moisture.
- Check caulk seals annually for cracks or peeling and re-caulk as needed.
- Use a hair catcher in the drain and clean it often to prevent clogs.
- Clean your showerhead by soaking it in vinegar to remove mineral deposits.
- Ensure good ventilation by using an exhaust fan during and after showers.
- Address minor issues promptly to prevent them from becoming big problems.
What are the risks of a DIY showers and tubs repair?
While DIY can be rewarding, be aware of the potential risks:
- Incomplete seals can lead to hidden leaks and water damage.
- Masking a larger problem, such as rot or mold growing unseen beneath a patch.
- A mismatched color or finish can make the repair look unprofessional.
- Making the damage worse by using the wrong materials or techniques.
- Exposure to harsh chemicals without proper ventilation and safety gear.
How do I choose the right repair kit for my showers and tubs repair project?
Selecting the right kit is essential for a successful repair. Follow these steps:
- Identify your tub’s material. The kit must be compatible with porcelain, acrylic, fiberglass, or enameled steel.
- Match the kit to the damage. Some kits are for small chips, while others with reinforcement are for larger holes.
- Check for color-matching tints. Many kits include tints to help you blend the repair with your tub’s color.
- Read reviews. See what other homeowners say about the kit’s ease of use and durability.
- Ensure it’s a complete kit. A good kit should include the compound, hardener, applicators, and sandpaper.
Your Next Steps for a Perfect Bathroom
You now have a guide to showers and tubs repair, from spotting trouble to fixing it yourself. This knowledge empowers you to protect your home from water damage and mold while saving significant money compared to a full replacement. The key is to identify problems early, use the right tools, and know when to DIY versus when to call an expert.
While many minor showers and tubs repair tasks are great for DIY enthusiasts, some issues demand professional expertise. If you’re facing complex plumbing problems, suspect leaks behind your walls, or have a critical situation like an Emergency Burst Pipe Repair, it’s always best to call in the pros.
Our friendly team at Go Pro Plumbing is here to help homeowners and businesses in Sacramento, CA, Rancho Cordova, CA, and throughout Northern California, USA. We pride ourselves on outstanding customer service and offer reliable, same-day service. If your repair needs seem too big for a simple fix, or if you prefer to leave it to the experts, please don’t hesitate to contact us. We’re ready to provide professional Shower Repair Services and ensure your bathroom remains the relaxing, functional space it’s meant to be.
