Splash Out: Replacing Your Bathroom Faucet, No Plumber Needed
By Brian on September 2, 2025
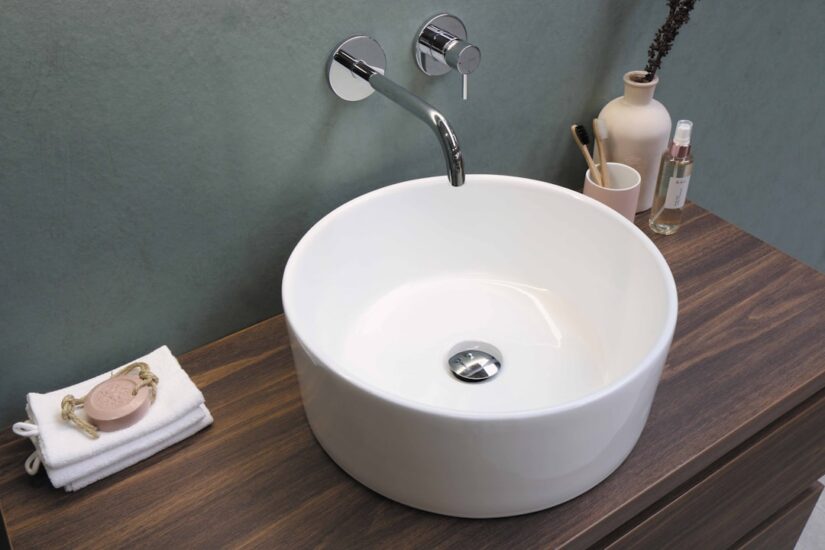
Why Updating Your Bathroom Faucet Makes Perfect Sense
Changing out bathroom sink faucet fixtures is one of the smartest DIY projects you can tackle. It’s a quick way to refresh your bathroom’s look without breaking the bank – and yes, you really can do it yourself.
Quick Answer: How to Replace Your Bathroom Faucet
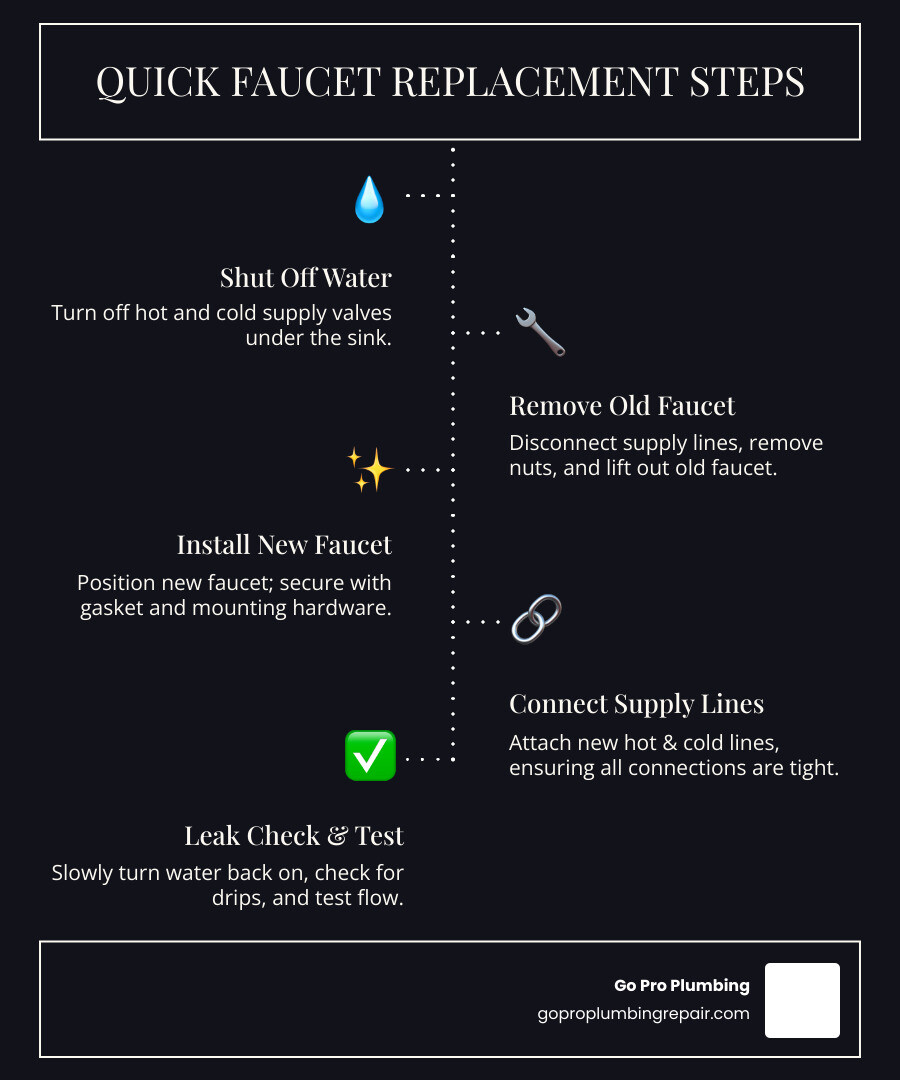
- Shut off water at the valves under your sink
- Disconnect old supply lines with an adjustable wrench
- Remove mounting nuts using a basin wrench
- Lift out the old faucet and clean the sink surface
- Install the new faucet with gasket and mounting hardware
- Connect new supply lines and check for leaks
- Test everything by running hot and cold water
Most homeowners complete this project in 1-2 hours with basic tools. You’ll save hundreds compared to hiring a plumber, plus get the satisfaction of a job well done.
Whether your current faucet is leaking, outdated, or just doesn’t match your style anymore, replacing it is simpler than you might think. The key is having the right tools and following the steps in order.
This guide walks you through every step, from choosing the right faucet type for your sink to making that final leak check. We’ll cover the tricky parts too – like dealing with stubborn nuts and ensuring everything connects properly.
Glossary for changing out bathroom sink faucet:
Preparation: Choosing Your Faucet and Gathering Supplies
Here’s where the fun begins – but also where many DIY projects go sideways if you skip the planning phase. Before you start changing out bathroom sink faucet fixtures, you need to play matchmaker between your new faucet and your existing sink.
The most important thing? Measuring your sink holes and understanding what type of faucet you currently have. Nothing’s more frustrating than getting halfway through your project only to realize your beautiful new faucet doesn’t fit your sink’s configuration.
Understanding Bathroom Faucet Configurations
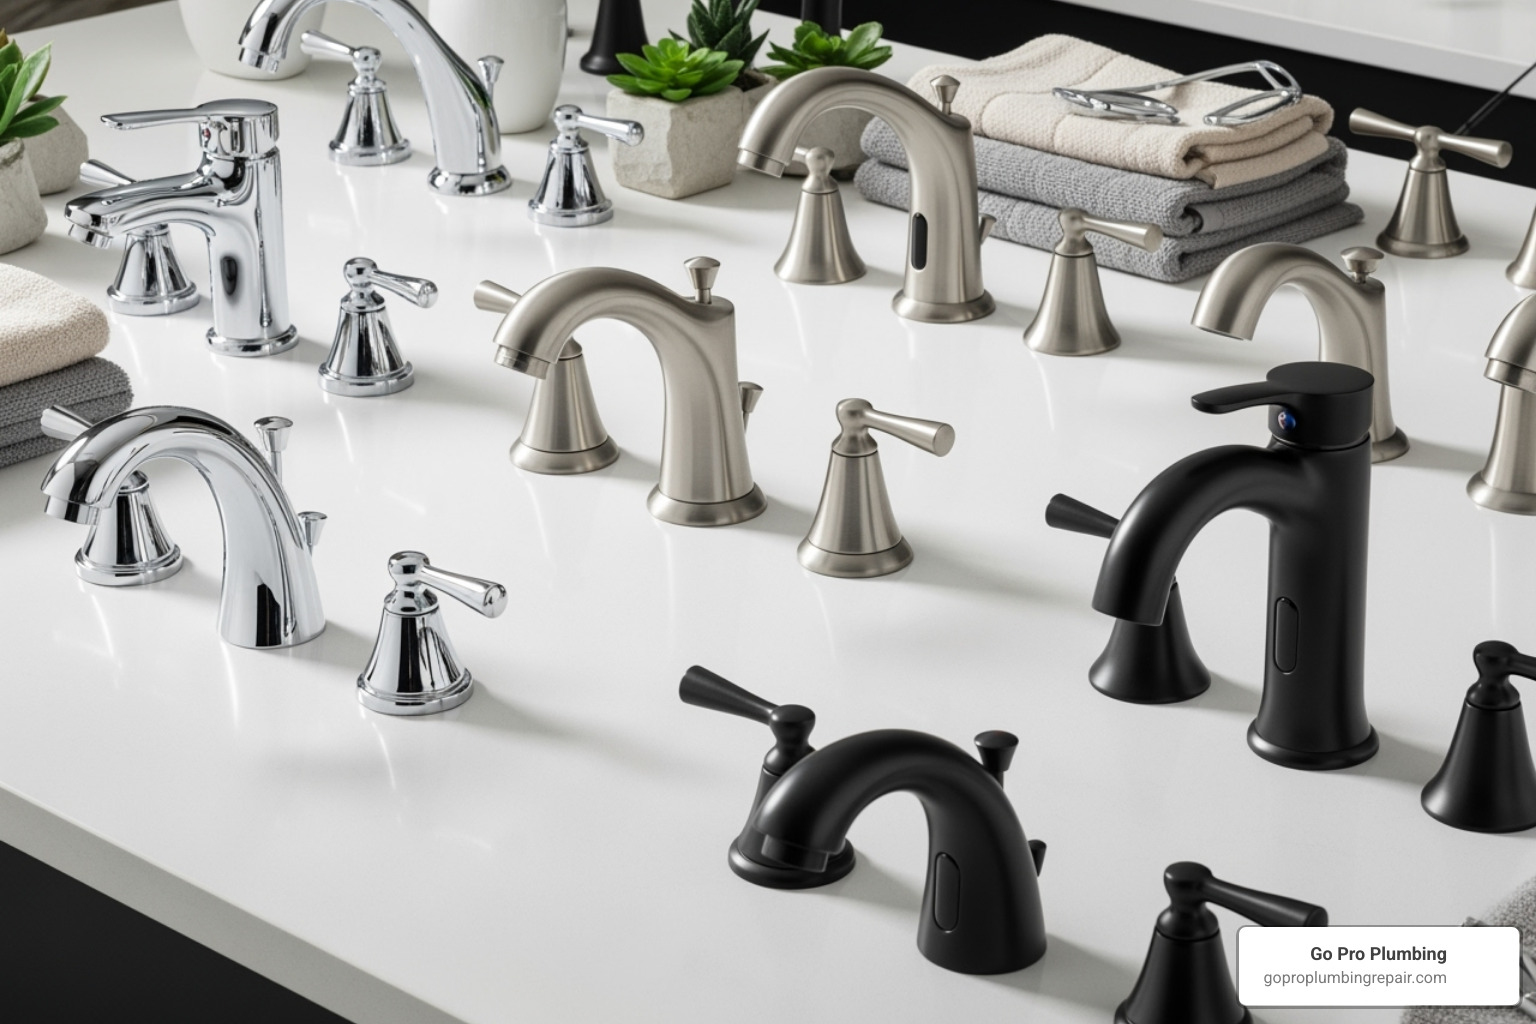
Think of faucet types like shoe sizes – they need to match what you’re working with, or you’re going to have problems. Your bathroom sink will have one of three basic setups, and knowing which one you have determines what faucet you can install.
Single-hole faucets are the sleek, modern option with everything integrated into one unit. They’re perfect for smaller sinks and give you that clean, minimalist look that’s so popular right now.
Centerset faucets are the most common type you’ll find in standard bathrooms. They use three holes spaced exactly 4 inches apart, with the handles and spout mounted on a single base plate. These are your reliable, classic choice.
Widespread faucets are the luxury option, using three holes spaced 8 inches or more apart. Each piece – the two handles and the spout – are separate components, giving you more design flexibility and that high-end look.
| Faucet Type | Hole Requirements | Appearance | Common Use Cases |
|---|---|---|---|
| Single-Hole | 1 hole | Integrated handle and spout | Modern, minimalist designs; small sinks |
| Centerset (4-inch) | 3 holes, 4 inches apart | Handles and spout mounted on a single base plate | Standard bathroom sinks; often includes a cover plate |
| Widespread (8-inch) | 3 holes, 8 inches or more apart | Separate handles and spout; independent pieces | Larger, more traditional sinks; allows for greater customization |
Here’s a pro tip: if you have a three-hole sink but love a single-hole faucet, many come with a deck plate (also called an escutcheon) that covers the unused holes. It’s like magic – instant style upgrade without replacing your entire sink.
Going the other direction – from single-hole to widespread – typically means replacing your sink or countertop too. That’s a much bigger project than we’re tackling today. For more creative ways to transform your space, check out our guide on bathroom design.
Essential Tools and Materials
Nothing kills the momentum of a good DIY project like realizing you’re missing a crucial tool halfway through. Let’s make sure you’re properly equipped before we start.
The basin wrench is your absolute best friend for this job. It’s specifically designed to reach those awkward mounting nuts hiding under your sink where regular wrenches fear to go. Trust me, attempting this project without one is like trying to eat soup with a fork – technically possible, but unnecessarily painful.
You’ll also need an adjustable wrench for the supply lines and some pliers for general gripping duties. A couple of screwdrivers (both Phillips and flathead) will handle any faucet components or drain assembly work.
Now for the mess management – and there will be a mess. Keep a bucket handy for catching water, plus plenty of rags or towels. Water has a sneaky way of appearing from places you didn’t expect.
For sealing everything up properly, you’ll want plumber’s putty or silicone sealant for the faucet base and Teflon tape for threading on supply lines. Speaking of supply lines, plan on getting new ones. Your old ones might be too short, worn, or just plain ugly.
A putty knife helps scrape away old sealant, and penetrating oil is a lifesaver when you encounter those stubborn, corroded nuts that refuse to budge. Finally, grab some mineral spirits for cleaning up any old silicone residue and safety glasses because protecting your eyes is always smart.
Getting all this together before you start means you can work straight through without those annoying trips to the hardware store mid-project. Your future self will thank you.
Out with the Old: Removing Your Existing Faucet
Now comes the moment of truth – saying goodbye to your old faucet! Don’t worry, changing out bathroom sink faucet hardware isn’t as scary as it might seem. The key is taking things step by step and not rushing. We’ll walk through shutting off the water supply, disconnecting those supply lines, and wrestling with mounting nuts that might have been sitting there for decades.
The removal process can feel a bit like archaeological work – you never know what you’ll find under there. But with the right approach and a little patience, you’ll have that old faucet out and be ready for the exciting part: installing your shiny new one.
Step 1: Shut Off the Water and Disconnect Supply Lines
Here’s where we avoid turning your bathroom into an indoor swimming pool. Finding your shut-off valves is job number one – they’re usually hiding under your sink, looking like small knobs or handles. You’ll see one for hot water and one for cold water.
Turn both valves clockwise until they’re completely tight. Think “righty tighty” and keep turning until they won’t budge. If these valves are being stubborn or you can’t find them at all, you might need to shut off your home’s main water supply instead.
Next, turn on your old faucet to drain any water that’s still hanging around in the lines. Let it run until it stops completely, then turn the handles back to the off position. This step relieves pressure in the system and prevents surprise water sprays later.
Now grab that bucket and those rags – trust us on this one. Even with the water shut off, there’s always some leftover water in the lines. Position your bucket right under the supply line connections, because you’re about to get a few drips (or maybe more than a few).
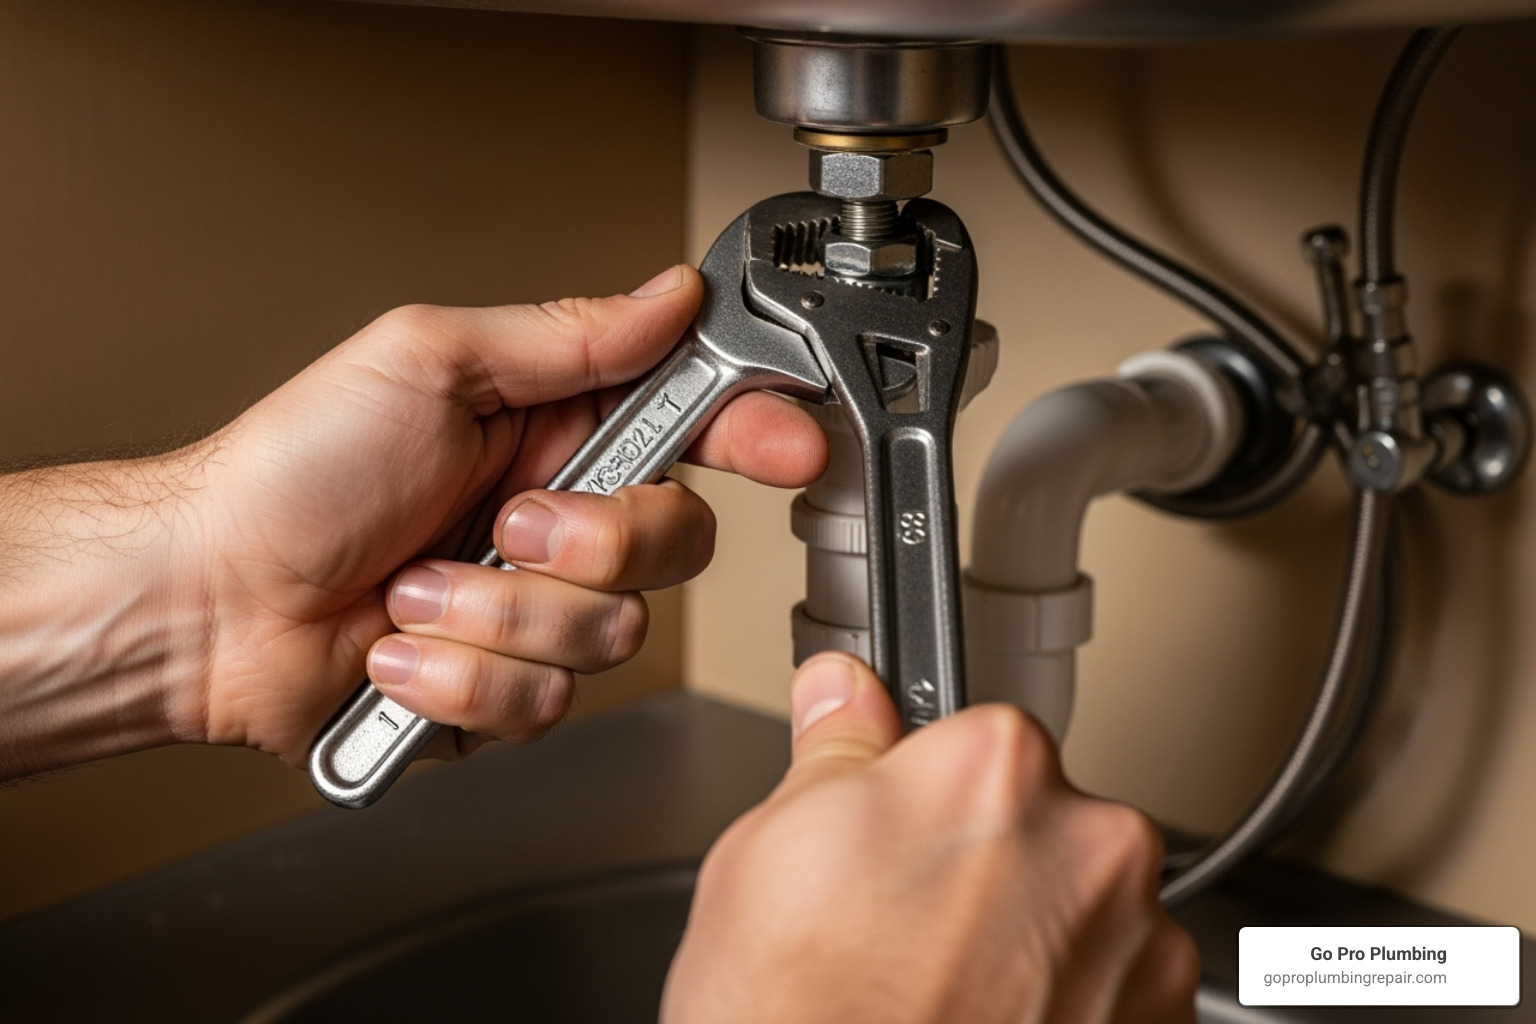
Using your adjustable wrench, carefully loosen the nuts that connect the supply lines to your old faucet. Turn them counter-clockwise, and don’t be surprised when water starts trickling out. This is totally normal and exactly why you have that bucket ready.
Step 2: Remove the Old Faucet and Drain Lift Rod
Time to get up close and personal with the underside of your sink. Fair warning – it can be cramped and dusty down there, but this is where your basin wrench becomes your best friend.
The mounting nuts are what’s holding your faucet to the sink, and they’re usually tucked up in hard-to-reach spots. Your basin wrench is specifically designed for this awkward angle, so fit it onto those nuts and turn counter-clockwise. Some of these nuts have been sitting there for years, so don’t be discouraged if they need some convincing.
If your sink has a pop-up drain stopper, you’ll need to disconnect the lift rod that controls it. Look for a small clip or connection point under the sink where the rod connects to the drain mechanism. Unhook this connection so your faucet can come out cleanly.
Once everything is disconnected, you should be able to lift the old faucet straight up from the top of the sink. Sometimes old sealant acts like glue, so you might need to give it a firm but gentle pull. Don’t worry about being too delicate – this old faucet is heading to the recycling bin anyway.
For more detailed guidance on faucet work, check out A guide to faucet replacement from Go Pro Plumbing.
Step 3: Dealing with Stubborn Parts and Cleaning the Sink
Sometimes plumbing projects don’t go exactly as planned, and that’s okay! Corroded fittings are probably the most common hiccup you’ll encounter. When nuts and connections have been sitting there for years, they can get pretty stubborn.
If you’re dealing with rusted or stuck parts, penetrating oil is your secret weapon. Spray it generously on the problem areas and then be patient – let it soak for at least 15 to 30 minutes. Sometimes a gentle tap with a hammer helps the oil work its way into the threads.
When your old faucet seems glued to the sink surface, that’s usually old plumber’s putty or silicone sealant doing its job a little too well. Use your putty knife to carefully cut through the old sealant around the base. Work slowly to avoid scratching your sink or countertop.
Once that old faucet is finally out, you’ll probably find a ring of grime, old sealant, and mineral deposits where it used to sit. This is the perfect time for a thorough cleaning. Scrape away the old sealant with your putty knife, then use mineral spirits to remove any stubborn residue, especially old silicone.
A clean surface isn’t just about looks – it’s essential for getting a good seal with your new faucet. Take a few extra minutes to make sure everything is spotless. Your future self will thank you when that new faucet sits perfectly and doesn’t leak.
In with the New: A Guide to Changing Out Bathroom Sink Faucet
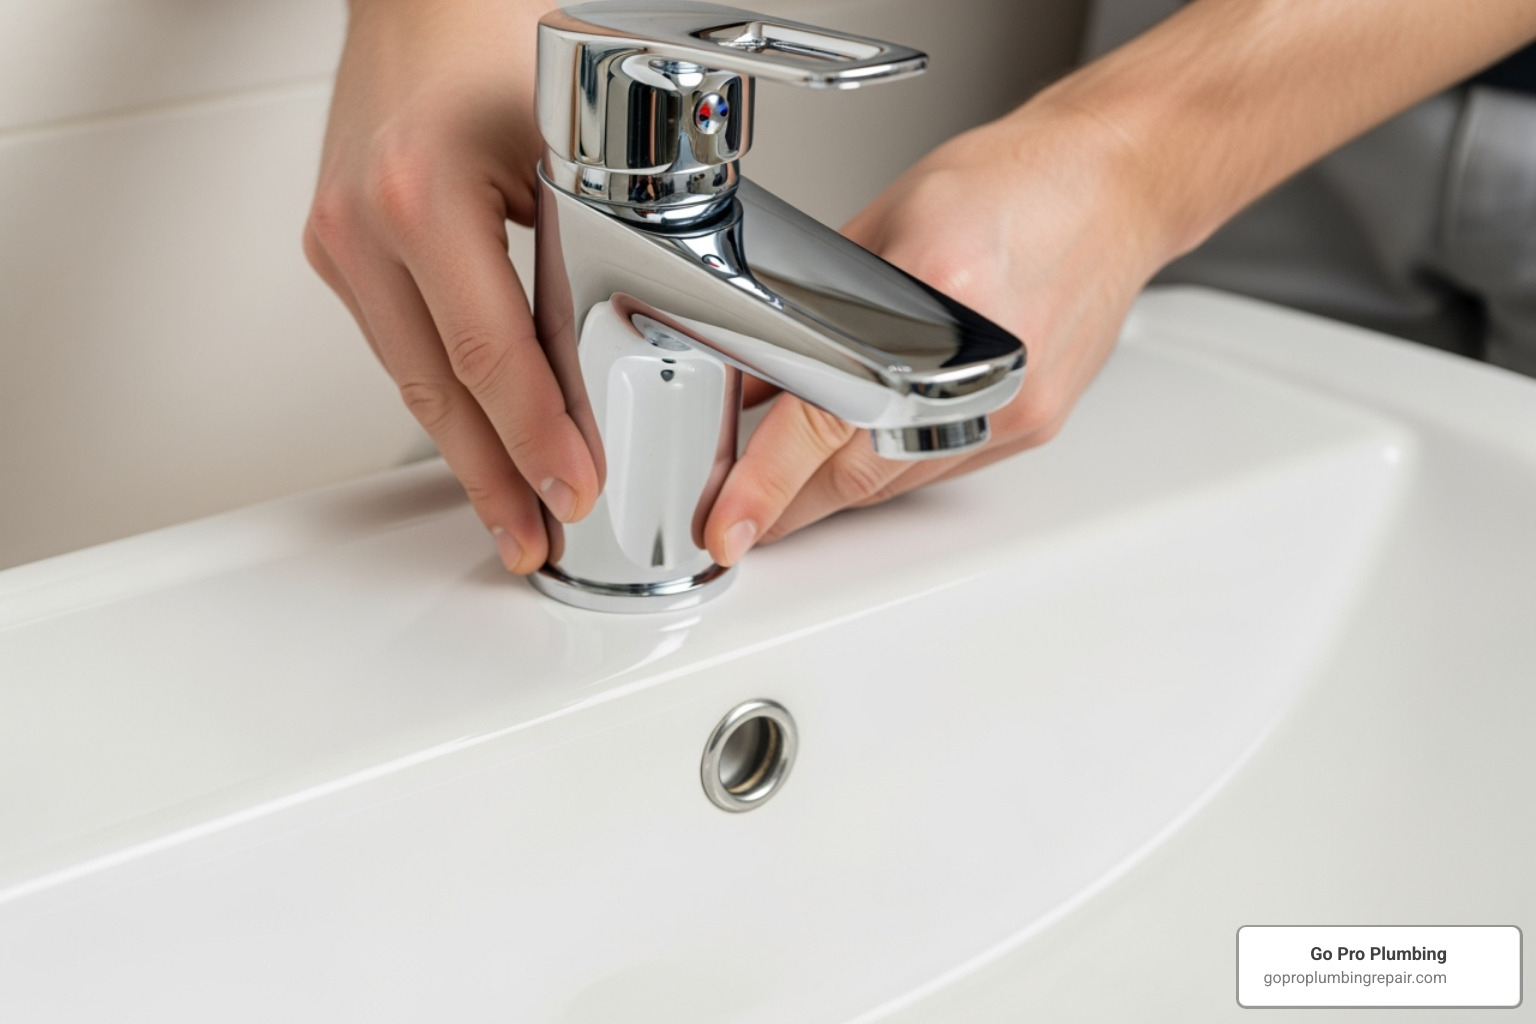
Here’s where the magic happens! With your old faucet out of the way, it’s time to install your beautiful new one. This is honestly the most satisfying part of changing out bathroom sink faucet – watching everything come together perfectly.
Don’t worry if you feel a little nervous at this point. That’s totally normal! Just take your time, follow each step carefully, and remember that thousands of homeowners do this successfully every weekend.
Step 4: Installing the New Faucet Body
Getting your new faucet properly seated is crucial for both looks and function. Start by checking what type of seal your new faucet uses. Most modern faucets come with a rubber gasket that sits on the underside of the faucet base – this makes installation much easier than the old-school plumber’s putty method.
If your faucet has a gasket, simply position it on the bottom of the faucet base. No mess, no fuss! If it requires plumber’s putty instead, roll it into a thin rope (about the thickness of a pencil) and apply it around the entire perimeter where the faucet will meet your sink surface.
Now comes the moment of truth – lowering your new faucet into position. Guide it carefully into the sink holes, making sure any pre-attached supply lines and mounting shanks pass through cleanly. Take a step back and check that it’s centered and facing the right direction. Trust me, it’s much easier to adjust now than after everything’s tightened!
From underneath the sink (yes, you’re going back to that cramped space), slide the washers and mounting nuts onto the faucet shanks. Start by hand-tightening them – this holds everything in place while you work.
Here’s where your basin wrench really shines. Use it to tighten the mounting nuts securely, but here’s the key: don’t go crazy with the tightening! You want the faucet snug and wobble-free, but overtightening can crack your sink or damage the faucet threads. Think “firm handshake,” not “crushing grip.”
Step 5: How to install a new sink drain for your changing out bathroom sink faucet project
Many homeowners decide to upgrade their drain assembly along with their faucet – and why not? A matching set looks fantastic and ensures everything works together perfectly.
Your new pop-up drain assembly might look intimidating with all its parts, but it’s actually pretty straightforward. You’ll have the main flange (the pretty part that shows), the tailpiece (the threaded body), various gaskets and washers, plus the lift rod mechanism that makes the stopper work.
Start by applying plumber’s putty to the underside of the drain flange – just like with the faucet, roll it into a thin rope and press it around the edge. Press the flange firmly into your sink’s drain hole from the top, creating a nice seal.
The real action happens underneath the sink. Slide the rubber gasket and plastic washers onto the tailpiece, then thread it into the flange from below. Hand-tighten first, then use pliers to snug it up. Plastic parts can crack easily, so gentle pressure is your friend here.
Now for the trickiest part – connecting the lift rod and pivot rod mechanism. The lift rod is that little knob behind your faucet that controls the drain stopper. It connects to a strap underneath, which connects to a horizontal pivot rod that actually moves the stopper up and down.
Insert the lift rod through the faucet opening and connect it to the strap below. The pivot rod slides through the drain body and through one of several holes in the strap – you might need to experiment to find the right hole for proper operation. Secure everything with the spring clip provided.
Test the mechanism by pulling up and pushing down on the lift rod. The stopper should move smoothly and seal properly when closed. If it’s not quite right, try adjusting which hole the pivot rod goes through on the strap.
For major bathroom renovations that go beyond faucets and drains, check out our comprehensive Learn about our Bathroom Remodeling Services.
Step 6: Connecting Water Lines and Checking for Leaks
You’re in the home stretch now! This final step connects everything and brings your new faucet to life.
Connect your new supply lines to the hot and cold inlets on your faucet’s underside. These connections should hand-tighten easily – if you’re forcing them, something’s not aligned correctly. Most supply lines have a rubber washer inside the fitting that creates the seal, so you don’t need to overtighten.
Before connecting the other ends to your shut-off valves, wrap the valve threads with Teflon tape. Wind it clockwise (the same direction you’ll be turning the nut) about two times around. This helps create a better seal and prevents those annoying tiny leaks that can develop over time.
Connect the supply lines to your shut-off valves and tighten with your adjustable wrench. Again, snug but not overly tight is the goal.
Here’s the moment you’ve been waiting for – turning the water back on! Do this slowly, turning each shut-off valve counter-clockwise gradually. Listen carefully for any hissing sounds that might indicate a leak.
Now grab a flashlight and inspect every single connection you made. Look for drips at the faucet connections, along the supply lines, and at the shut-off valves. Run your finger around each connection – sometimes you can feel moisture before you can see it. If you find a leak, don’t panic! Turn off the water, tighten that connection another quarter turn, and test again.
Before you celebrate, there’s one more important step. Remove the aerator (that little screen at the tip of your faucet spout) and turn on both hot and cold water full blast for about a minute. This flushes out any debris that got into the lines during installation. Nobody wants their beautiful new faucet clogged on day one!
Replace the aerator, turn off the water, and step back to admire your work. You’ve just successfully completed changing out bathroom sink faucet – and saved yourself a nice chunk of money in the process!
Frequently Asked Questions about Faucet Replacement
We know you might have a few more questions swirling around after reading through all those installation steps. Don’t worry – we’ve heard them all before! Let’s tackle the most common concerns that come up when people are considering changing out bathroom sink faucet.
How long does it take to replace a bathroom faucet?
Here’s some good news: changing out bathroom sink faucet is surprisingly quick! Most DIYers can complete this project in about 1-2 hours from start to finish. If you’re handy with tools or have tackled similar projects before, you might even wrap things up in under an hour.
This timeframe assumes you’ve got all your tools and materials ready to go, and you don’t run into any major surprises like severely corroded mounting nuts or stubborn supply lines. The beauty of this project is its simplicity – it’s the perfect Saturday afternoon task that won’t eat up your entire weekend.
The key is preparation. Having everything laid out and following the steps methodically makes all the difference. Plus, you’ll have plenty of time left over to stand back and admire your handiwork!
What if my shut-off valves are stuck or leaking?
Ah, the dreaded stuck valve situation! This is probably the most common curveball that can turn a simple faucet replacement into a bigger headache. Don’t panic though – you’ve got options.
If those little shut-off valves under your sink are stuck solid, corroded beyond recognition, or start leaking the moment you try to turn them, your first move is to locate your main water shut-off. This valve controls water to your entire house and is usually found near your water meter or where the main line enters your home.
Sometimes those old valves just need to be replaced entirely. While this can be a DIY project, it often involves cutting into pipes and can get complicated quickly. This is exactly where our team at Go Pro Plumbing really shines. We deal with these tricky situations all the time and can quickly assess whether those valves need replacement.
We offer same-day service throughout Northern California, so you won’t be left without water for long. Our professional plumbers can handle valve replacement efficiently, ensuring your plumbing system stays safe and functional. For more insights on dealing with stubborn plumbing issues, check out our Stop the Drip: Expert Leaky Faucet Repair Guide.
Can a beginner really complete a changing out bathroom sink faucet project?
Absolutely, yes! Changing out bathroom sink faucet is honestly one of the most beginner-friendly plumbing projects you can tackle. While it might look intimidating when you’re staring at all those pipes under the sink, the actual steps are pretty straightforward.
The secret weapons here are having the right tools (especially that basin wrench we keep mentioning) and following the instructions step by step. Don’t rush it, and you’ll be amazed at what you can accomplish. It’s a fantastic confidence builder and a great way to save a few hundred dollars compared to hiring a professional.
That said, it’s important to know your limits. If you encounter unexpected major leaks, find extensive corrosion that won’t budge, or just feel overwhelmed at any point, there’s no shame in calling for backup. We’re always here to help, whether you need a quick consultation, want us to finish what you started, or prefer to have us handle the whole project from the beginning.
The bottom line? This project is totally doable for beginners, but professional help is just a phone call away if you need it. For complex installations or if you’d like a helping hand, explore our Faucet & Sink Installation services.
Your New Faucet is In – What’s Next?
Step back and take a look at what you’ve accomplished! Your changing out bathroom sink faucet project is officially complete, and honestly, you should feel pretty proud right now. That sleek new fixture isn’t just functional – it’s completely transformed your bathroom’s look without the expense of a full renovation.
The satisfaction of completing a DIY plumbing project like this is hard to beat. You’ve saved hundreds of dollars compared to hiring a professional, learned valuable skills, and proven to yourself that you can tackle home improvement projects with confidence.
Keep an eye on things for the first few days. Even the best installations can develop a tiny drip as everything settles in. Don’t panic if you notice a small leak – usually, it just means one of the connections needs a gentle quarter-turn tightening. Check under the sink periodically, especially around the supply line connections and mounting nuts.
Your bathroom refresh doesn’t have to stop here, either. That new faucet might inspire you to update other fixtures, add fresh caulk around the tub, or even tackle a complete bathroom makeover. There’s something about one successful project that makes the next one seem totally doable.
Of course, not every plumbing project goes exactly as planned. Sometimes you run into unexpected challenges – like finding your pipes need updating or realizing the job is more complex than anticipated. That’s where we come in.
At Go Pro Plumbing, we genuinely love seeing homeowners take on projects like this. But we also understand that sometimes you need backup. Whether you’re dealing with a stubborn leak, ran into complications during installation, or simply want the peace of mind that comes with professional service, our Northern California team is ready to help with outstanding customer service and same-day solutions.
For complex jobs or if you need a helping hand, explore our Faucet & Sink Installation services. We’re always just a phone call away, ready to turn any plumbing challenge into a solved problem.
