Delta RP19804 Shower Cartridge Replacement: A Step-by-Step for 13/14 Series
By Brian on November 4, 2025

Why Your Delta Shower Needs a New RP19804 Cartridge
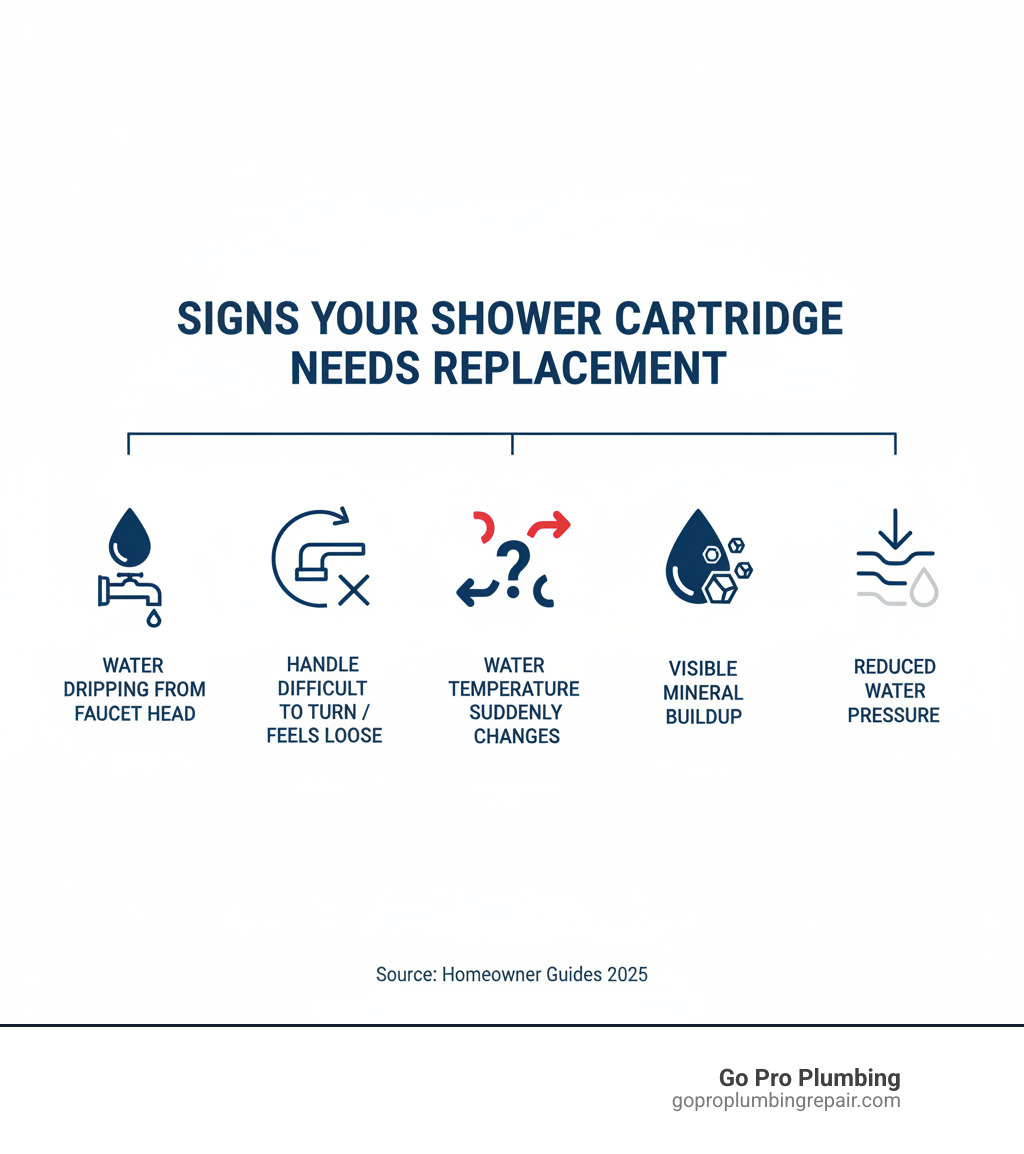
If your Delta 13 or 14 series shower has a dripping faucet, inconsistent water temperature, or a stiff handle, a new flowrite pro delta faucets rp19804 shower cartridge replacement assembly is the solution. This cartridge is the key to fixing these common issues.
Key Facts About the RP19804 Cartridge:
- Purpose: Controls water flow and temperature in Delta Monitor 1300/1400 series single-handle showers.
- Compatibility: Fits Delta faucets manufactured before 2006.
- Common Issues It Solves: Leaks, temperature fluctuations, and a stiff handle.
- Installation Time: Most homeowners can complete the replacement in 30-45 minutes.
- Cost Savings: Aftermarket versions like Flowrite Pro cost around $29, compared to $46 for OEM Delta parts.
A leaky shower wastes water and money, but replacing the cartridge is a straightforward DIY project. Customer reviews confirm its effectiveness, with one user sharing: “Finally the right cartridge for my shower! Great quality and Price! Stopped my leaky bathtub.”
The cartridge is designed for removal from the front, so you won’t need to cut into your wall. Whether you choose the original Delta part or an aftermarket replacement like the Flowrite Pro, this guide will walk you through the entire process.

Understanding the Delta RP19804 Cartridge and Its Alternatives
Your shower cartridge works daily to manage water flow and temperature. When it fails, you’ll notice drips, sudden temperature shifts, or a stiff handle. For Delta Monitor 1300 and 1400 series showers, the flowrite pro delta faucets rp19804 shower cartridge replacement assembly is the component that restores normal function.
Delta Monitor faucets use pressure-balance technology to maintain a steady shower temperature, even when water is used elsewhere in the house. The RP19804 cartridge is the heart of this system. When replacing it, you can choose between an OEM (Original Equipment Manufacturer) part from Delta or an aftermarket alternative like the Flowrite Pro, which offers similar performance at a lower cost. For more details on this type of repair, see our guide on shower cartridge replacement.
Identifying the Correct Flowrite Pro Delta Faucets RP19804 Shower Cartridge Replacement Assembly
Before ordering, confirm the RP19804 is right for your shower. It was designed for Delta 1300 and 1400 Series single-handle faucets installed before April 2006. Newer faucets or those with separate volume and temperature knobs require a different part.
Here’s how to know if you need an RP19804:
- Single-handle control: Your faucet has one handle that you rotate for temperature and pull/push for flow.
- Installation date: The faucet was installed before April 2006. If you’re unsure, the cartridge’s appearance can help.
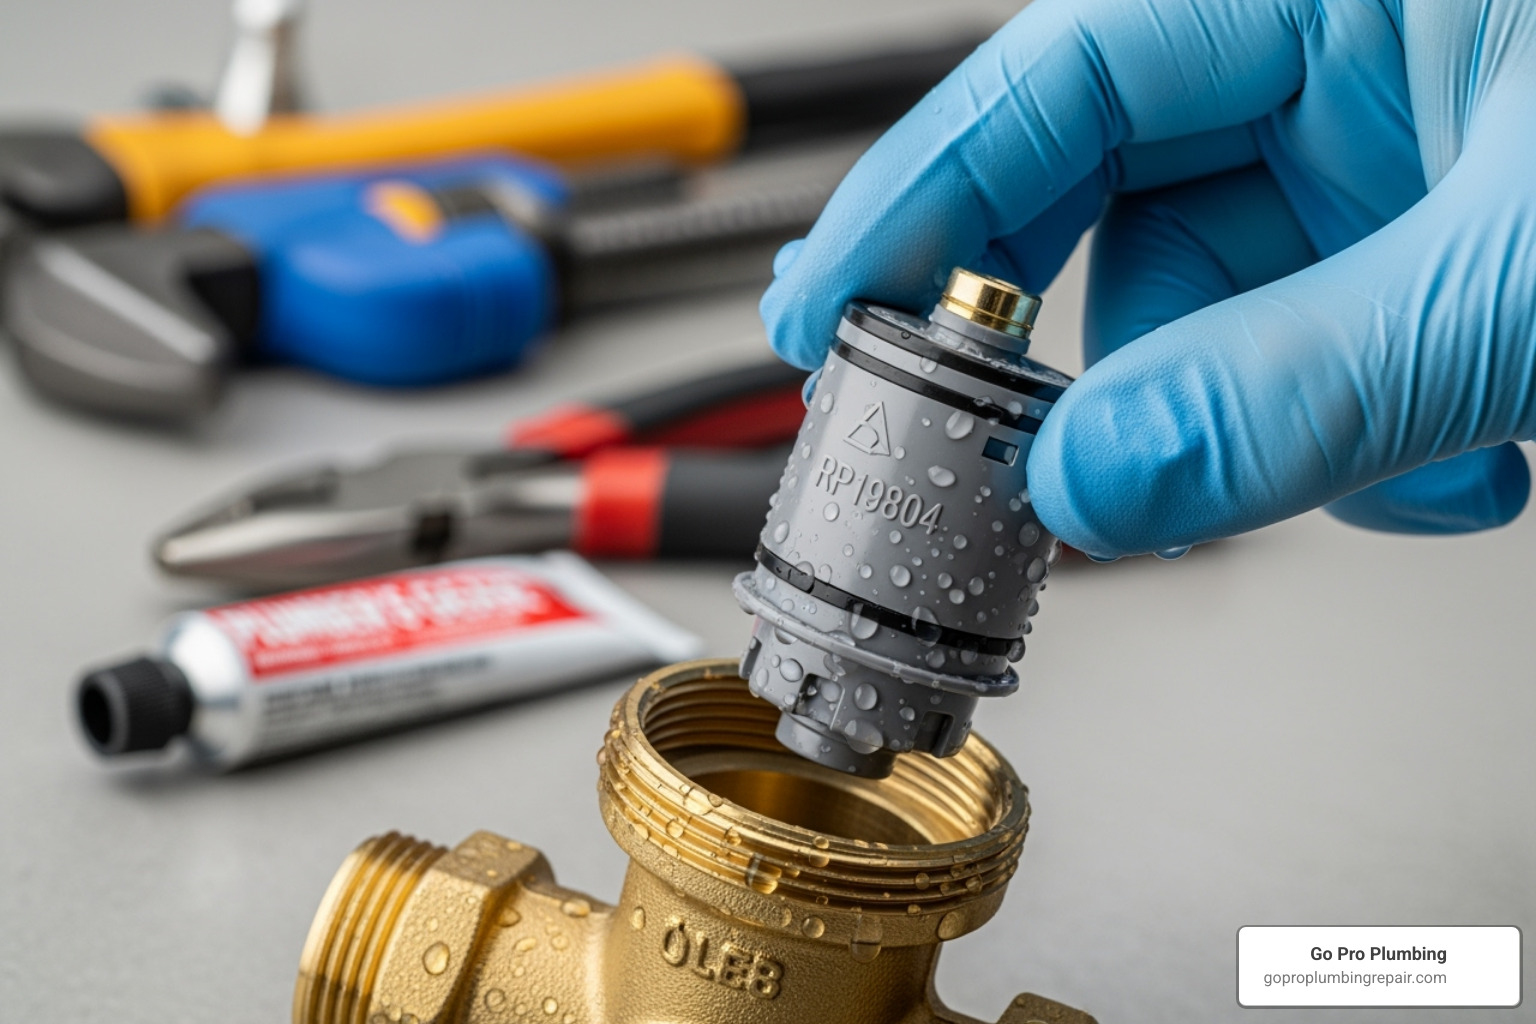
- Visual cues: After removing the old cartridge, look for a distinctive gray valve body. The original Delta RP19804 is gray.
The difference between the 1300 and 1400 series is mainly cosmetic (trim and handle style); both use the same RP19804 cartridge. If you’re still unsure, you can look up your faucet model number or check the Official Delta RP19804 specifications.
Key Features and Comparison: OEM vs. Flowrite Pro
When buying a replacement, you have options. Both the original Delta RP19804 and the Flowrite Pro aftermarket version will fix your shower, but they differ in price and features.
| Feature | OEM Delta RP19804 | Flowrite Pro RP19804 (Aftermarket) |
|---|---|---|
| Price | Around $46 | Around $29 (often less) |
| Materials | Built to Delta’s original specs with brass and durable plastics | High-quality plastics and components designed for longevity |
| Pressure Balance | Yes—maintains consistent temperature | Yes—prevents scalding with pressure-balance technology |
| Reported Ease of Installation | Straightforward for DIYers | Up to 20% faster installation, no wall access needed |
| Value Proposition | Guaranteed OEM quality and exact fit | Cost-effective with strong performance, “works as well as OEM” |
Prices shown are approximate and may vary by retailer.
The Flowrite Pro cartridge is engineered as a direct replacement for the Delta part, offering significant savings. Customer feedback is overwhelmingly positive, with users noting it “works as well as OEM” and “saves at least $30 over authentic Delta parts.”
The Flowrite Pro is also designed for faster installation, allowing you to replace it from the front without cutting into your wall. Both options include the crucial pressure-balance technology that prevents temperature shocks. The OEM part guarantees a manufacturer-direct fit, while the Flowrite Pro provides the same function at a more budget-friendly price. Either choice will get your shower working properly again. If you need professional help, visit our faucet installation and repair page.
Step-by-Step Guide to Your Flowrite Pro Delta Faucets RP19804 Shower Cartridge Replacement Assembly
Replacing your flowrite pro delta faucets rp19804 shower cartridge replacement assembly is a manageable DIY project that can save you money and fix a faulty shower in under an hour. The most important rule is to always turn off the water supply before you begin to prevent water damage.
Gather your essential tools: an Allen wrench, pliers, screwdriver, and your new cartridge.
Step 1: Preparation and Turning Off the Water
First, locate your main water shutoff valve (often in a basement, utility closet, or near the water meter) and turn it off. If your shower has local shutoff valves, you can use those instead.
Next, turn on the shower faucet to drain any remaining water and relieve pressure in the pipes. Place a cloth or stopper over the shower drain to prevent small screws or parts from falling in.
To remove the handle, find the small set screw, which may be hidden under a decorative cap. Pry off the cap with a small flathead screwdriver. Use an Allen wrench (typically 1/8th or 3/32 inch) to turn the set screw counter-clockwise until the handle can be pulled straight off. You only need to loosen it, not remove it completely.
Step 2: Removing the Old Cartridge
With the handle off, you may see a decorative escutcheon plate against the wall. If so, remove it by unscrewing it and set it aside.
Next, locate the bonnet nut, the large ring surrounding the cartridge stem. Use channel-lock pliers or an adjustable wrench to turn it counter-clockwise to loosen it, then unthread it by hand.
Now, extract the old cartridge. The RP19804 has a gray body. Ideally, you can grab it and pull it straight out. If it’s stuck due to mineral buildup, wiggle it gently side-to-side while pulling. You can also use pliers to grip the stem for a firm tug, but be careful not to damage the surrounding valve body.

Carefully remove the old, gray RP19804 cartridge from the valve body.
Step 3: Installing the New RP19804 Cartridge
Before installing the new flowrite pro delta faucets rp19804 shower cartridge replacement assembly, apply a thin coat of the included silicone grease to the O-rings. This helps with installation and ensures a watertight seal.
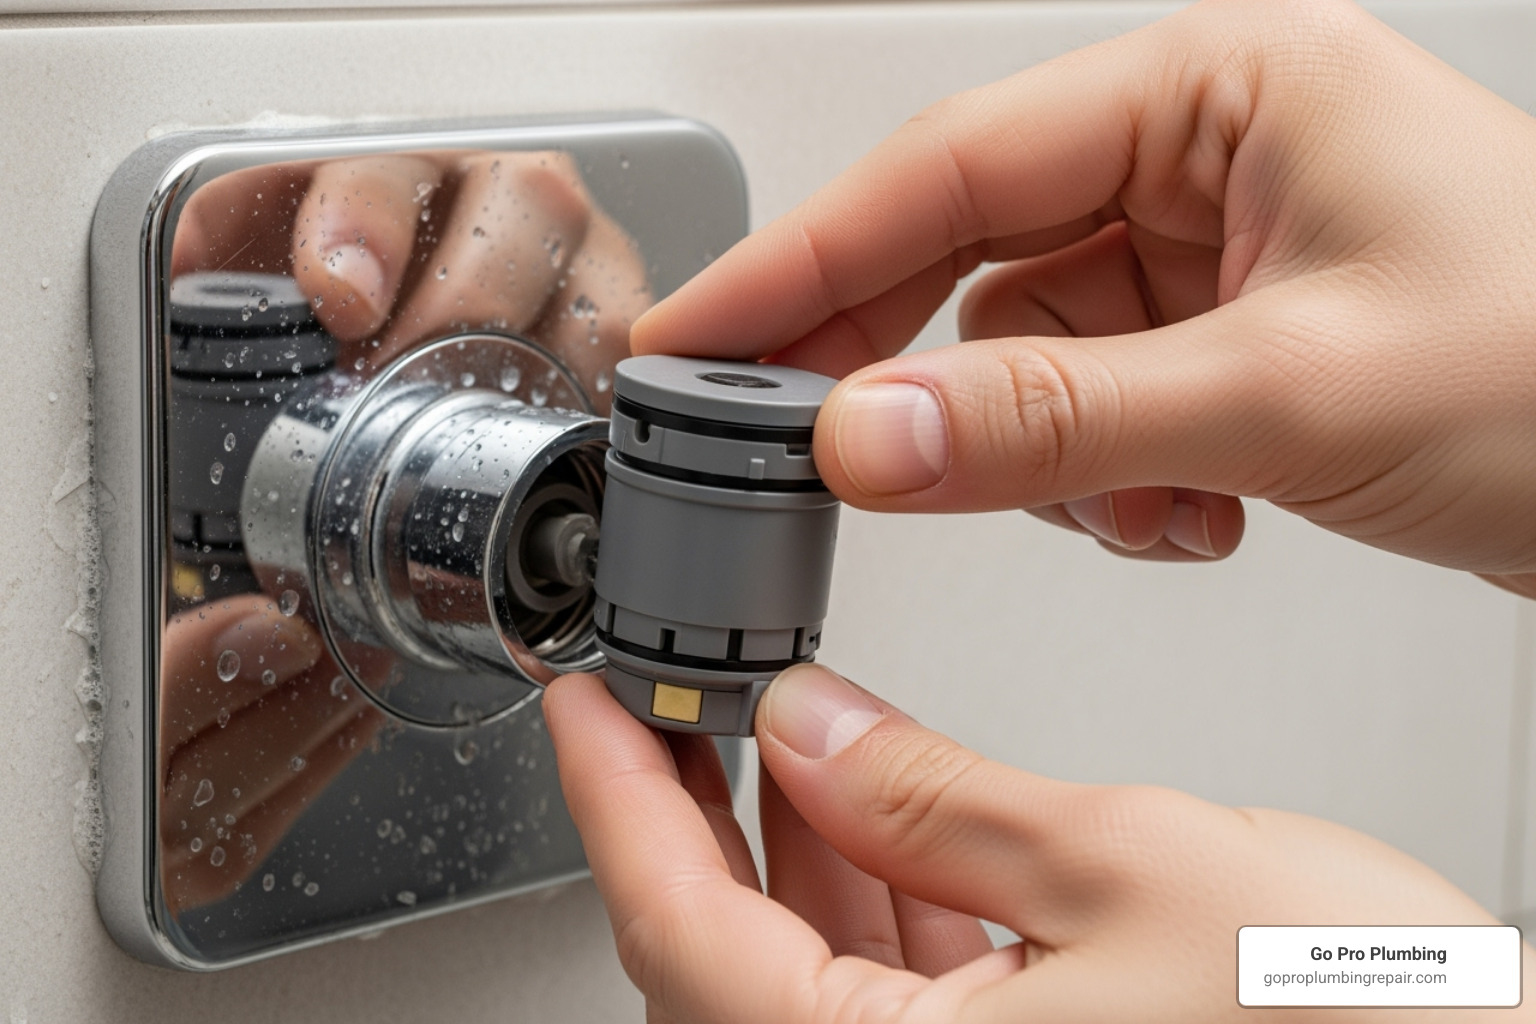
Correct orientation is critical. The cartridge has markings (often “H” for hot) that must align with your valve’s hot water inlet to ensure proper temperature control. Getting this wrong will result in lukewarm water. Take your time to get the alignment right.
Once aligned, slide the new cartridge straight into the valve body until it is fully seated. There should be no gaps.
Re-install the bonnet nut over the cartridge. Hand-tighten it first, then use pliers or a wrench to make it snug. Do not over-tighten, as this can damage the cartridge or valve.

Gently insert the new RP19804 cartridge into the valve, ensuring correct hot/cold orientation.
If you encounter issues beyond a simple cartridge swap, Go Pro Plumbing offers expert faucet installation and repair services.
Step 4: Reassembly and Testing for Leaks
You’re almost done. If you removed the escutcheon plate, screw it back onto the wall. Slide the handle back onto the cartridge stem, tighten the set screw with your Allen wrench, and replace any decorative cap.
Go back to your main water shutoff valve and slowly turn the water supply back on. A gradual return of pressure is best for the new components.
Finally, turn on the shower and test both hot and cold water. Check carefully for any drips from the showerhead or leaks around the handle. Let it run for a few minutes to ensure everything is working smoothly. If there are no leaks and the temperature adjusts correctly, you have successfully completed the replacement.
If you run into problems, see the troubleshooting section below. For professional help with any shower or tub issues, learn more about our shower and tub services.
Troubleshooting Common RP19804 Issues
If you’ve installed your new flowrite pro delta faucets rp19804 shower cartridge replacement assembly and something isn’t right, don’t worry. Most post-installation issues like temperature problems or minor leaks have simple fixes. For more help with drips, see our Sacramento Leaky Faucet Repair Guide.
Troubleshooting Your Flowrite Pro Delta Faucets RP19804 Shower Cartridge Replacement Assembly
Here’s how to solve the most common challenges:
When Your Water Won’t Get Hot Enough: This is often due to the rotational limit stop, a safety feature that prevents scalding by limiting handle rotation. To adjust it, turn off the water, remove the handle, and locate the notched plastic ring on the front of the cartridge. Gently pull this ring out, rotate it counter-clockwise one or two notches to allow more hot water, and push it back into place. Reinstall the handle and test the temperature, repeating if necessary until you find the right setting.
Dealing with Post-Installation Leaks: If you see drips, first check that the bonnet nut is securely tightened (snug, not overly tight). If that doesn’t work, the cartridge may not be fully seated. Turn off the water, remove the bonnet nut, and push the cartridge firmly into the valve body to ensure a flush fit. In rare cases, an O-ring could have been damaged during installation, which would require examining the cartridge.
Fixing a Stiff or Sticky Handle: A new cartridge should operate smoothly. If the handle is stiff, the cause is likely inadequate lubrication or an overtightened bonnet nut. Try loosening the bonnet nut a quarter turn. If that doesn’t help, you may need to remove the cartridge, apply the included silicone grease to the O-rings, and reinstall it.
Customer Reviews and Performance Insights
Real-world feedback on the Flowrite Pro RP19804 is overwhelmingly positive.
- Functionality: 13 out of 14 customers reported that the cartridge fixed their shower’s problem. One user said, “Great quality and Price!!!! Stoped my leaky bathtub.”
- Ease of Installation: 11 out of 13 customers found the installation easy, with some completing it in just 5-10 minutes. The front-access design is a major benefit for DIYers.
- Quality and Value: 10 out of 11 customers rated the quality positively, with many stating it “works as well as OEM.” All customers who commented on value were pleased, highlighting savings of “$30 over authentic Delta parts.”
- Leak Prevention: 6 out of 7 customers successfully stopped their leaks with the Flowrite Pro.
The consensus is that the Flowrite Pro offers a reliable, cost-effective solution that performs on par with the original manufacturer’s part, making it a smart choice for this common repair.
Frequently Asked Questions about the RP19804 Cartridge
Here are answers to some of the most common questions we get about the RP19804 cartridge and the flowrite pro delta faucets rp19804 shower cartridge replacement assembly.
How do I know if I have a 1300 or 1400 series faucet?
The difference between Delta’s 1300 and 1400 series is cosmetic (handle and trim style). Functionally, they are the same and both use the RP19804 cartridge. The key identifier is the single-handle, single-function design. If you have one handle that you pull to turn on and rotate to change temperature, and your faucet was installed before April 2006, the RP19804 is the correct part. Faucets with separate controls for volume and temperature (like the 1700 series) use a different cartridge.
Why is my water not hot enough after installing the new cartridge?
This is a common issue caused by the cartridge’s rotational limit stop, a safety feature that prevents scalding. The default setting may be too restrictive. You can easily adjust it by removing the handle and rotating the notched plastic ring on the cartridge counter-clockwise to allow for more hot water. For a detailed walkthrough, refer to the “Troubleshooting” section above.
Where can I buy the RP19804 cartridge?
The RP19804 cartridge, including both genuine Delta and aftermarket versions like Flowrite Pro, is widely available. You can find it at:
- Major home improvement stores like Home Depot and Lowe’s.
- Online retailers like Amazon, which often have competitive pricing and customer reviews.
- Local plumbing supply stores, where you can get expert advice.
- The official Delta Faucet website for specifications and authorized dealers.
Always double-check the part number (RP19804) before purchasing to ensure compatibility.
Conclusion: Enjoy Your Drip-Free, Perfectly Tempered Shower
By replacing your flowrite pro delta faucets rp19804 shower cartridge replacement assembly, you’ve stopped a leak, restored your shower’s performance, and saved money. This repair shows that many common plumbing issues are manageable for a homeowner, giving you control over your home’s maintenance.
However, not everyone has the time for DIY projects, and sometimes a simple fix can uncover a more complex problem. If you’d rather leave it to a professional, Go Pro Plumbing is here to help. Our skilled technicians serve Northern California, including Rancho Cordova and Sacramento, with a commitment to outstanding customer service and same-day service.
If you’ve run into challenges or simply prefer an expert to handle the job, we can quickly diagnose and resolve any shower or tub issue. For complex problems or professional assistance, our team is ready to help with all your professional shower and tub services.
Whether you’re celebrating a DIY success or calling in the pros, you’ve taken the right step to care for your home. Here’s to many years of perfect, drip-free showers.

