Fixing Your Pedestal Sink: From Drains to Pop-Ups, We’ve Got You Covered
By Brian on September 12, 2025
Why Pedestal Sink Repair Skills Can Save You Time and Money
Pedestal sink repair is one of the most common plumbing challenges homeowners face, but many issues can be fixed with basic tools and a little know-how. Whether you’re dealing with a wobbly sink, stubborn leaks, or drainage problems, understanding the repair process can save you hundreds of dollars in professional service calls.
Quick Solutions for Common Pedestal Sink Problems:
- Leaks: Tighten supply line connections or replace worn gaskets
- Wobbling: Secure mounting bolts to wall studs and apply fresh caulk
- Slow drainage: Clear hair and soap buildup from the P-trap
- Pop-up issues: Replace the drain assembly with plumber’s putty
- Cracked basin: Call a professional – this requires complete replacement
Pedestal sinks are popular in Northern California homes because they create an open, spacious feel in smaller bathrooms. But their design presents unique repair challenges. The confined space and difficulty accessing connections behind the pedestal make it what one plumber called “one of their least favorite jobs.”
The good news? Most pedestal sink problems are fixable with patience and the right approach. From simple leak repairs that take 30 minutes to complete pop-up assembly replacements that require 2-3 hours, we’ll walk you through each step.
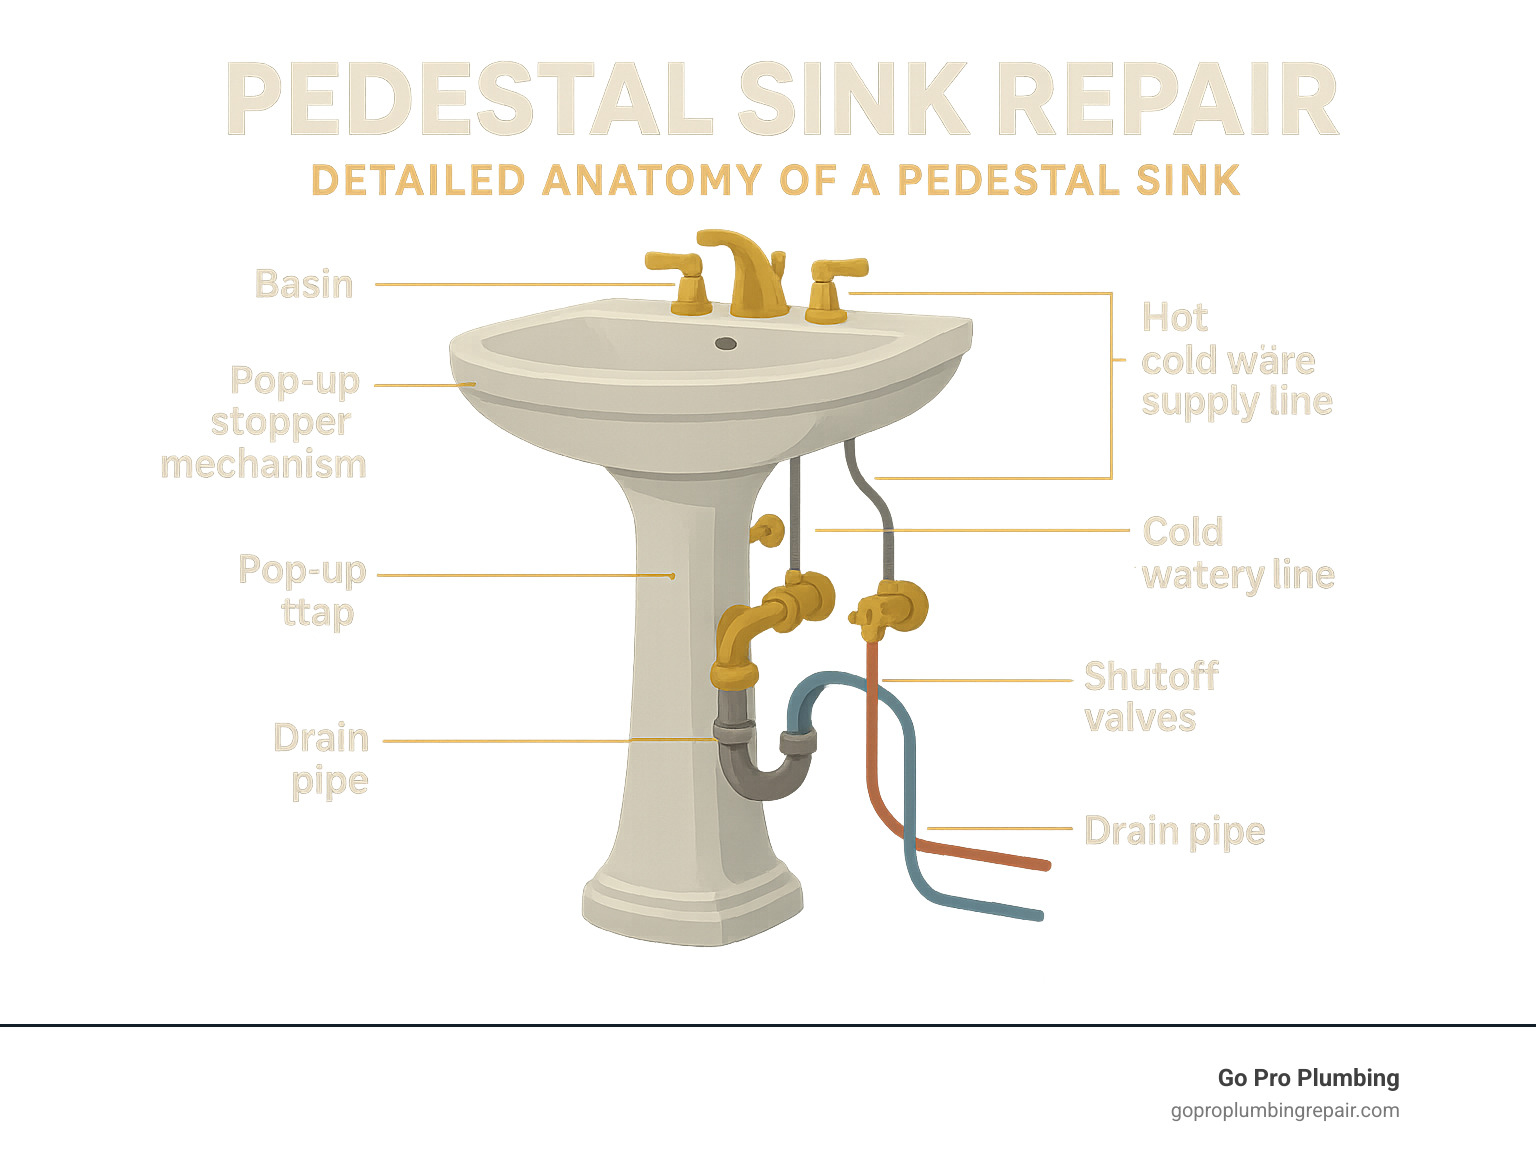
Before we dive into specific repairs, it’s important to understand what you’re working with.
Diagnosing Common Pedestal Sink Problems
Before you can tackle any pedestal sink repair, you need to diagnose what’s going wrong. The most common culprits are leaks, wobbly sinks, and slow drains. Catching these issues early can save you from bigger headaches down the road.
Identifying Leaks
Leaks can be tricky since the plumbing is hidden behind the pedestal. Start with the obvious signs. Water pooling around the base is a clear indicator, but more subtle clues include stains or discoloration on your flooring. A persistent musty or damp smell in your bathroom also points to hidden moisture.
To investigate, check for leaks by feeling around the plumbing connections. Focus on the water supply lines running from the shutoff valves to your faucet. Also, check the faucet base, the drain assembly, and P-trap connections, as these are also leak-prone areas. Catching a leak early can save you from expensive water damage and mold. For more help, our leaky faucet repair guide has you covered.
Addressing a Wobbly Sink
A wobbly pedestal sink is not just annoying; it’s unsafe. The most common cause is loose mounting bolts that secure the basin to wall studs. An uneven floor can also cause the pedestal to rock, a common issue in older Northern California homes. You might also find that degraded caulk or silicone has lost its stabilizing power.
Poor pedestal alignment can also create instability, as the basin needs to rest perfectly on the pedestal. A properly installed sink should feel rock-solid. If yours has any wobble, it’s time to investigate.
Uncovering Drainage Issues
Slow drains are frustrating and usually worsen over time. The problem typically hides in the drain assembly or the curved P-trap.
Hair clogs are the usual suspects, often combined with soap scum to create stubborn blockages. Soap scum buildup also gradually narrows your drainpipe. Don’t overlook your pop-up mechanism either; if it breaks or gets misaligned, your drainage will be affected.
If drainage issues are a problem, our guide on unblocking a sink offers practical solutions.
Gathering Your Tools and Materials
Getting halfway through a pedestal sink repair only to realize you’re missing a tool is frustrating. A little prep work goes a long way. Most repairs require just a handful of tools and materials, and having them ready will make your project much smoother.
Essential Tools
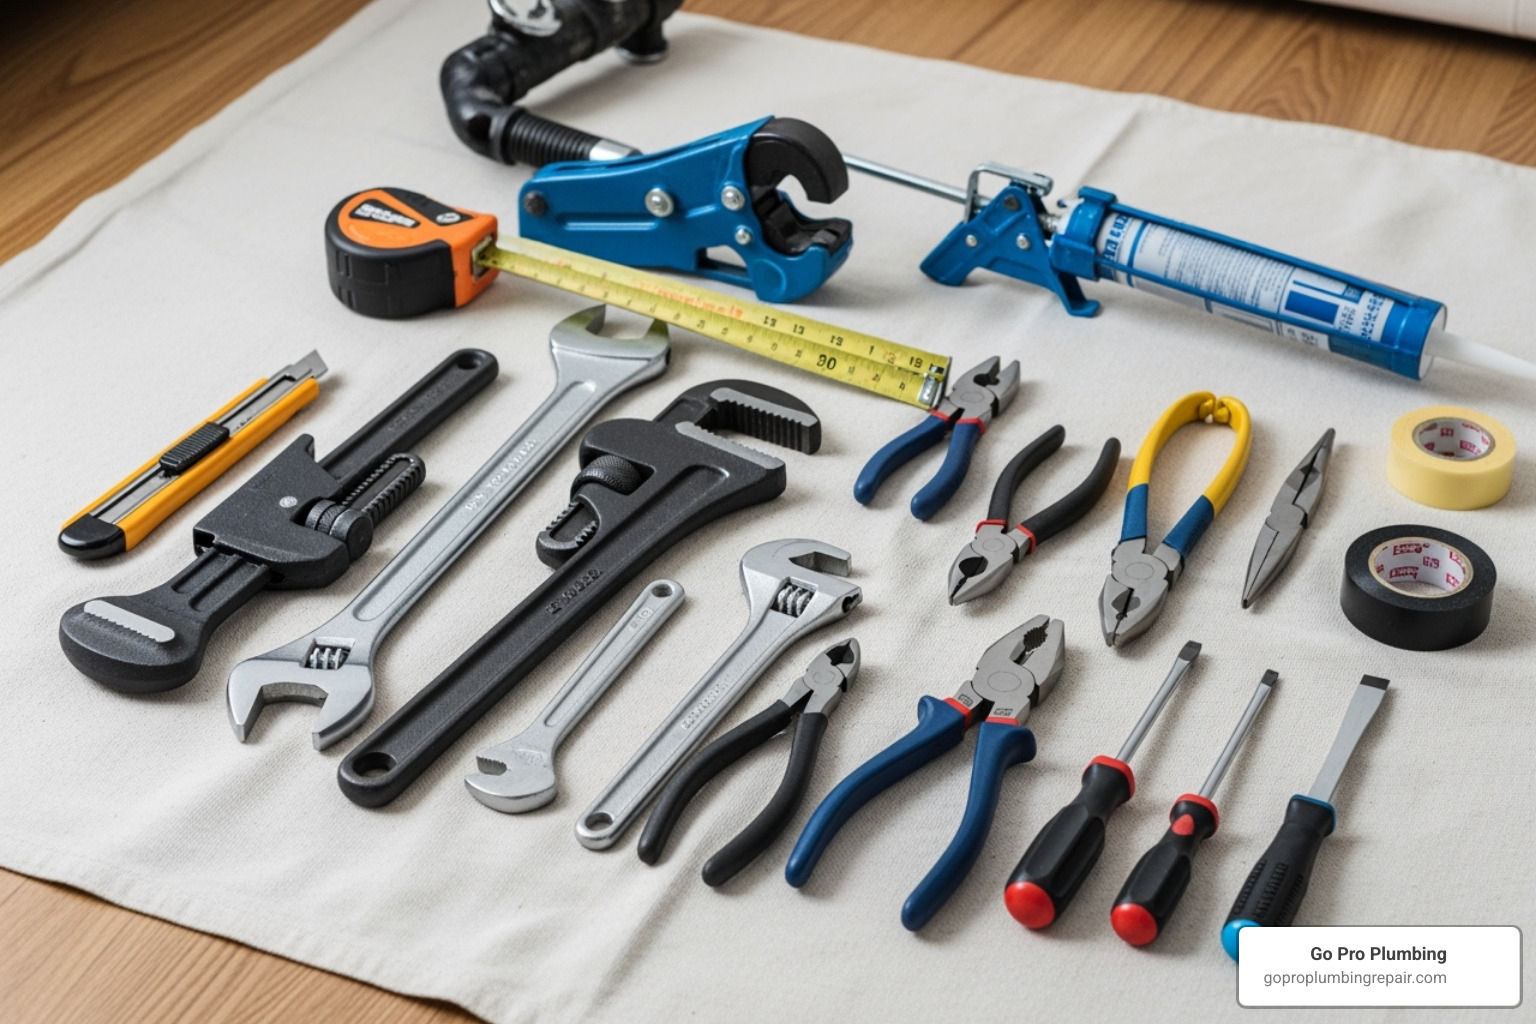
The main challenge of pedestal sink repair is the tight space behind the base, so the right tools are crucial.
Your most important tool is a basin wrench, designed to reach the impossible-to-access nuts behind your faucet and sink. An adjustable wrench and pliers (slip-joint or tongue-and-groove) handle most general tightening and gripping. A sharp utility knife cuts through old caulk, while a putty knife scrapes away residue. Don’t forget a bucket to catch water and plenty of rags. A level ensures your sink sits perfectly straight. You can find many of these items in Essential plumbing tools kits.
Necessary Materials
Plumber’s putty is essential for creating watertight seals around drain flanges. Silicone caulk seals the sink to the wall and floor, adding stability. Choose a bathroom-specific, mildew-resistant formula. Most leak repairs require replacement gaskets or seals. For uneven floors, shims are your solution. Penetrating oil can help loosen stuck nuts and bolts. Depending on the job, you might also need larger replacement parts like a new faucet or drain assembly.
Step-by-Step Guide to Basic Pedestal Sink Repair
Now it’s time to fix things. This guide covers the most common pedestal sink repair tasks. Patience is your best friend here; rushing plumbing work often leads to more problems.
How to Fix a Leaky Faucet or Supply Line
Most faucet and supply line leaks are straightforward to fix.
Start by turning off the water supply using the shutoff valves under your sink (turn clockwise). If you can’t find them, turn off your home’s main water supply. Open the faucet to drain any remaining water.
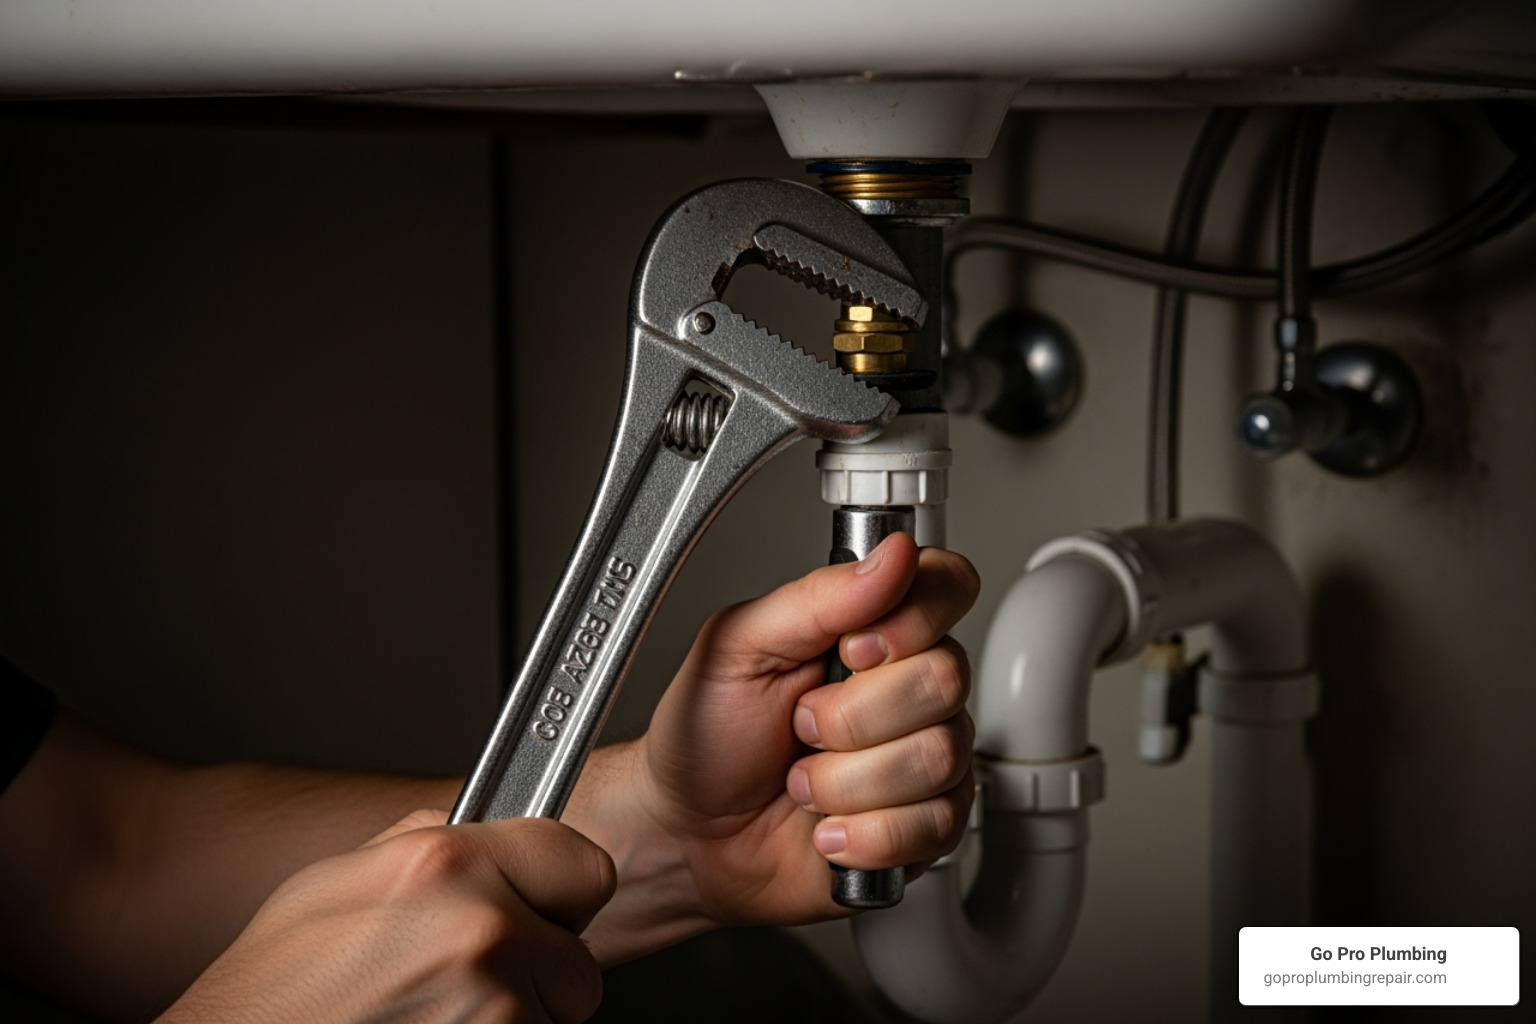
Next, disconnect the supply lines. Use an adjustable wrench to loosen the connections, and place a bucket and rags underneath to catch any spills.
For faucet base leaks, use a basin wrench to tighten the mounting nuts under the sink. If the leak persists, the faucet’s internal gaskets or O-rings likely need replacing.
For supply line leaks, first try tightening the connections. If that doesn’t work, check for worn or cracked rubber gaskets inside the connection nuts and replace them. If the supply lines themselves look old or corroded, it’s best to replace them entirely.
Finally, reconnect everything and test your work. Turn the water supply back on slowly and check carefully for any drips.
How to Stabilize a Wobbly Pedestal Sink
Let’s get that sink rock-solid again.
The wall mounting bolts are your primary suspects. These secure the basin to wall studs. Use a basin wrench to carefully tighten them, but don’t overtighten, as this can crack the porcelain.
Check for a floor bolt. Some pedestals are secured to the floor with a lag bolt. If yours is, remove the old caulk around the base and tighten this bolt.
Use shims for uneven floors. If the pedestal rocks, have a helper lift it slightly while you slide thin plastic or wooden shims underneath to level it. Trim any excess with a utility knife.
Fresh caulk is the finishing touch. Remove all old caulk from where the basin meets the wall and the pedestal meets the floor. Clean the surfaces, then apply a smooth bead of silicone caulk to both areas. Let it cure completely before use.
Advanced Pedestal Sink Repair: Tackling Drains and Pop-Ups
Sometimes, the problem goes beyond a simple leak or wobble. While more involved, repairs like replacing a drain assembly are still manageable for a confident DIYer. Patience and preparation are key for these more complex pedestal sink repair projects. For a comprehensive overview, check out our More info about faucet & sink installation page.
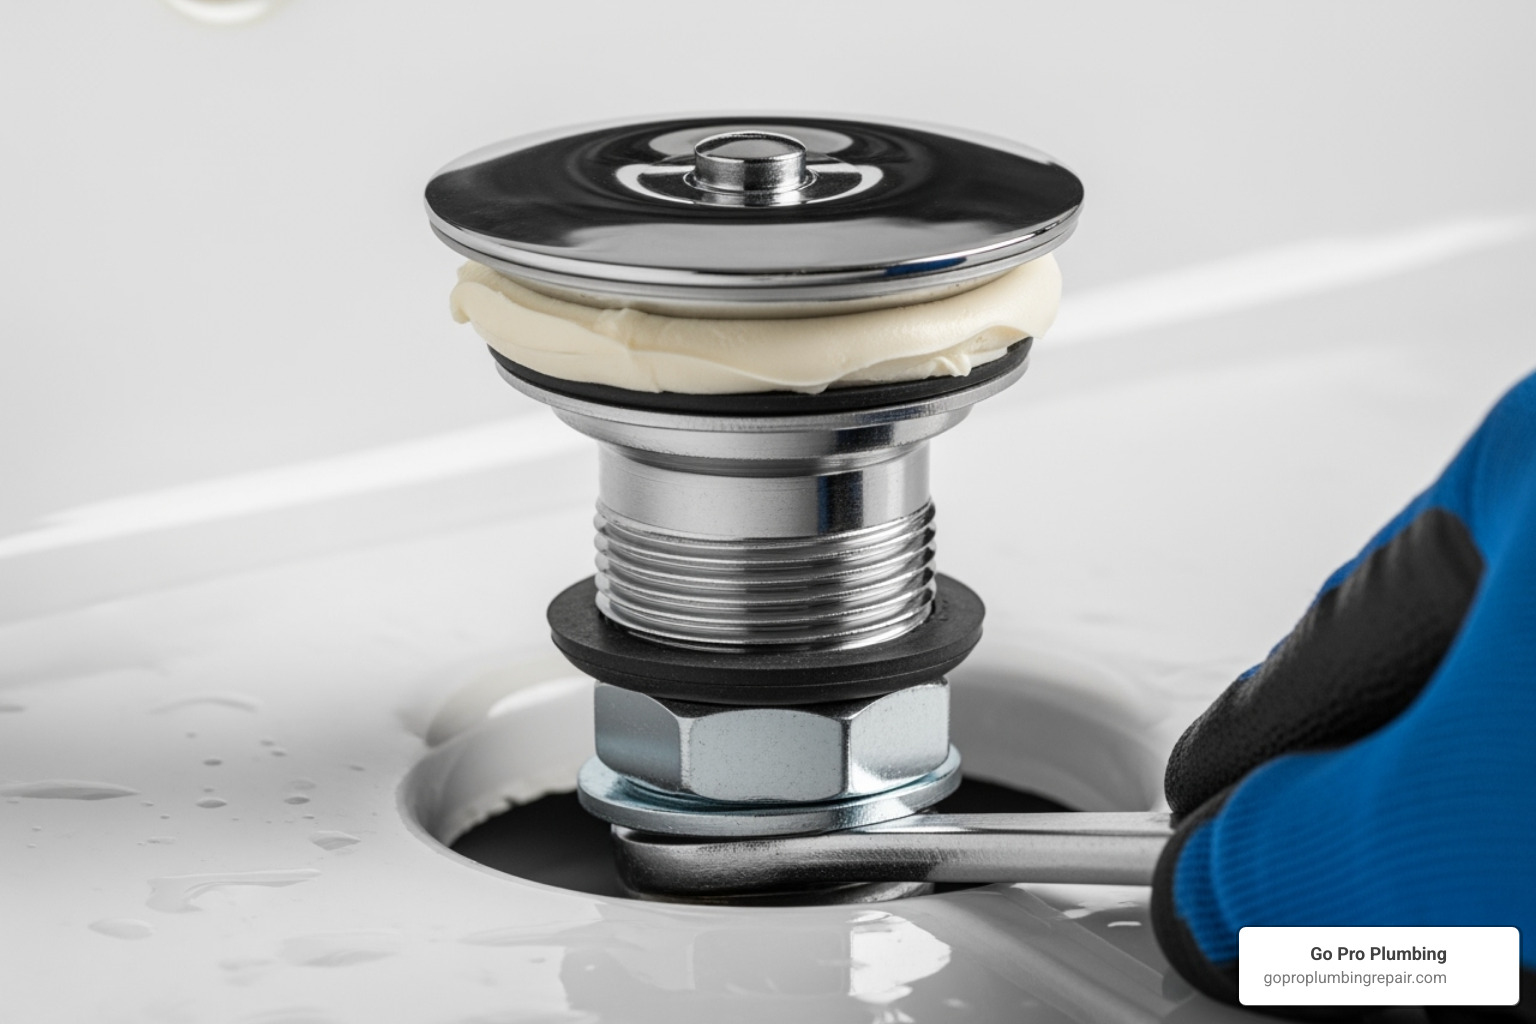
Replacing the Pop-Up Drain Assembly
If your sink won’t hold water or drains slowly, the pop-up drain assembly may be worn out. This repair typically takes 2-3 hours for a DIYer.
First, clear your workspace and place a bucket under the P-trap. Disconnect the P-trap by loosening the slip nuts and removing the U-shaped pipe. This gives you access to the drain assembly.
Next, remove the old drain assembly. Use a basin wrench to loosen the large nut on the underside of the sink. Don’t forget to disconnect the lift rod linkage that connects the stopper to the faucet lever. The old assembly should then pull out from the top.
To install the new drain flange, clean the drain opening, apply a roll of plumber’s putty to the underside of the new flange, and press it firmly into the opening. From underneath, slide on the rubber gasket and washer, then tighten the large nut. Wipe away any excess putty. Reconnect the lift rod, reattach the P-trap, and test for leaks.
The Complete Removal and Reinstallation Process
Sometimes, a repair requires complete removal of the sink, which is a two-person job. For faucet replacement details, see our guide on More info about changing a faucet on a pedestal sink.
Start by shutting off the water and disconnecting all plumbing (supply lines and P-trap). Score the caulk seal with a utility knife where the basin meets the wall and the pedestal meets the floor.
Have a helper support the basin’s weight while you remove the mounting bolts. Lift the basin straight up and away from the wall, then off the pedestal, and set it in a safe place. The pedestal can now be removed.
Reinstallation is the reverse process. Ensure the pedestal is level before setting the basin on top. Align the basin with the wall mounting holes and secure the bolts until snug, but do not overtighten. After reconnecting the plumbing, apply fresh silicone caulk at the wall and floor joints for stability. Finally, turn the water on slowly and test everything for leaks.
Maintenance and When to Call a Professional
After your pedestal sink repair, regular maintenance is key to preventing future problems. But it’s also important to know when a job is best left to a professional.
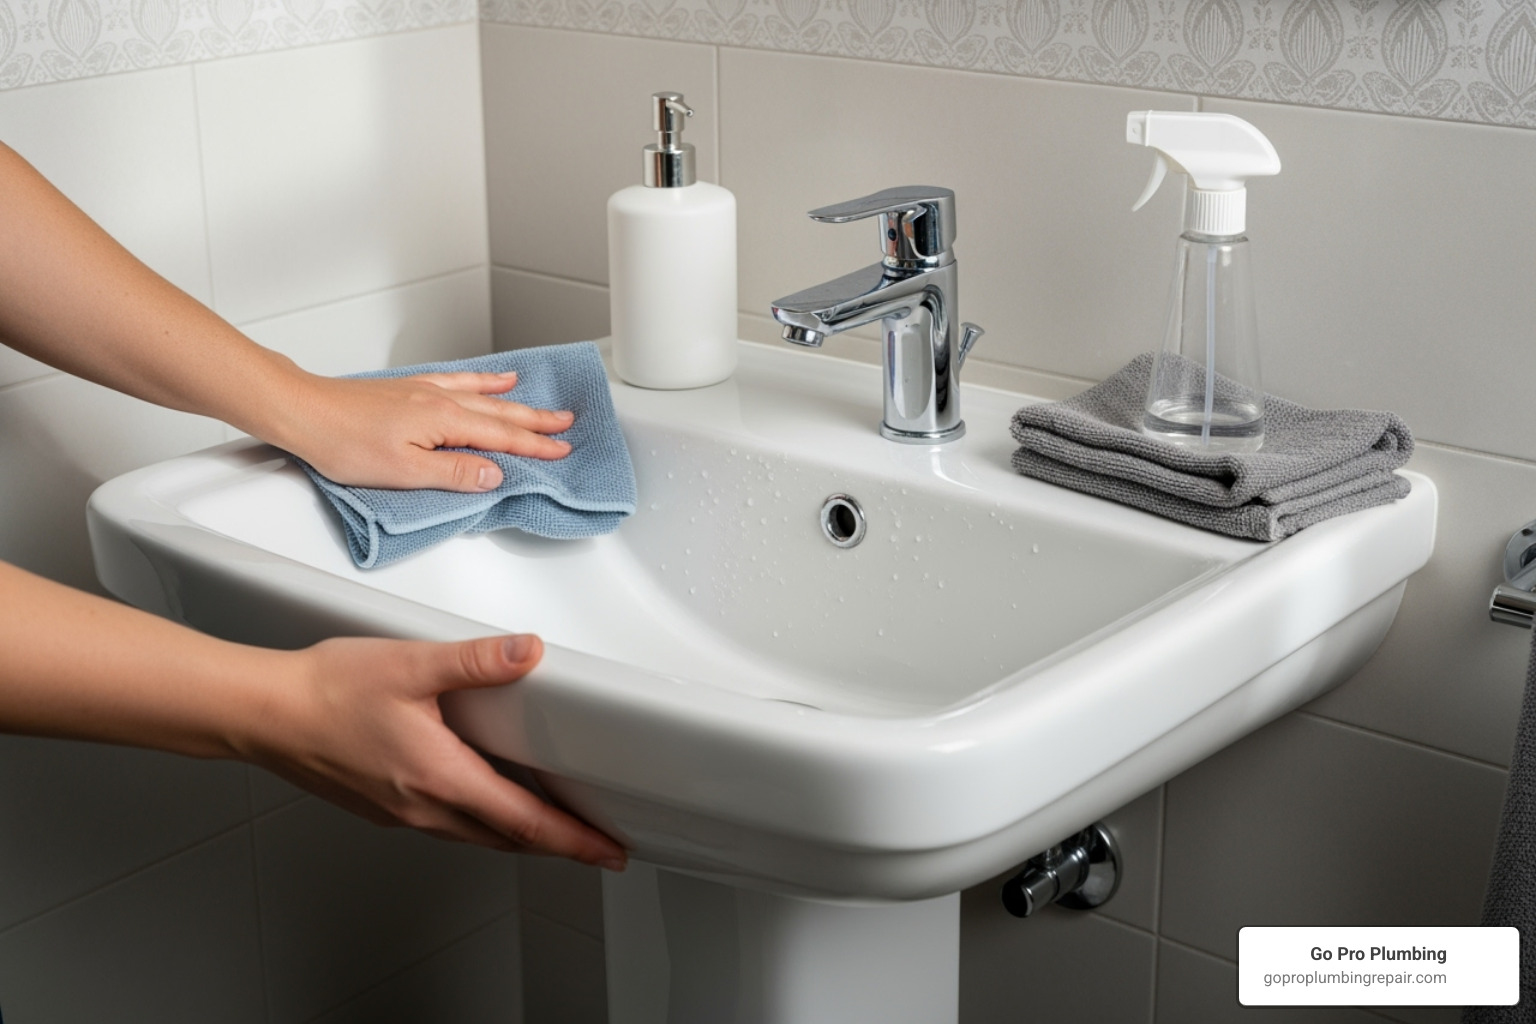
Best Practices for Pedestal Sink Maintenance
A little TLC goes a long way.
- Regular cleaning: Use mild, non-abrasive cleaners. A mixture of hot water, detergent, and white vinegar works for a deeper clean.
- Avoid harsh chemicals: Harsh or acidic cleaners can damage porcelain or vitreous china finishes.
- Check for leaks periodically: Inspect under the sink for moisture and tighten connections as needed to prevent small drips from becoming major problems.
- Tighten connections: Periodically check and gently tighten mounting bolts, supply lines, and P-trap nuts.
- Maintain caulk seal: If the caulk between the sink and wall or around the base is cracked, reapply it to maintain a watertight seal and prevent wobbling.
- Prevent clogs: To prevent clogs, occasionally pour a mixture of salt, baking soda, and cream of tartar, followed by boiling water, down the drain.
When Your DIY Project Needs an Expert
While many repairs are DIY-friendly, know your limits. Consider calling us at Go Pro Plumbing if you encounter:
- Cracked porcelain basin: A cracked basin cannot be effectively repaired and requires complete replacement.
- Major leaks inside the wall: A leak behind the sink requires a professional to prevent structural damage and mold.
- Rusted or seized plumbing fixtures: If fixtures are too corroded to remove without breaking, it’s time to call a pro.
- If you’re uncomfortable with the project: If you feel out of your depth, it’s always best to call for help.
- Significant plumbing adjustments: Moving water lines or reconfiguring drainpipes is a job for a licensed plumber.
At Go Pro Plumbing, we serve Northern California, including Sacramento and Rancho Cordova. We pride ourselves on outstanding customer service and often offer same-day service. Don’t hesitate to reach out if your pedestal sink repair feels overwhelming.
Frequently Asked Questions about Pedestal Sink Repair
Here are answers to common questions about pedestal sink repair from homeowners across Northern California.
How long does a typical pedestal sink repair take?
The time required depends on the repair. We always tell customers to plan for more time than you think you’ll need, as rushing can cause more problems.
Quick fixes, like tightening a supply line or clearing a simple clog, can take under an hour. However, more complex jobs, like replacing a faucet or installing a new drain assembly, can take a DIYer 2-3 hours. Even professionals can take this long, especially if old, excessive caulking makes accessing connections a challenge. Patience is key to getting the job right the first time.
Can I replace just the sink basin and keep the old pedestal?
Many homeowners ask this to save money, but it’s really not recommended.
Basins and pedestals are designed as matching sets by manufacturers to ensure stability and proper alignment. Mixing and matching can lead to instability and rocking, which puts stress on the new porcelain basin and can cause it to crack. Aesthetically, it may also look “off.” For long-term stability and a cohesive look, it’s best to replace the entire set.
What is the most difficult part of a pedestal sink repair?
Ask any plumber, and they’ll likely say the hardest part is working in the impossibly tight, confined space behind the pedestal.
The pedestal encloses all the plumbing connections, turning simple tasks into an exercise in patience. You’ll often find yourself on your back, reaching around the pedestal to access connections you can’t see. This is why a basin wrench is absolutely essential for this job. Even with the right tool, the work requires patience. The confined space also makes it hard to catch water, see your work, and maneuver tools, extending the time a repair takes. Our advice: clear the area, use good lighting (a headlamp works wonders), and take breaks.
Conclusion
Completing a pedestal sink repair yourself is deeply satisfying. You’ve not only saved yourself a significant chunk of change (professional plumber calls can run $150-300 for basic repairs), but you’ve also gained valuable home maintenance skills. Your bathroom is functional again, and you now understand how your sink works, making it easier to spot future issues.
Of course, we understand that some projects are more complex than anticipated, or you may simply lack the time or tools. That’s perfectly okay – and that’s exactly where we come in!
At Go Pro Plumbing, we’ve been helping homeowners throughout Northern California tackle everything from simple leaks to complete bathroom renovations. Our team genuinely cares about getting your plumbing back to perfect working order, and we’re known for our same-day service when you need help fast. Whether you’re in Sacramento, Rancho Cordova, or anywhere else in our service area, we’re just a phone call away.
Don’t let a stubborn sink problem disrupt your daily routine. Sometimes the smartest DIY move is knowing when to call in the experts! For professional, reliable help with your pedestal sink or any other plumbing challenge, Contact us for professional faucet and sink services. We’re here to help.
