
Quick Hot Water Valve Replacement for Instant Leak Relief
By Brian on September 21, 2026
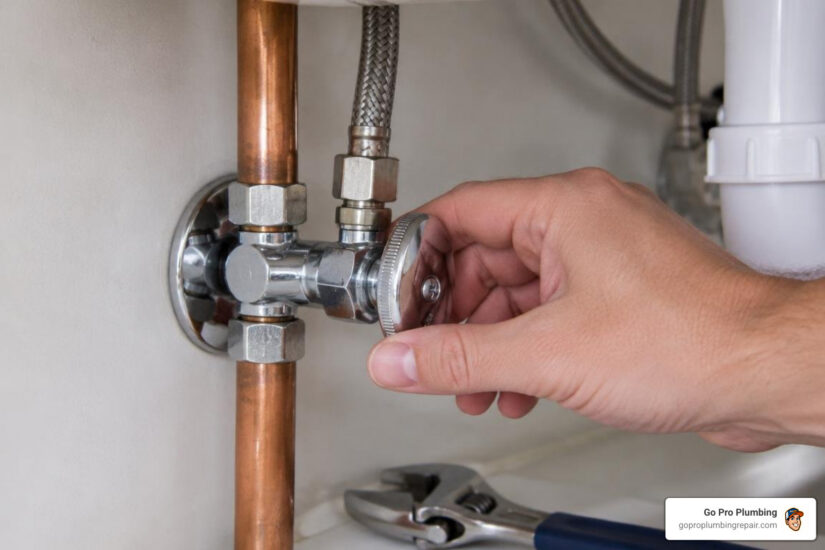
Stop a Leaking Hot Water Shutoff Valve Fast
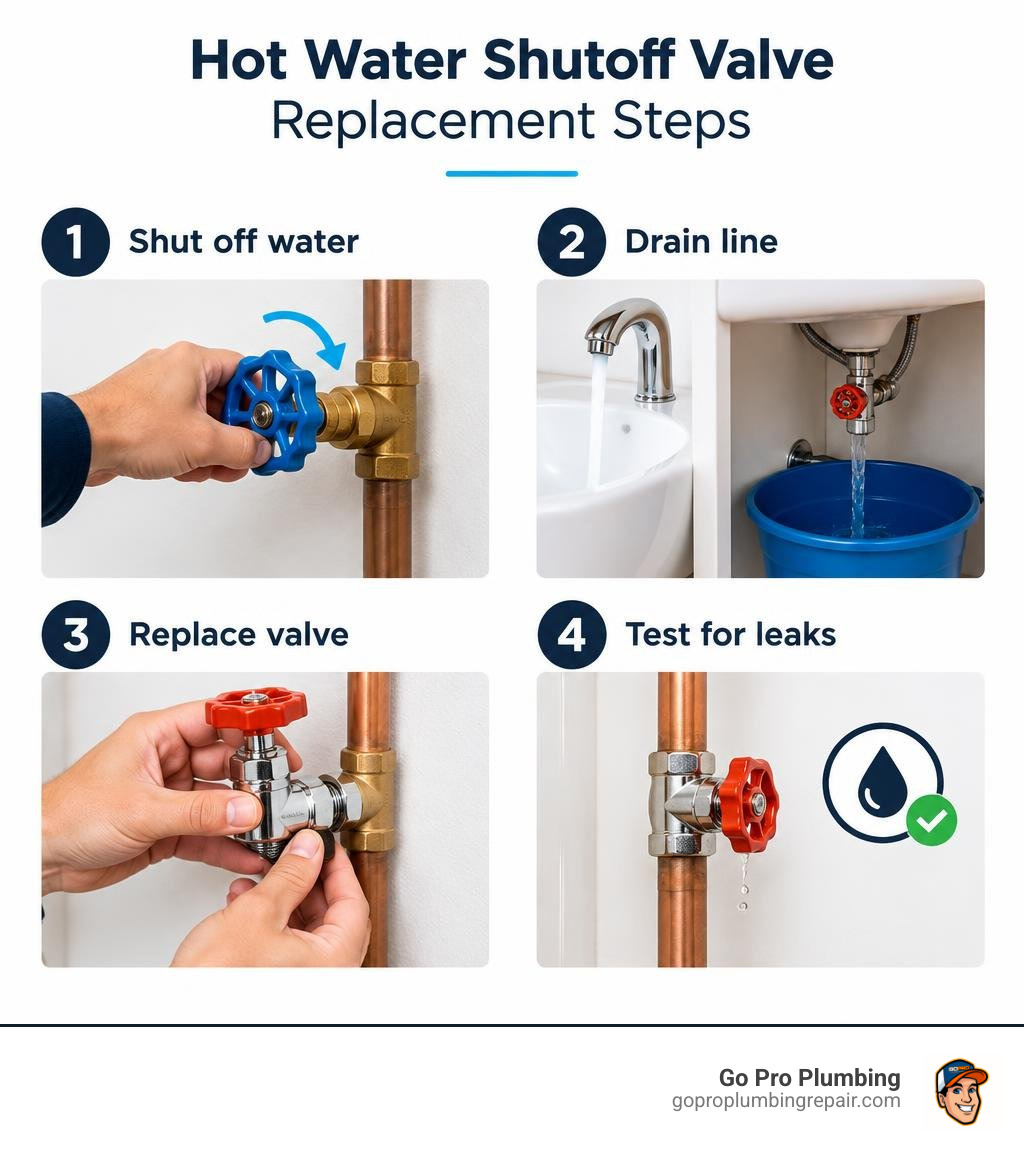
A hot water valve replacement starts with shutting off the home’s main water supply, opening the hot faucet to release pressure, and swapping the failed fixture valve for a correctly sized replacement. For a typical under-sink valve, a quarter-turn compression or push-fit valve can provide a dependable shutoff when installed on clean, undamaged pipe.
Do not start loosening fittings until the water is fully off. Keep a bucket and towels below the valve, then test the new connection slowly after restoring water. A steady drip, corrosion, a hard-to-turn handle, or weak hot-water flow are common signs the old valve is due for replacement.
If the valve is connected to a water heater safety system, leaks are inside a wall, or the main shutoff will not close, stop and call a licensed plumber. Water heater temperature-and-pressure relief valves are critical safety devices and must never be capped or plugged.
Hot water valve replacement terms to know:
Signs You Need a Hot Water Valve Replacement

Shut-off valves and safety relief components work quietly behind the scenes until sudden puddles appear under your cabinets or near your water heater. Because hot water accelerates rubber degradation and causes mineral expansion, hot water valves often wear out faster than their cold-water counterparts.
Recognizing the earliest warnings of failure protects your home from catastrophic water damage:
- Constant Drips or Seepage: A persistent leak around the valve stem, compression nut, or discharge outlet indicates degraded internal seals or mechanical failure.
- Mineral Crusting and Corrosion: White, green, or rusty buildup around the valve body demonstrates that minor leaks have been evaporating, leaving mineral deposits that gradually weaken the metal fitting.
- A Stuck or Seized Handle: Multi-turn gate valves rely on internal rubber washers and threaded stems that seize up after years in one position. Forcing a frozen handle can snap the stem inside the pipe.
- Inability to Fully Stop Water Flow: If you turn the handle completely clockwise and hot water continues streaming from the fixture, the internal seat has failed.
- Reduced Hot Water Flow: Heavy scale and calcium accumulation inside older valves restrict pipe volume, starving your fixtures of hot water.
- Valve Age Exceeds 5–7 Years: Most plumbing manufacturers and industry professionals recommend replacing your water heater valves and fixture shutoffs every 5 to 7 years as routine preventative care.
When troubleshooting persistent temperature drops or strange heating behaviors, check for common water heater problems and solutions across your entire plumbing system to make sure the valve is the primary culprit.
Essential Tools and Choosing the Right Replacement Valve
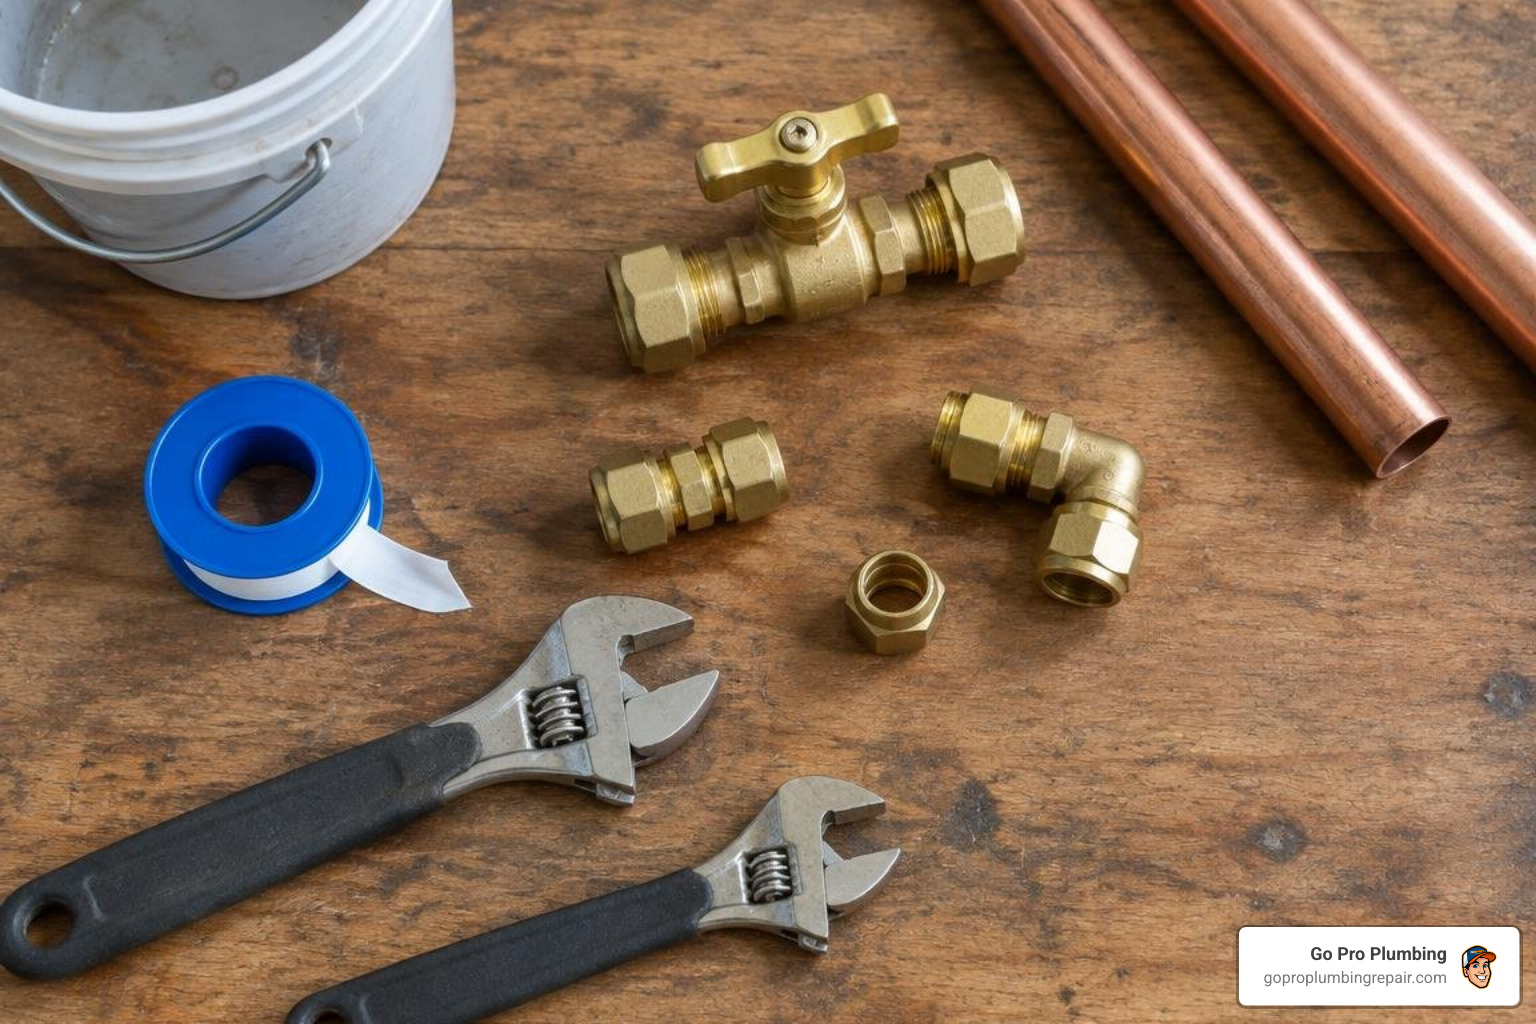
Before starting your repair, gathering the proper equipment prevents unplanned trips to the hardware store while your home’s water supply is turned off.
Required Tools and Materials Checklist
- Two adjustable wrenches (or one open-end wrench and one pipe wrench)
- PTFE plumber’s thread tape (Teflon tape)
- Small bucket and absorbent rags or towels
- Fine-grit emery cloth or wire brush
- Compression sleeve puller (optional, but helpful for stubborn brass ferrules)
- Replacement valve (properly sized for your supply pipe and fixture line)
Always review standard plumbing fixture installation guidelines to ensure all components comply with modern residential plumbing codes.
Comparing Compression, Push-Fit, and Quarter-Turn Ball Valves
Choosing the right valve design makes installation straightforward and ensures decades of leak-free service. Most residential hot water supply lines feature 1/2-inch nominal copper pipe (which measures 5/8-inch Outer Diameter) or flexible PEX tubing leading to 3/8-inch OD flexible fixture risers.
| Valve Type | Ideal Pipe Material | Key Advantages | Disadvantages / Considerations |
|---|---|---|---|
| Quarter-Turn Ball Valve | Rigid Copper / Brass | Highly reliable, Teflon-seated stainless ball, quick 90-degree shutoff, zero rubber washers to rot. | Requires precise wrench tightening on the compression nut. |
| Traditional Multi-Turn Valve | Rigid Copper / Iron | Inexpensive, widely available in older properties. | Internal rubber washers degrade quickly in hot water; prone to seizing. |
| Push-to-Connect (Push-Fit) | Copper, PEX, CPVC | Tool-free installation, ideal for tight spaces and quick repairs. | Requires perfectly clean, burr-free pipe cuts; slightly higher fitting cost. |
For long-term reliability under sinks and behind fixtures, quarter-turn ball valves made from solid lead-free brass are the gold standard. If you want seamless upgrades for your bathroom or kitchen fixtures, explore our professional sink and faucet plumbing services for complete fixture care.
Step-by-Step Guide to Replacing a Fixture Shut-Off Valve
Replacing a faulty under-sink angle stop or straight stop valve requires methodical line preparation. Following a practical sink valve replacement guide prevents accidental pipe damage.
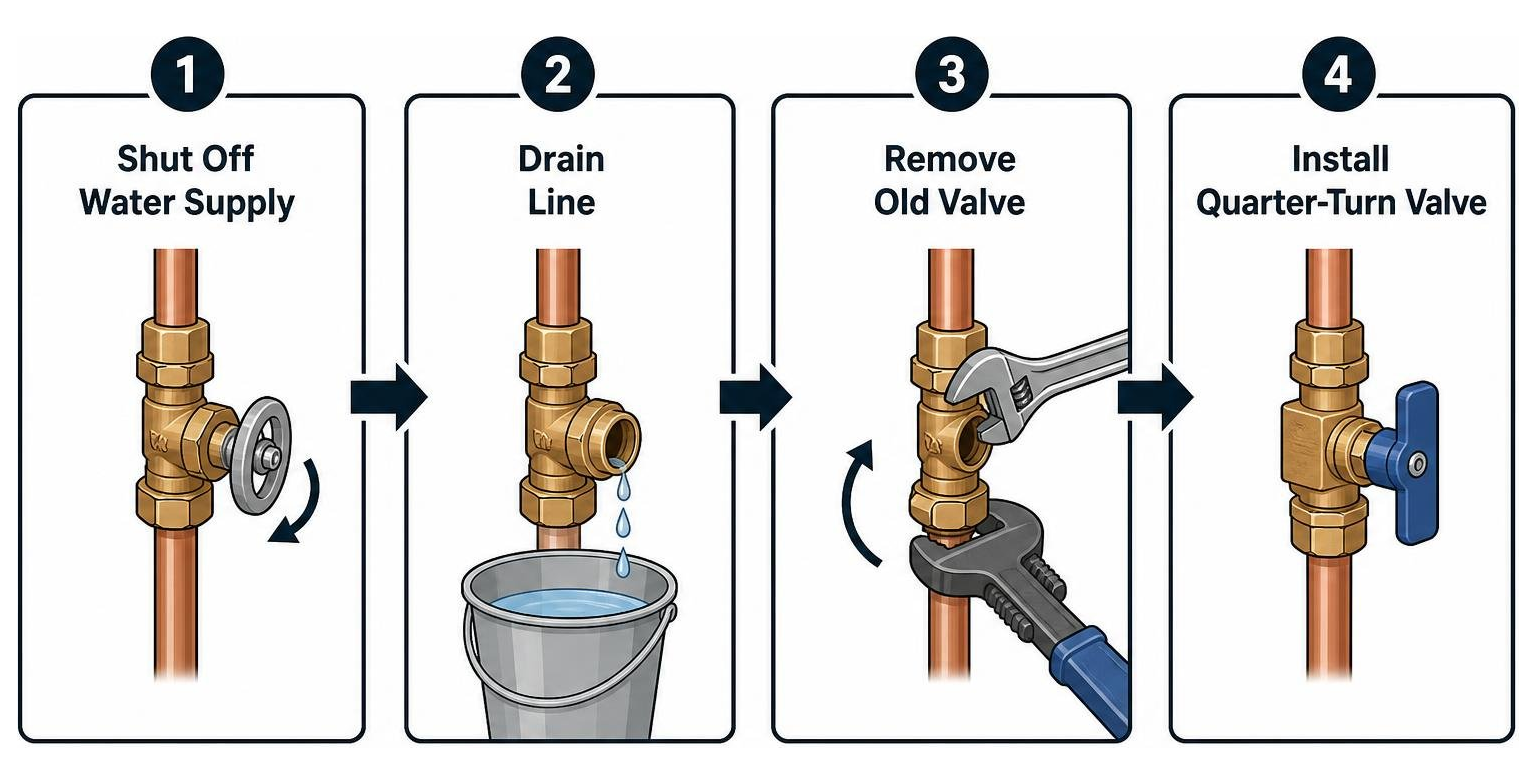
- Shut Off the Water Supply: Close the home’s main water shutoff valve. If your water heater has a dedicated cold inlet valve, close that as well to prevent backflow.
- Relieve Line Pressure: Open the hot water faucets on the lowest and highest levels of your home to drain residual water and relieve standing pressure.
- Prep the Work Area: Place a shallow bucket and towels directly beneath the old valve under the sink.
- Disconnect the Supply Line: Using an adjustable wrench, loosen the top nut connecting the flexible supply line to the fixture. Allow any residual water to drain into the bucket.
- Remove the Old Valve Body: Place one wrench firmly on the valve body to stabilize it and a second wrench on the rear compression nut. Turn the compression nut counter-clockwise to break the seal and slide the valve body off the copper stub-out.
- Inspect the Brass Ferrule (Compression Ring): If the existing brass ring and nut are undamaged and align with the new valve threads, you can reuse them. If they are corroded or deformed, use a dedicated ferrule puller to slide them off without crushing the copper tubing.
- Clean the Pipe Surface: Clean the copper stub-out using an emery cloth or wire brush to remove mineral deposits, old flux, and oxidation until the metal is smooth and shiny.
Executing the Fixture Hot Water Valve Replacement
Once the pipe is prepped, install your new valve using proper mechanical tightening principles:
- Slide On the Hardware: Slide the new compression nut onto the copper pipe, followed by the brass compression sleeve (ferrule).
- Seat the Valve: Push the new quarter-turn valve body onto the pipe until the copper bottoms out firmly against the internal shoulder of the fitting.
- Avoid Thread Sealants on Compression Threads: Do not apply PTFE tape or pipe dope to the compression threads. Compression fittings create a watertight seal via mechanical pressure between the brass ring and the copper pipe; tape can prevent the nut from threading evenly and cause leaks.
- Tighten the Fitting: Hand-tighten the compression nut onto the valve body. Place one wrench on the valve body to keep it upright and use your second wrench to tighten the compression nut approximately 3/4 to 1 full turn past hand-tight.
- Reconnect Fixture Line: Thread the 3/8-inch flexible riser onto the valve outlet and tighten gently.
If you discover corroded or split copper lines coming out of your drywall during this process, reach out for expert hot water line repair to restore your system safely.
Troubleshooting Post-Installation Leaks and Water Pressure
After securing the fittings, slowly turn your home’s main water valve back on while a helper watches the new connection. If you spot a minor bead of water forming at the compression nut:
- Apply an Extra 1/8 Turn: Turn the main water off, bleed the pressure, and tighten the compression nut an additional 1/8 to 1/4 turn. Avoid severe over-tightening, which can crimp the copper pipe.
- Verify Line Pressure: Standard residential water pressure should sit comfortably between 50 and 60 PSI. Local building codes require that household water pressure never exceed 80 PSI.
- Address Thermal Expansion: If your shutoff valves or water heater relief fittings repeatedly drip after hot water use, your plumbing may be a closed system experiencing pressure spikes. Reviewing proper water heater expansion tank installation helps absorb expanding water volume and protect your new valves.
How to Replace a Water Heater Temperature and Pressure Relief Valve
A water heater’s Temperature and Pressure (T&P) relief valve is your tank’s primary safety mechanism. Standard residential tank water heaters require a valve with a 3/4-inch NPT (National Pipe Thread) inlet and outlet calibrated to discharge automatically if tank pressure reaches 150 PSI or water temperature hits 210°F.
Replacing a hot water pressure valve can be done in three straightforward steps to ensure your tank remains completely safe. Never cap, plug, or reduce the diameter of a T&P valve discharge line—doing so eliminates safety venting and creates severe explosion risks.
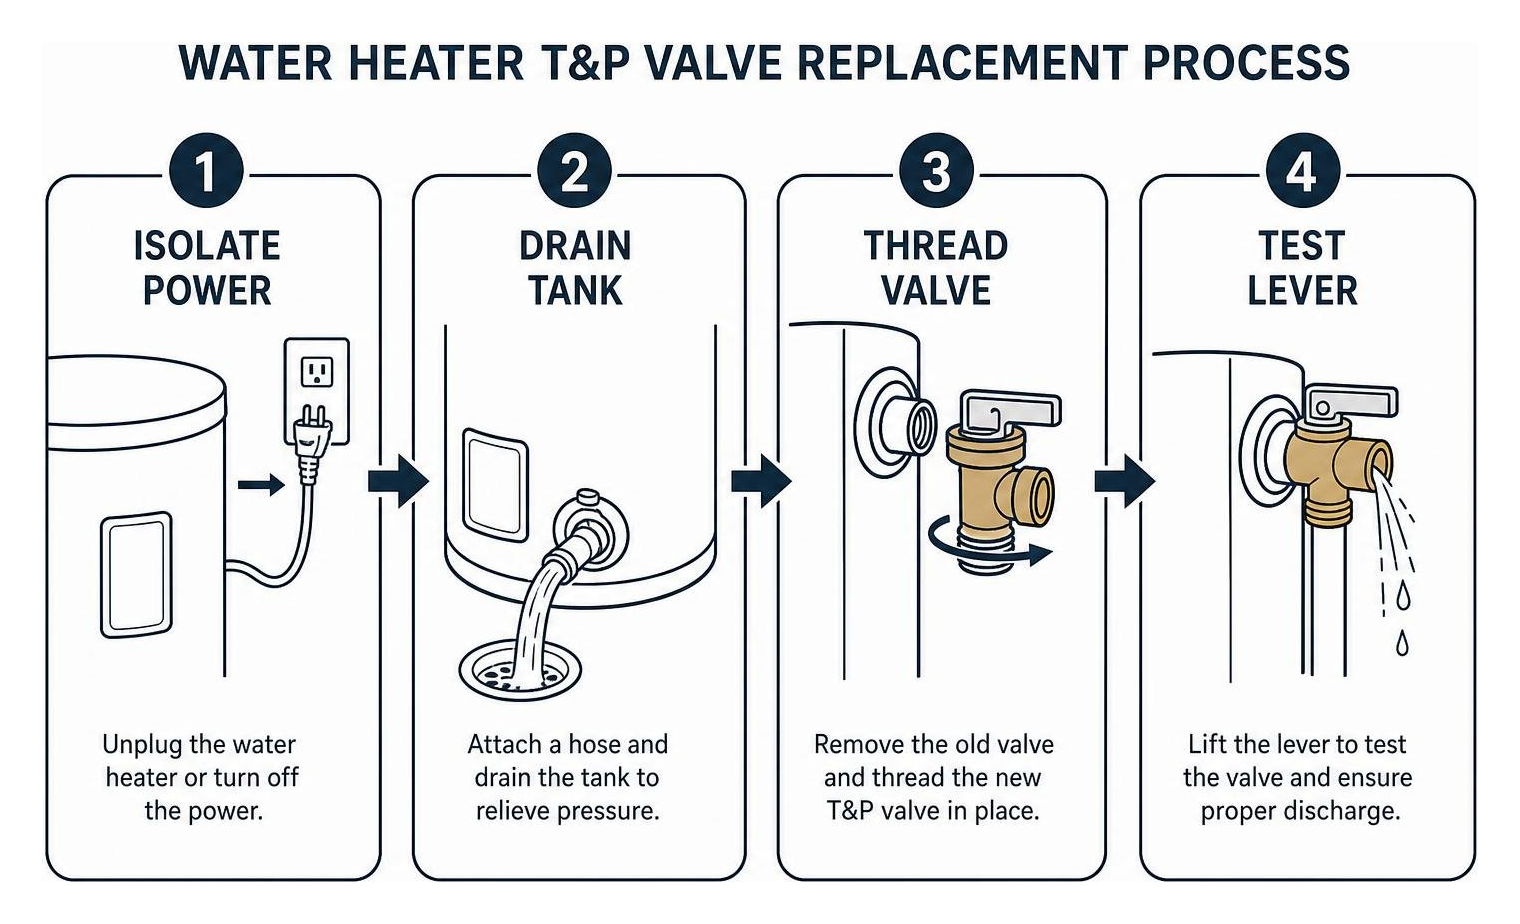
Always verify temperature settings against standard shower and fixture limits; plumbing safety standards recommend setting mixed hot water at or below 120°F to prevent accidental scalding. If your tank shows continuous pooling near the base, schedule a water heater leak repair before structural damage occurs.
Water Heater T&P Hot Water Valve Replacement Procedure
Replacing a T&P relief valve takes between 20 to 45 minutes when following these steps:
- Cut Power or Gas: Turn off the circuit breaker for an electric water heater, or rotate the gas control dial to “OFF” or “PILOT” on a gas unit.
- Shut Off Cold Water Supply: Turn the cold water shutoff valve located above the water heater completely off.
- Drain Water Below Valve Level: Connect a standard garden hose to the tank’s lower drain valve, run the other end to a floor drain or outdoors, and drain approximately 5 to 10 gallons of water so the water level drops below the T&P port.
- Disconnect Discharge Pipe: Unscrew the copper or galvanized discharge tube connected to the T&P valve outlet.
- Unthread Old Valve: Use a heavy-duty pipe wrench or large adjustable wrench on the valve body, turning counter-clockwise to back the old valve out of the tank.
- Clean Tank Threads: Use a small wire brush to clear old sealant and rust from the tank’s female threads.
- Wrap New Threads: Apply 4 to 6 wraps of PTFE thread tape in a clockwise direction around the male 3/4-inch NPT threads of your new valve.
- Thread in New Valve: Screw the new 3/4-inch T&P valve into the tank port by hand, then tighten with your wrench until the outlet points straight down.
- Reattach Discharge Line: Reinstall the discharge pipe, ensuring it terminates 6 inches above the floor or drain pan.
- Refill and Purge: Close the drain valve, open the cold water supply, and open a nearby hot faucet to bleed trapped air until water runs steady.
- Perform Lever Test: Lift the small test lever on the new T&P valve briefly to ensure water discharges freely and reseats tightly without drips. Restore power or relight the pilot.
For long-term tank protection, consult a complete guide to replacing your water heater valves alongside our comprehensive routine water heater maintenance guide.
Frequently Asked Questions About Hot Water Valves
Why is my new hot water shutoff valve still dripping after installation?
A slight drip immediately after installation usually points to minor under-tightening of the compression nut, a misaligned brass ferrule, or fine debris on the pipe. Turn the water supply back off, relieve line pressure, and snug the nut an additional 1/8-turn. If you are using push-fit fittings on PEX or copper, ensure the pipe end was cut square, deburred, and pushed fully past the internal O-ring.
What is the cost difference between DIY and professional valve replacement?
Handling a valve replacement on your own generally costs between $20 and $35 for the replacement part and basic thread tape. Hiring a licensed plumbing professional typically ranges from $150 to $300, depending on valve accessibility, pipe condition, and water heater configuration. While DIY saves roughly $120 to $250, calling a professional ensures correct torque, safety code compliance, and complete protection against accidental leaks.
When should I call a licensed plumber instead of doing DIY replacement?
You should call a licensed plumber if your main water shut-off valve fails to hold back water, if pipes behind your walls show advanced corrosion, if threaded fittings on your water heater tank are rusted solid, or if work must be done near active gas lines. Professional expertise prevents costly pipe breaks inside finished walls and guarantees warranty-backed workmanship.
Conclusion
A failing hot water shutoff or pressure relief valve is a problem you cannot afford to ignore. Whether you are swapping an under-sink angle stop for a modern quarter-turn ball valve or installing a fresh T&P valve on your water heater, using proper line preparation, correct thread sealing, and careful leak testing ensures your plumbing stays safe and dry.
If you run into stubborn, seized fittings or prefer to have seasoned local technicians handle the job, our team at Go Pro Plumbing is here to help. We proudly serve homeowners across Rancho Cordova, Sacramento, and Northern California with reliable, same-day plumbing service and outstanding customer care. Schedule professional water heater repair with our certified team today to stop leaks fast and protect your home.