
Troubleshooting and Fixing Toilet Flappers Without Calling a Plumber
By Brian on September 28, 2026
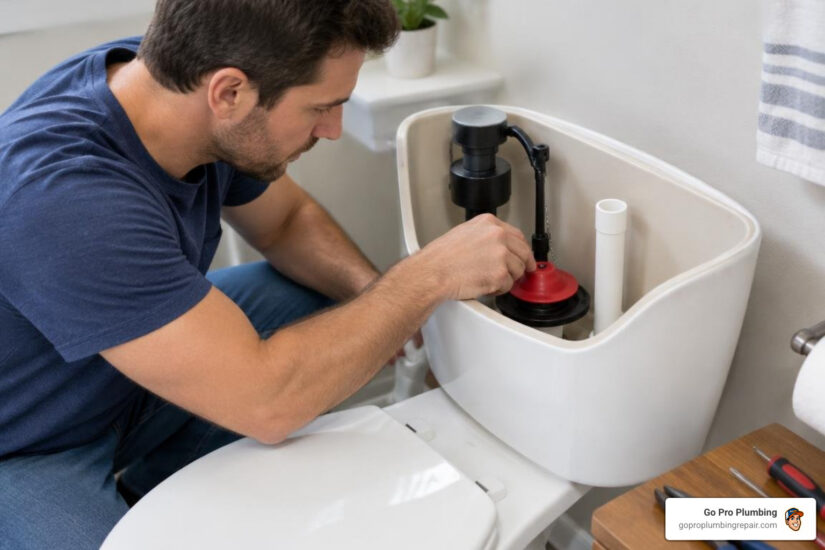
Stop a Running Toilet by Fixing the Flapper
A toilet that refills on its own, hisses after flushing, or makes a “phantom flush” often has a flapper that no longer seals. Fixing a toilet flapper usually means turning off the water, draining the tank, removing the old rubber flapper, cleaning the flush-valve seat, and installing a matching replacement with about 1/2 inch of chain slack.
This is a small repair, but it matters. A leaking toilet can waste up to 200 gallons of water per day, adding unnecessary cost to your water bill. In many cases, a worn, warped, or hardened flapper is the reason the toilet keeps running.
Before buying a replacement, test the leak with a few drops of food coloring in the tank. If color reaches the bowl after about 15 minutes without flushing, water is slipping past the flapper.
This guide explains how to spot the problem, choose the right 2-inch or 3-inch flapper, make the repair, and troubleshoot a toilet that still runs afterward.
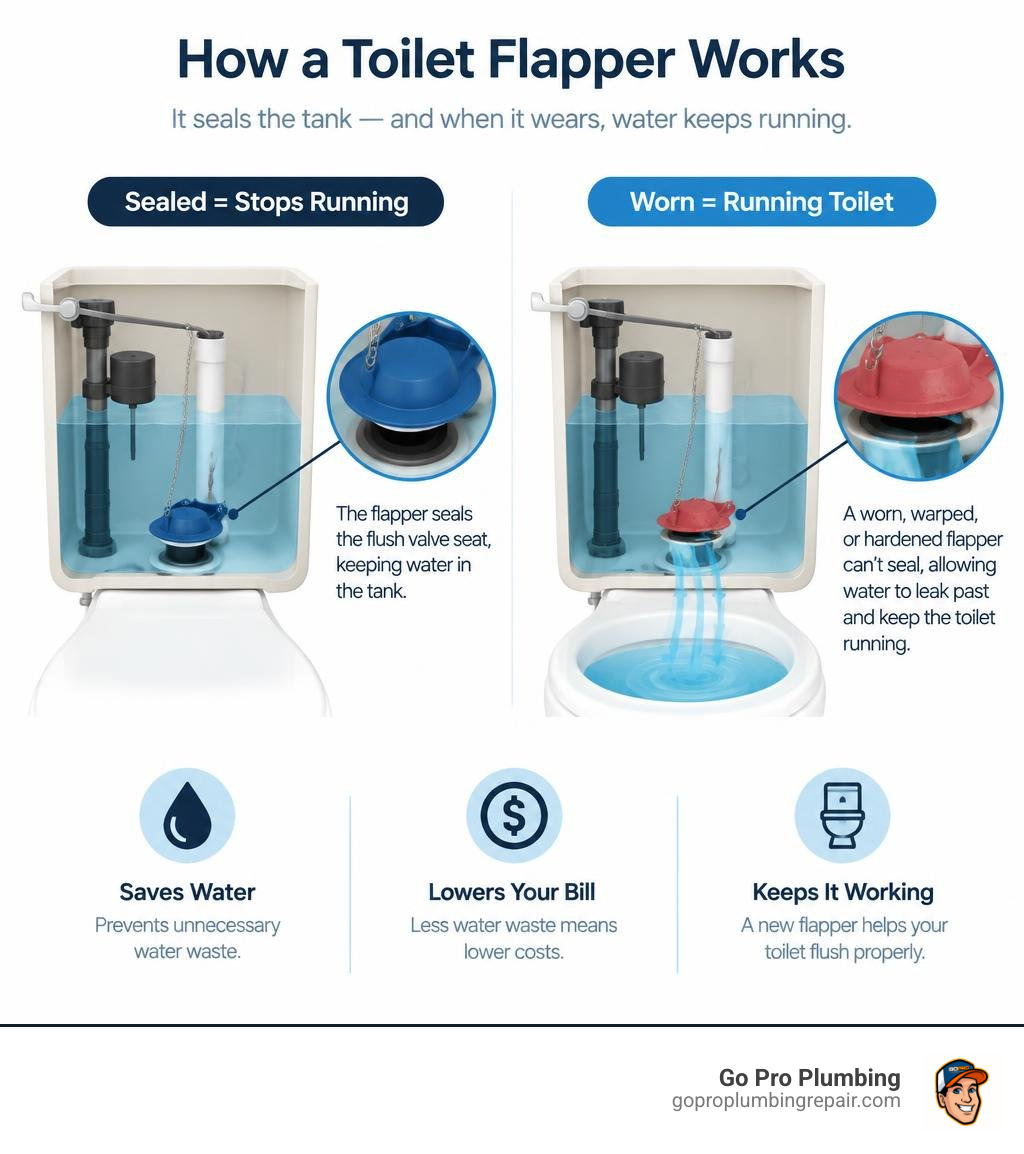
Common fixing toilet flapper vocab:
Signs of a Bad Toilet Flapper and How to Test It
A worn-out toilet flapper rarely fails all at once. Instead, it starts with subtle warning signs that are easy to overlook until your monthly utility bill arrives. A worn flapper is the cause of a running toilet roughly 80% of the time, making it the very first component you should investigate when toilet trouble strikes.
The most common signs of a failing toilet flapper include:
- Phantom Flushing: You are sitting in the living room and suddenly hear the toilet refill for a few seconds, even though nobody has used the bathroom. This happens because water slowly leaks past the flapper until the tank water level drops enough to trigger the fill valve.
- Constant Hissing or Trickling Sounds: A faint, continuous hissing noise inside the tank indicates that the fill valve is constantly trickling fresh water into the tank to replace what is escaping through the flush valve.
- Visual Deterioration: If you take off the tank lid and touch the flapper, your fingers might come away covered in black, slimy residue. This indicates that municipal chlorine or in-tank cleaning chemicals have broken down the rubber.
- Warping or Hardening: Over time, rubber loses its flexibility. A hardened or curled flapper cannot create an airtight, watertight seal against the circular flush valve seat.
If you notice any of these warning signs, learning how to fix a running toilet before hundreds of gallons slip down the drain is essential. For additional background on common tank leaks, you can review How to Fix Your Leaky Toilet Flapper to understand why rubber components degrade over time.
The Food Coloring Leak Test
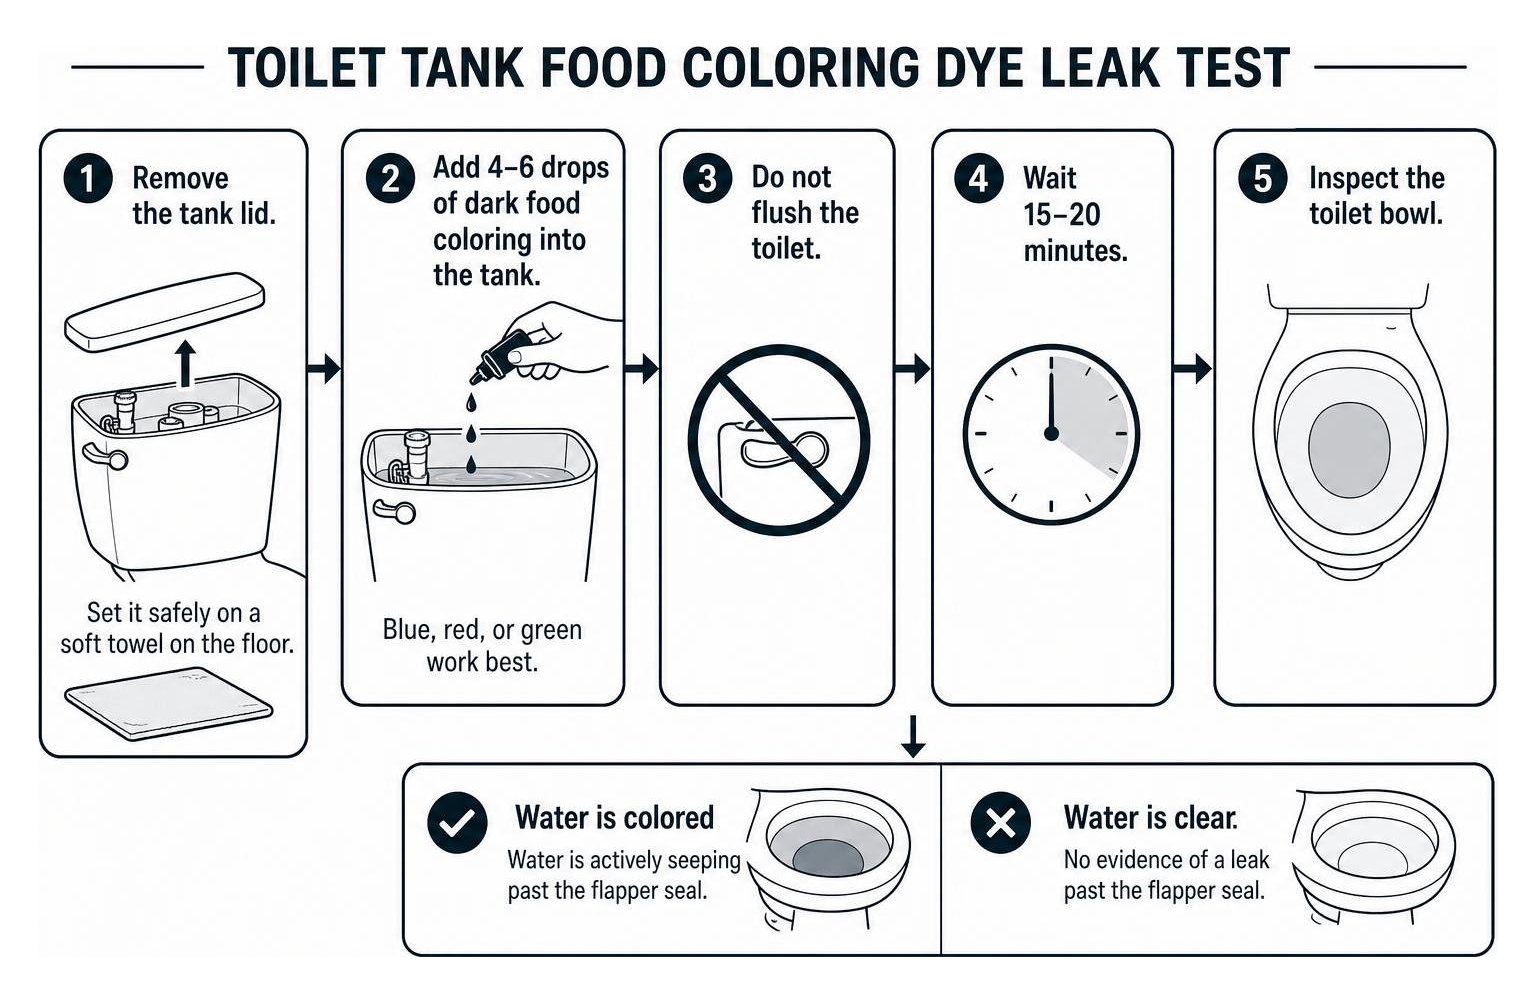
You do not need specialized plumbing gear to confirm a flapper leak. A simple food coloring test gives you definitive proof within minutes:
- Remove the toilet tank lid and set it safely on a soft towel on the floor.
- Add 4 to 6 drops of dark food coloring (blue, red, or green work best) into the water inside the tank.
- Do not flush the toilet.
- Wait 15 to 20 minutes.
- Inspect the toilet bowl. If the water in the bowl has changed color, water is actively seeping past the flapper seal.
According to the EPA WaterSense program, an unaddressed toilet leak can waste up to 200 gallons of water per day. Depending on local municipal rates, that leak can tack an extra $20 to $70 onto your monthly bill. Performing basic dye tests aligns directly with standard conservation initiatives, such as the water leak repair guidance from Rancho Water, helping homeowners catch silent plumbing waste early.
Can You Clean an Old Flapper Instead of Replacing It?
Homeowners often ask if cleaning an existing flapper will restore the seal without needing to buy a new part. The answer depends on what is causing the leak:
- When cleaning works: If your home has hard water and the leak is caused solely by light mineral scale, calcium crust, or silt caught between the flapper rim and the flush valve seat, gently wiping both surfaces with a damp cloth or soft sponge soaked in vinegar may temporarily restore the seal.
- When replacement is necessary: If the rubber has become brittle, warped, pitted, or chemically degraded, cleaning will not solve the issue. Rubber cannot regain its original elasticity once chlorine or age breaks down its molecular structure.
Because a replacement flapper is an inexpensive fix, cleaning is usually a short-term workaround. If you are already opening up the commode for basic toilet tank repair, replacing the deteriorated flapper with a brand-new component is the most reliable long-term solution.
Choosing the Right Replacement Flapper Size and Material
Before heading to the hardware store, make sure you choose a flapper that matches your toilet’s flush valve dimensions and water chemistry. Installing the wrong size or material leads to immediate leaks, poor flush velocity, or rapid part degradation.

When selecting materials, prioritize premium elastomers or red rubber over standard black vinyl. Specialized red rubber formulations resist chloramines and municipal water treatment additives, lasting significantly longer than cheaper alternatives. Leading industry brands like Korky and Fluidmaster produce durable, chlorine-resistant models engineered for broad compatibility. If your entire flush mechanism is aging, reviewing the best toilet repair kit options can help you decide between a standalone flapper or a complete overhaul kit.
| Feature / Metric | Standard 2-Inch Flapper | Large 3-Inch Flapper | Red Chlorine-Resistant Rubber |
|---|---|---|---|
| Typical Toilet Age | Pre-2000 & standard models | Modern high-efficiency toilets | All compatible toilet models |
| Flush Valve Diameter | ~2 inches to 2.5 inches | ~3 inches to 3.5 inches | Varies by sized model |
| Average Lifespan | 3 to 5 years (normal water) | 3 to 5 years (normal water) | 5 to 7 years (chemical resistant) |
| Chemical Resistance | Moderate | Moderate | High (withstands treated water) |
| Common Mount Style | Ear/Peg mount or Slip-ring | Frame-hinge or Dual-ear | Universal ear or frame mount |
2-Inch vs. 3-Inch Flappers: How to Measure
Toilet flappers are not one-size-fits-all. The two predominant sizes used in residential plumbing are 2-inch and 3-inch flappers:
- 2-Inch Flappers: Found on older toilets (generally manufactured before the early 2000s) and many standard 1.6-gallon-per-flush (GPF) commodes.
- 3-Inch Flappers: Standard on newer high-efficiency toilets (HET) engineered to deliver a rapid, powerful flush using 1.28 gallons or less. Some modern performance commodes feature flush openings up to 3.5 or 4 inches.
To measure your flush valve accurately, shut off the water, flush the toilet to empty the tank, and measure the inside diameter of the drain hole at the bottom of the tank with a ruler or tape measure. If the opening is roughly the size of a baseball or orange, you need a 3-inch flapper. If it is roughly the size of a lemon or tennis ball, a 2-inch flapper is the correct match.
Step-by-Step Guide to Fixing Toilet Flapper Issues
Replacing a damaged flapper is one of the most straightforward plumbing repairs you can complete at home. It requires minimal time, simple household tools, and no specialized technical experience.
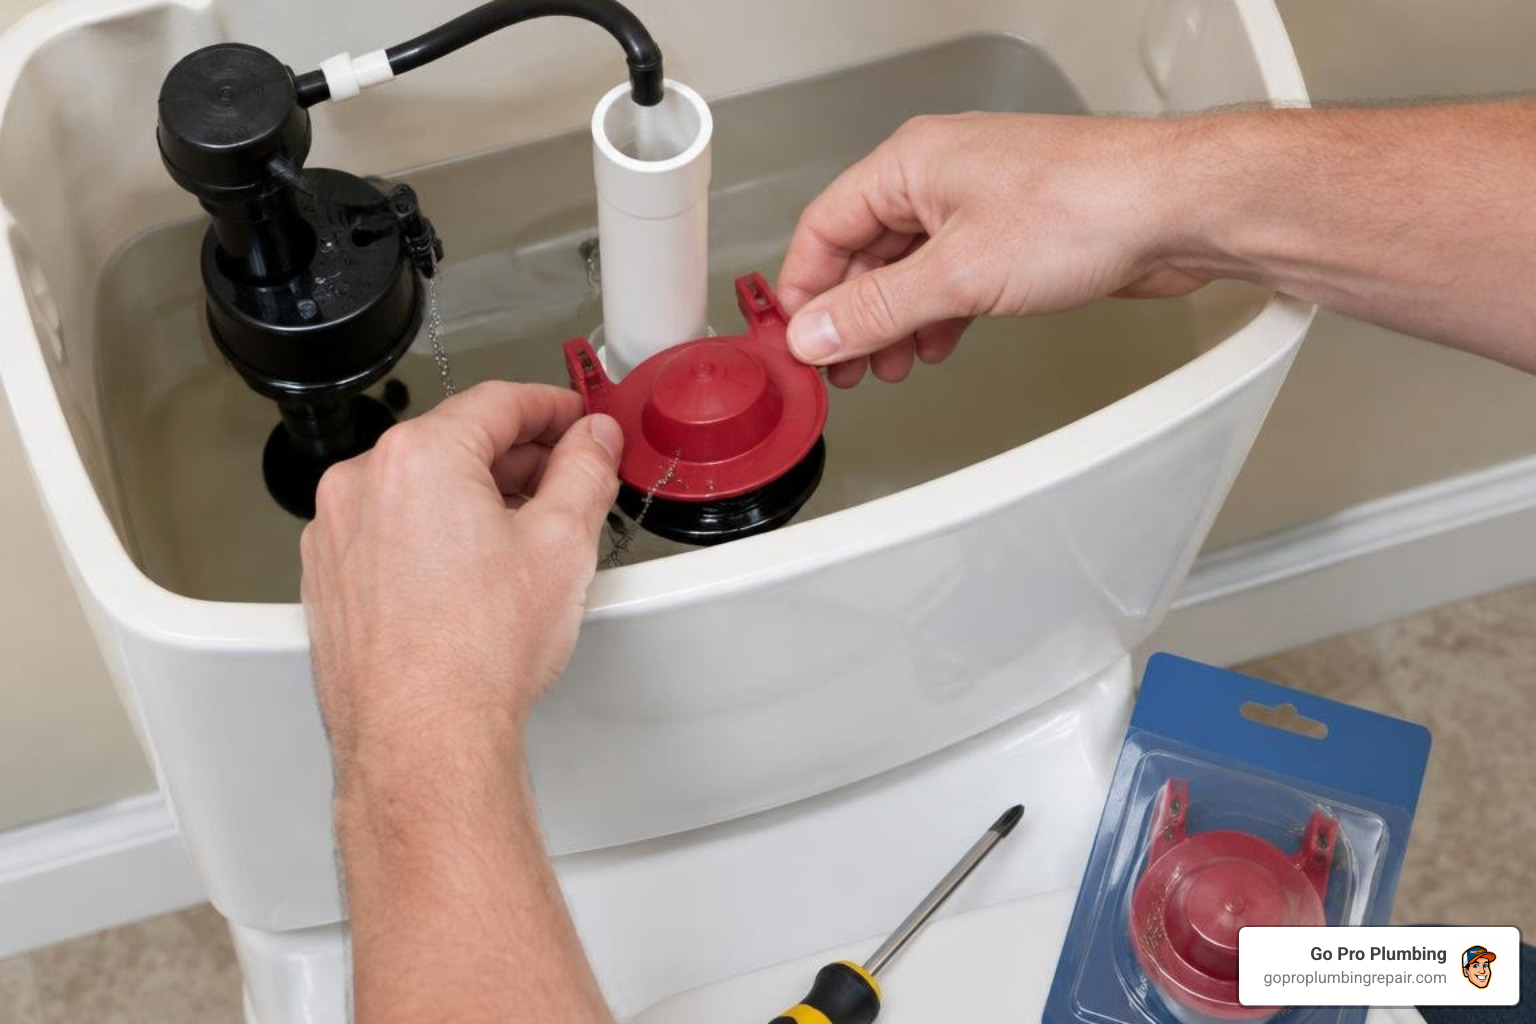
If your flush valve assembly itself is damaged or cracked, consult our toilet flush valve replacement guide for complete seat replacement steps. For a standard flapper swap, follow the straightforward procedure below.
Essential Tools and Materials for Fixing Toilet Flapper Leaks
Gather these items before starting your repair:
- New replacement flapper (matched to 2-inch or 3-inch size)
- Rubber gloves
- Sponge and small bucket (to remove residual tank water)
- Soft cleaning cloth or microfiber towel
- Distilled white vinegar (for wiping away mineral crust)
- Small pair of needle-nose pliers (optional, for stubborn chain clips)
If other components inside your tank show signs of corrosion, having a complete toilet repair kit on hand lets you service the fill valve and seals during the same session.
Removing the Old Flapper and Cleaning the Valve Seat
- Shut Off the Water Supply: Locate the oval shutoff valve on the wall behind the toilet. Turn the handle clockwise until it is fully closed.
- Drain the Tank: Press and hold the flush lever down until almost all the water drains from the tank into the bowl.
- Mop Up Remaining Water: Use a sponge to absorb the last inch of water remaining at the bottom of the tank, wringing it out into a bucket so you have a dry work area.
- Disconnect the Lift Chain: Unhook the small metal clip connecting the flapper chain to the flush handle trip lever arm.
- Unhook the Flapper Ears: Gently pull the side ears of the rubber flapper off the mounting pegs located at the base of the vertical overflow tube. (If your toilet uses an older ring-style mount without side pegs, slide the collar up and off the overflow tube).
- Clean the Flush Valve Seat: Inspect the circular rim where the flapper sits. Mineral scale, algae, or bits of decomposed rubber will prevent a new flapper from creating a watertight seal. Wipe the lip of the valve seat thoroughly with your soft cloth and a splash of vinegar until the surface is completely smooth to the touch.
Installing the New Flapper and Adjusting Chain Tension
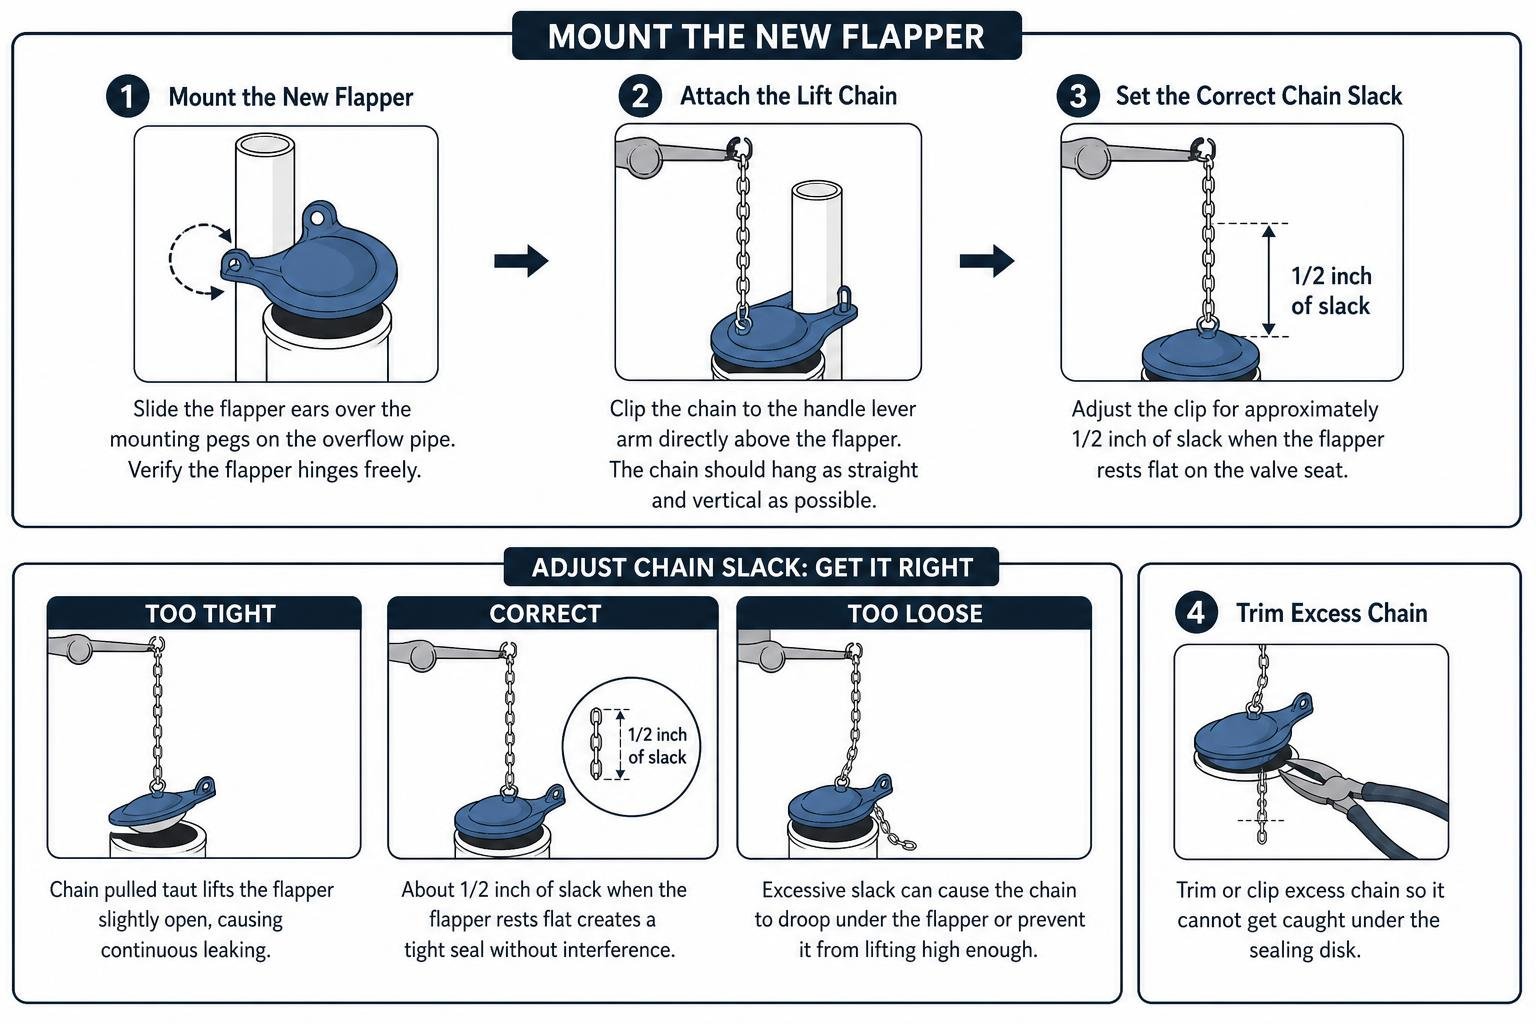
- Mount the New Flapper: Slide the rubber mounting ears of the new flapper over the corresponding pegs on the overflow pipe. Verify that the flapper hinges freely up and down without binding against the overflow tube.
- Attach the Lift Chain: Clip the stainless steel chain to the toilet handle lever arm directly above the flapper. The chain should hang in as close to a straight vertical line as possible to prevent side-pull binding.
- Set the Correct Chain Slack: Adjust the clip so there is approximately 1/2 inch of slack in the chain when the flapper rests fully flat on the valve seat. If the chain is pulled taut, the flapper will be held slightly open, causing continuous leaking. If the chain has excessive slack, it will droop beneath the flapper or fail to lift it high enough during a flush.
- Trim Excess Chain: If your new flapper comes with several inches of excess chain dangling past the connection hook, trim it with wire cutters or clip it up so it cannot get caught under the sealing disk.
If you are using an adjustable-timing flapper, refer to the manufacturer instructions on flapper timing to rotate the bulb dial to the correct setting for your toilet’s specific gallon-per-flush rating.
- Restore the Water and Test: Turn the water shutoff valve counter-clockwise to refill the tank. Let the tank fill completely until the fill valve shuts off automatically, then test the flush mechanism several times to ensure smooth operation.
Why Is the Toilet Still Running After Flapper Replacement?
If your tank continues to run or hiss after you have installed a new flapper, do not worry. A few secondary adjustments typically solve the issue.
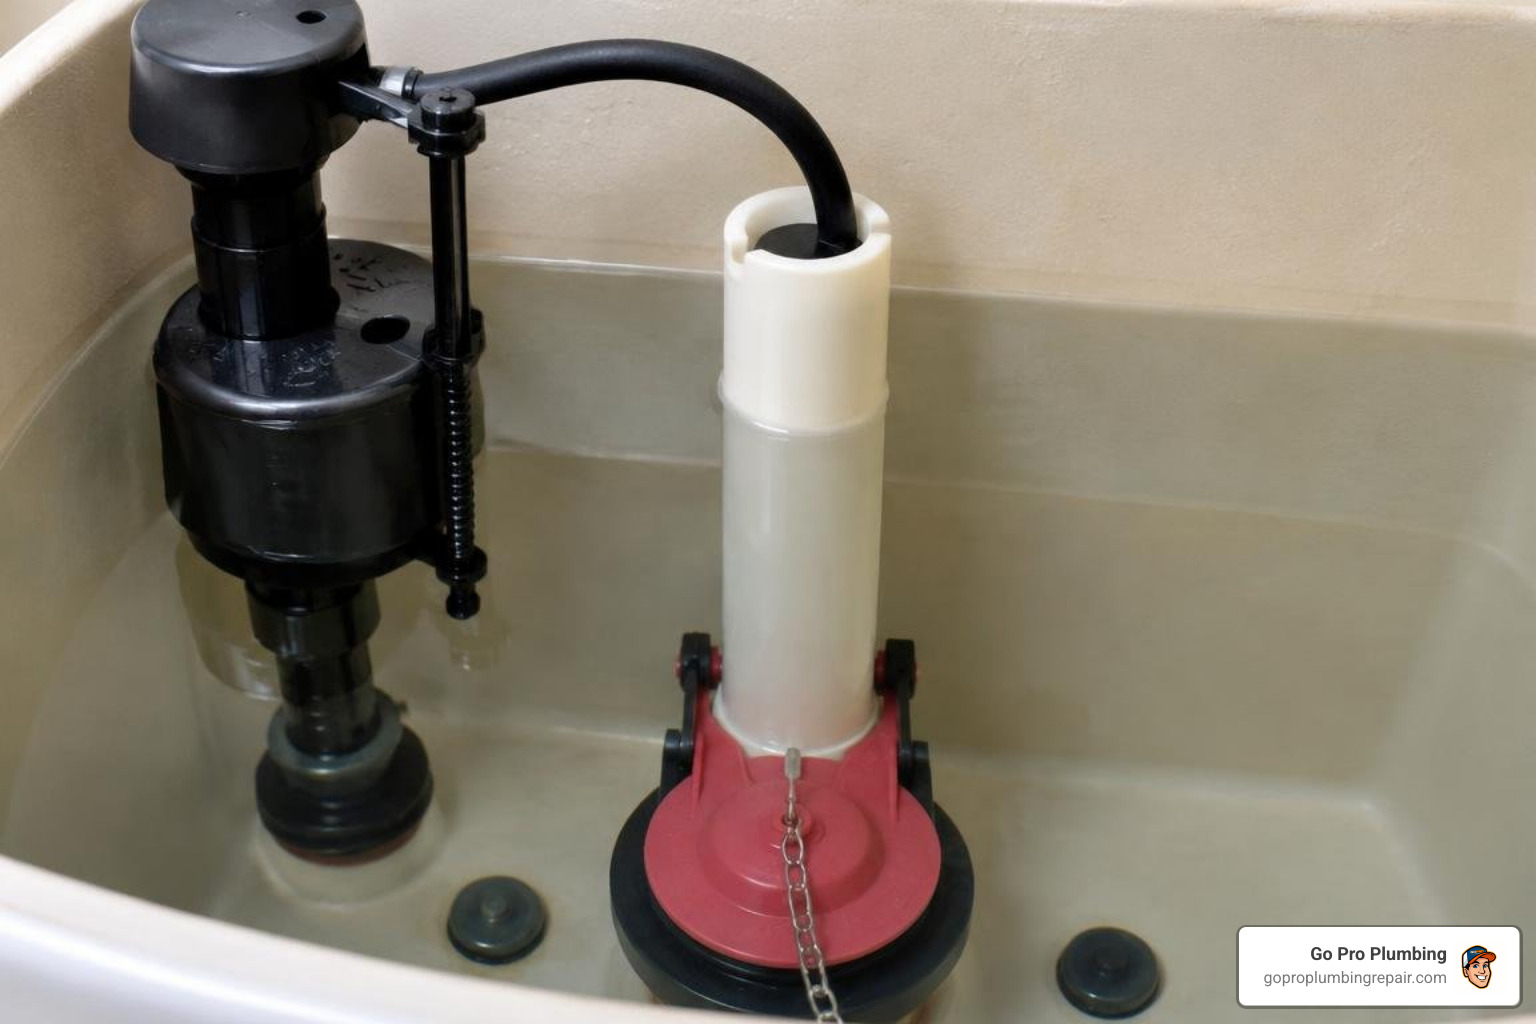
When a toilet exhibits erratic filling behaviors or you find your toilet not flushing properly, work through the troubleshooting checks below to isolate the remaining problem.
Inspecting the Fill Valve and Water Level
A common reason a toilet runs continuously after a flapper replacement has nothing to do with the flapper itself—it is an improperly adjusted tank water level:
- Water Level Set Too High: If the float on your fill valve is set too high, the water level will rise past the upper rim of the vertical overflow tube. Water will continuously spill into the overflow tube and drain into the bowl, causing the fill valve to run non-stop.
- Correct Water Height: The resting water level inside the tank should sit approximately 1/2 inch to 1 inch below the top of the overflow pipe (or aligned with the manufacturer’s stamped water line on the porcelain).
- Adjusting the Float: Turn the adjustment screw on top of your fill valve counter-clockwise with a screwdriver, or slide the float clip downward along the valve body, to lower the shut-off point.
Troubleshooting Lingering Issues After Fixing Toilet Flapper
If the water level is properly set and the chain has the correct 1/2-inch slack, consider these remaining mechanical culprits:
- Pitted or Corroded Flush Valve Seat: On older brass flush valves or weathered plastic assemblies, the rigid valve seat may have rough nicks or deep grooves. In these situations, rubber flappers cannot seal across the uneven gaps. You can install a specialized peel-and-stick flush valve repair seat directly over the damaged lip, or replace the entire flush valve assembly.
- Hairline Cracks in the Overflow Tube: Over time, the vertical plastic overflow tube can develop hairline fractures below the water line. Water seeps into the tube interior and drains silently into the bowl regardless of how well the flapper seals. This requires replacing the overflow tube assembly.
- Failing Fill Valve Diaphragm: If the fill valve is older than 7 to 10 years, internal seals can fail, preventing it from shutting off completely regardless of float height.
For persistent issues involving cracked porcelain, damaged mounting bolts, or comprehensive tank teardowns, follow our guide on how to repair a toilet to restore dependable performance.
Frequently Asked Questions About Toilet Flappers
How long does a toilet flapper typically last?
Under standard residential municipal water conditions, a high-quality toilet flapper lasts between 3 and 5 years, while premium red rubber formulas can reach 5 to 7 years. However, several environmental factors can drastically reduce this lifespan:
- In-Tank Chemical Cleaners: Drop-in bleach or blue chemical cleaning tablets contain concentrated chlorine and caustic oxidizers that degrade rubber and plastic components rapidly, reducing flapper lifespan to as little as 1 to 2 years. We strongly advise against using drop-in tank tablets; opt for in-bowl rim hangers or manual brush cleaning instead.
- Hard Water Minerals: High concentrations of dissolved calcium and magnesium create abrasive mineral scale on the valve rim, causing rubber to pit and tear prematurely.
What causes a toilet flapper to close too quickly or stay open?
A flapper that behaves erratically during the flush cycle usually suffers from one of three common issues:
- Closing Too Fast (Incomplete Flush): If you have to hold the flush handle down to get a complete flush, the flapper chain is likely too loose, preventing the flapper from opening to a full 90-degree angle where water buoyancy can support it. If you have an adjustable flapper, the timing dial may be set to close too rapidly. Adjust the dial to a higher setting to keep the chamber buoyant longer.
- Staying Open (Continuous Running): If the flapper remains standing straight up after a flush, the chain may be kinked, caught on the overflow tube, or hooked too tightly to the lever arm. In other cases, the mounting ears are binding tightly against oversized overflow tube pegs.
How do I properly set the flapper chain slack?
The optimal chain adjustment leaves approximately 1/2 inch of slack (about 1 to 2 links of movement) when the flapper is seated flat against the flush valve and the tank lever is at rest.
To achieve this:
- Ensure the trip lever arm is resting in its normal horizontal position.
- Pull the chain straight up to the lever hole directly above the flapper.
- Hook the clasp into the chain link that leaves just enough play so the flapper is not lifted off its seat, but lifts immediately when the handle is pressed.
- Test the handle several times to make sure the slack chain does not drop beneath the flapper as it closes.
Conclusion
Stopping a running commode does not require expensive tools or extensive plumbing experience. By identifying the signs of a deteriorated seal, picking the correct replacement size, and dialing in proper chain slack, you can eliminate wasteful phantom flushing in under 30 minutes. Taking the time to complete this simple DIY maintenance stops water waste, protects your plumbing fixtures, and keeps your monthly utility bills in check.
If you encounter stubborn leaks, corroded flush valve seats, or tank issues that go beyond a quick flapper swap, our local team is here to help. At Go Pro Plumbing, we take pride in delivering dependable, same-day service across Rancho Cordova, Sacramento, and the greater Northern California region. If your bathroom plumbing requires expert care, contact our licensed professionals for comprehensive toilet repair services today.