
Don’t Flush Cash Away: Step-by-Step Toilet Diaphragm Flush Valve Replacement
By Brian on September 15, 2026

Stop a Running Toilet With a Diaphragm Flush Valve Repair
To replace a toilet diaphragm flush valve, shut off the water, flush and drain the cistern or valve body, remove the diaphragm cover or upper syphon section, swap in the matching replacement diaphragm, then reassemble and test the flush. Take a photo before removing clips, chains, or linkages so they go back in the same position.
A torn or hardened diaphragm can cause a weak flush, a toilet that keeps running, or a slow leak into the bowl. Left alone, a running toilet can waste up to 200 gallons of water per day.
The good news: on many two-part toilet syphons, you can replace the rubber diaphragm without removing the entire syphon or disconnecting the cistern. The key is getting the correct part and seating it flat, clean, and wrinkle-free.
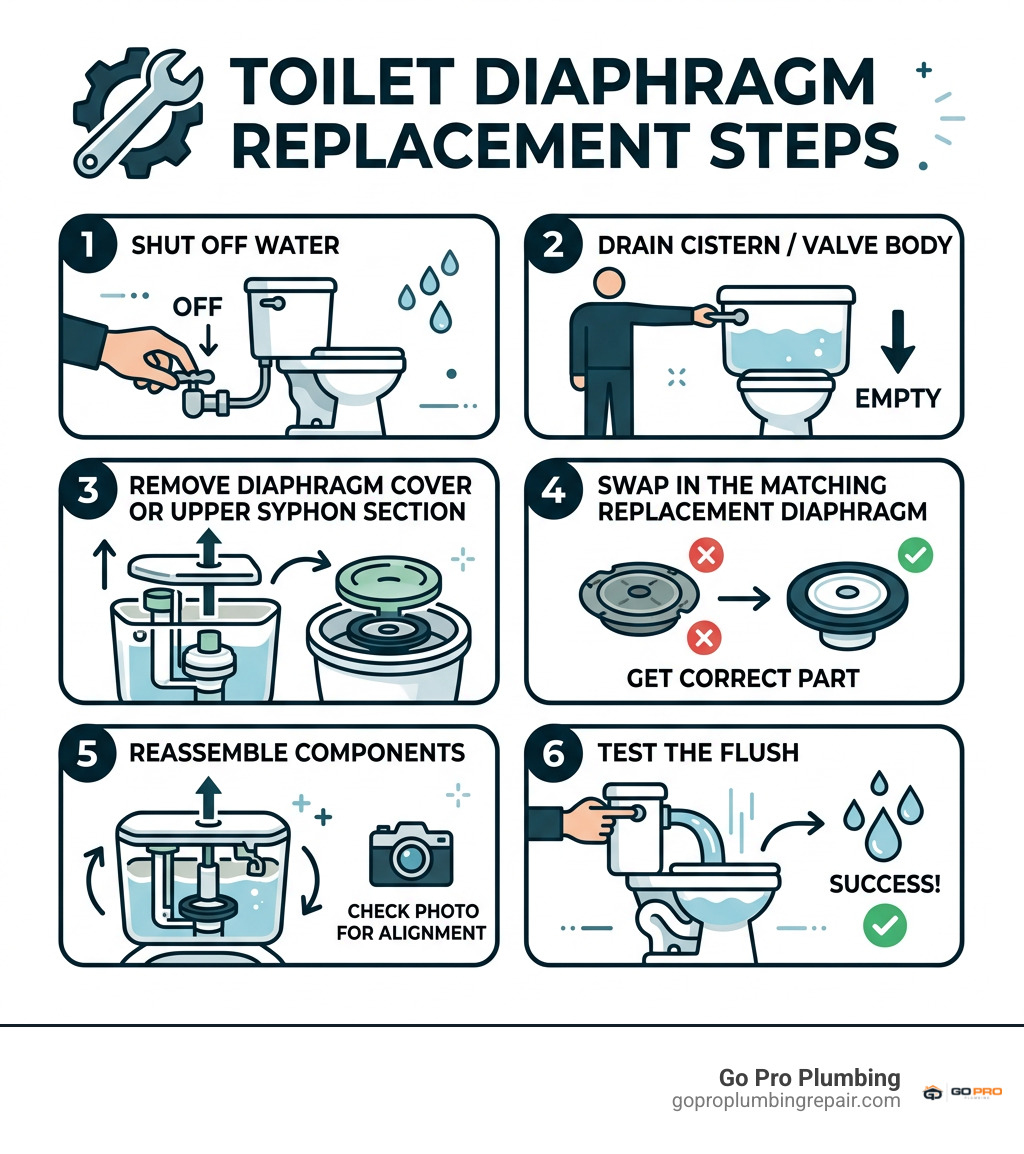
Important how to replace a toilet diaphragm flush valve terms:
Understanding Diaphragm Flush Valves and Why They Fail
A toilet diaphragm functions as the flexible membrane at the core of your flushing mechanism. Whether installed inside a residential siphonic cistern or a heavy-duty commercial flushometer, the diaphragm creates an airtight hydraulic seal. When you depress the flush lever, the diaphragm flexes or lifts, drawing a massive surge of water into the bowl to initiate the siphonic flush. Once the water discharges, the diaphragm drops back down and seals tightly against the valve seat.
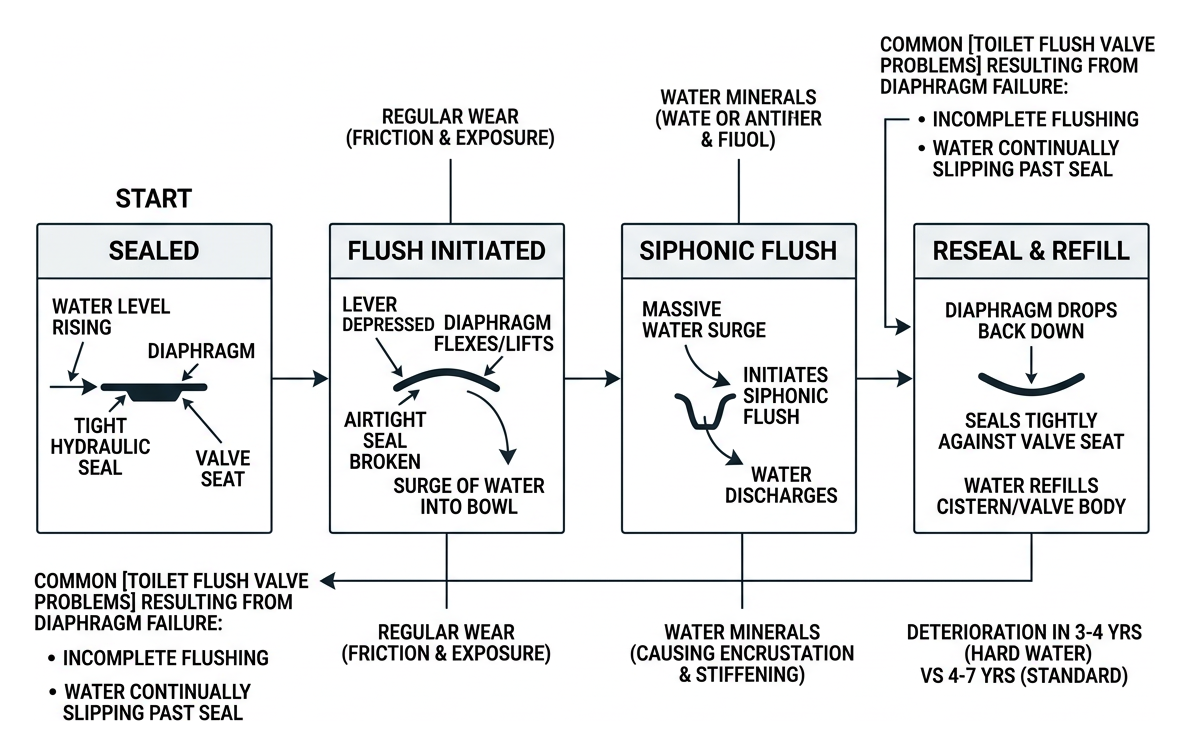
Because this component constantly flexes underwater, it takes the brunt of physical wear. Over time, regular exposure to friction, municipal water additives, and dissolved minerals takes its toll. In Northern California communities like Sacramento and Rancho Cordova, municipal water minerals can cause mineral encrustation that stiffens flexible elastomer membranes. Standard diaphragms generally offer a lifespan of 4 to 7 years, but hard water can accelerate deterioration, causing rubber breakdown in as few as 3 to 4 years.
When the rubber tears, thins, or loses flexibility, you will encounter common toilet flush valve problems such as incomplete flushing or water continually slipping past the seal.
| Feature | Syphon Diaphragm Flush Valve | Standard Flapper Flush Valve |
|---|---|---|
| Primary Mechanism | Flexible rubber/plastic membrane inside a syphon chamber | Hinged rubber flap over an open drain hole |
| Common Application | Siphonic cisterns, two-part syphons, commercial flushometers | Standard residential gravity-fed tanks |
| Primary Failure Mode | Tearing, pinhole leaks, stretching, mineral calcification | Warping, rotting, chain entanglement |
| Average Lifespan | 4–7 years (reduced in hard water) | 3–5 years |
| Replacement Complexity | Low-to-moderate (modular in 2-piece syphons) | Very simple DIY fix |
| Leak Profile | Weak/dead flush or slow internal tank leak | Constant water trickling into bowl, ghost flushing |
Signs Your Toilet Diaphragm Needs Immediate Replacement
A failing diaphragm reveals itself through a handful of obvious performance issues:
- The “Double-Pump” Flush: You have to pump the handle multiple times or hold it down forcefully just to get a weak flush. This happens when a torn diaphragm cannot hold the initial vacuum necessary to lift water over the syphon bend.
- Ghost Flushing: If your toilet periodically turns its water refill on for a few seconds without anyone touching the handle, water is seeping through a split diaphragm or damaged valve seat.
- The Constant Trickle: Water continuously runs into the toilet bowl, creating ripples on the water surface and driving up your utility bills.
- Hissing Cisterns: A faint hissing sound indicates that water is slowly escaping through a microscopic puncture in the membrane, preventing the tank from sealing completely.
To confirm the diagnosis, conduct a quick dye test. Drop 4 to 5 drops of dark food coloring into the cistern tank and wait 20 minutes without flushing. If colored water appears in the bowl, you have a leaking flush valve seal. Learning how to fix a running toilet starts with addressing this worn membrane before the problem gets worse.
How to Replace a Toilet Diaphragm Flush Valve
Replacing a worn diaphragm is an approachable home plumbing task. Completing this project takes between 30 and 45 minutes for a beginner, and it lets you restore full flushing power without replacing your entire porcelain fixture.
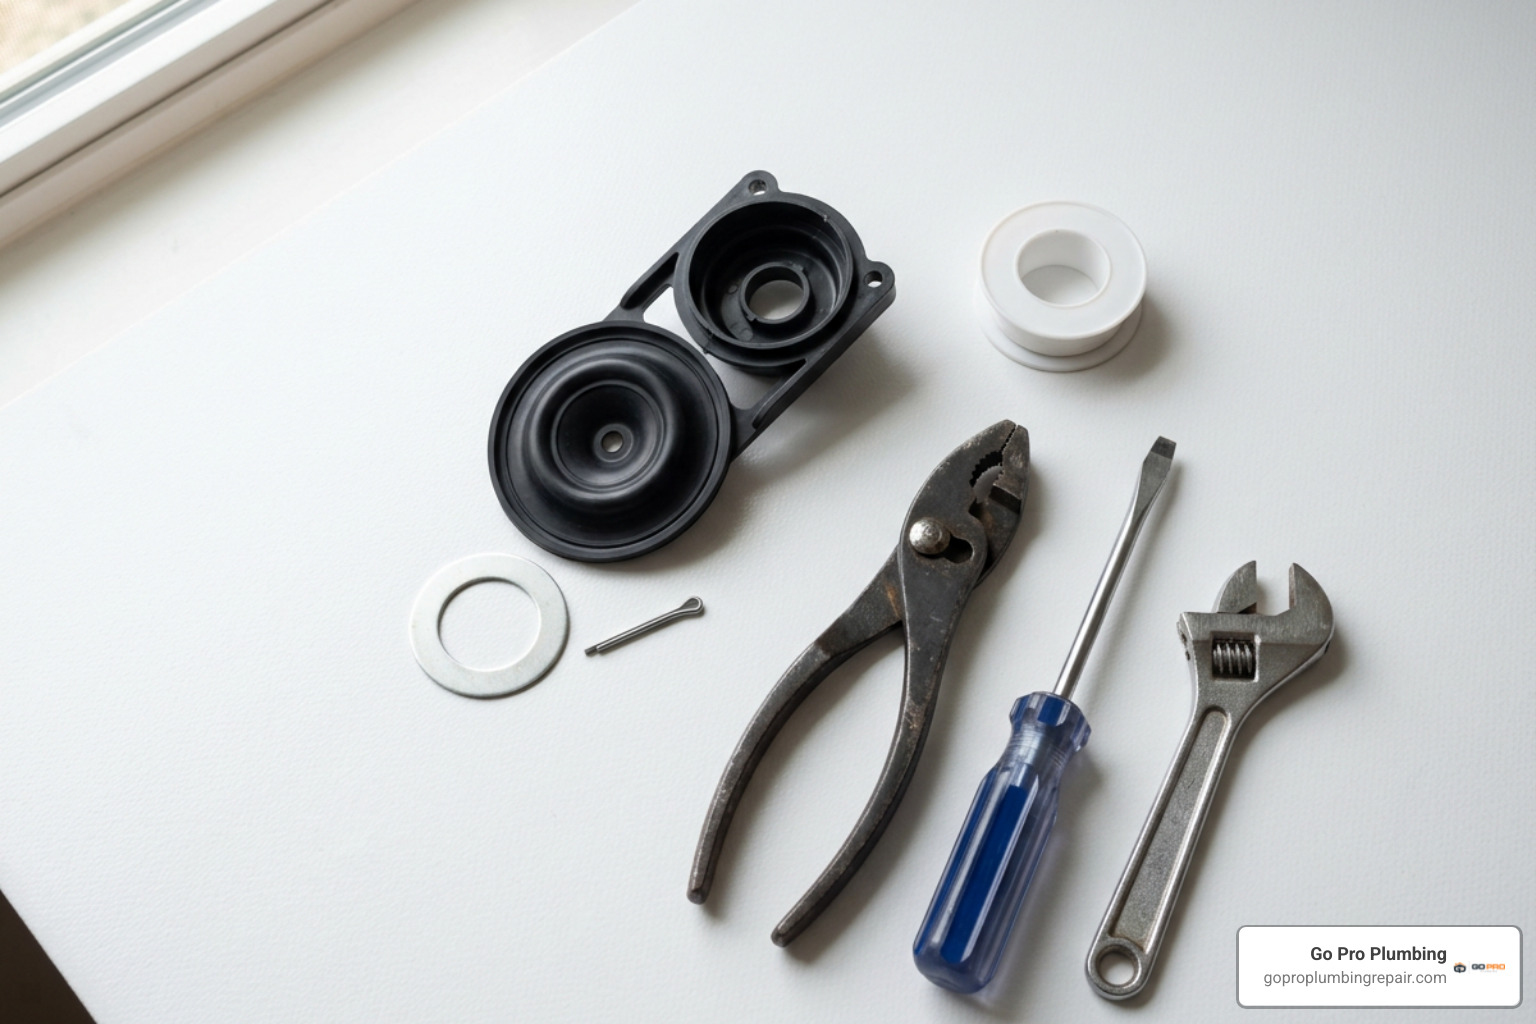
Before beginning, source the proper replacement components. You can pick up individual flush valve diaphragm kits or install a comprehensive toilet repair kit that provides fresh washers, clips, and linkages.
Essential Prep: How to Replace a Toilet Diaphragm Flush Valve Safely
Preparation protects your bathroom floor from accidental spills and ensures a smooth installation:
- Gather Your Tools: You will need an adjustable wrench, slip-joint pliers, a flat-head screwdriver, a clean sponge, an absorbent towel, and a small container for loose screws and clips.
- Turn Off the Water Supply: Locate the shutoff valve (angle stop) on the wall beneath the left side of the toilet tank. Turn the oval handle clockwise until it stops. If your system features an inline slotted isolation valve on the supply pipe, turn the brass slot a quarter turn with a flat-head screwdriver so it sits perpendicular to the water pipe.
- Drain the Cistern: Press and hold the flush lever to empty the bulk of the water from the tank.
- Mop Up Residual Water: Use a heavy sponge to soak up the remaining inch of water sitting in the bottom of the cistern, wringing it into a bucket until the base of the tank is bone-dry.
- Clear Obstructions: If you are dealing with a tight cistern, removing toilet fill valve components or twisting off the upper float housing can give your hands the working room needed to service the flush unit without binding.
Step-by-Step Guide: How to Replace a Toilet Diaphragm Flush Valve in a Syphon or Flushometer
Follow these steps to service a two-part syphon or flushometer assembly:
Step 1: Disconnect the Flush Linkage
Take a quick smartphone photo of your tank’s internal setup. Note the exact chain link or C-clip hole connecting the flush lever arm to the syphon lift rod. Carefully detach the hook, split pin, or link and set it aside.
Step 2: Uncouple the Syphon Upper Assembly
Most modern residential syphons feature a two-part body (such as the Thomas Dudley Turbo series). Grasp the upper syphon body and turn it a quarter turn counter-clockwise, or release the plastic retaining clips located at the side seam. Lift the upper housing straight up and out of the cistern, leaving the threaded syphon tailpiece securely bolted to the tank base.
(Note: For commercial flushometer valves, consult our specialized Lesson 83 repair diaphragm flush valve guide. You will use a smooth-jaw wrench to unscrew the chrome outer cap, extract the internal plastic cover, and pull the complete diaphragm assembly straight up out of the brass valve body.)
Step 3: Remove the Damaged Diaphragm
Inside the base of the removed syphon housing, you will find the flexible diaphragm sheet resting on a perforated support plate. Unclip the plastic retaining disc or ease the rubber membrane off the central piston guide pin. Check the old diaphragm for splits, hard calcium deposits, or wavy, warped edges.
Step 4: Clean the Valve Body and Seat
Mineral grit and slime prevent new rubber from forming a watertight seal. Wipe down the syphon support grid, the central piston stem, and the lower valve seat using a clean rag. Avoid harsh chemical cleaners or abrasive scouring pads that could gouge the smooth plastic or brass sealing surfaces.
Step 5: Install the New Diaphragm
Lay the new diaphragm flat against the perforated syphon plate. Ensure it sits completely flat with no wrinkles or folded corners. If your diaphragm features an offset pin alignment or directional bypass hole, align it with the matching tabs on the piston housing. Secure the retaining disc or washer firmly in place so the rubber cannot slip during operation. For broader syphon troubleshooting steps, check out our toilet siphon repair complete guide.
Step 6: Reassemble and Reconnect
Lower the upper syphon assembly back into the cistern base. Align the locking lugs and twist clockwise until you feel the housing click firmly into its locked position. Reattach the lift rod to the handle arm using your initial reference photo to preserve the correct link height and mechanical leverage.
Post-Installation Testing and Leak Prevention
Once the components are reassembled, inspect the internal mechanism before turning the water on. Ensure the lift rod rises and falls smoothly without rubbing against the cistern walls or binding against the fill valve float.
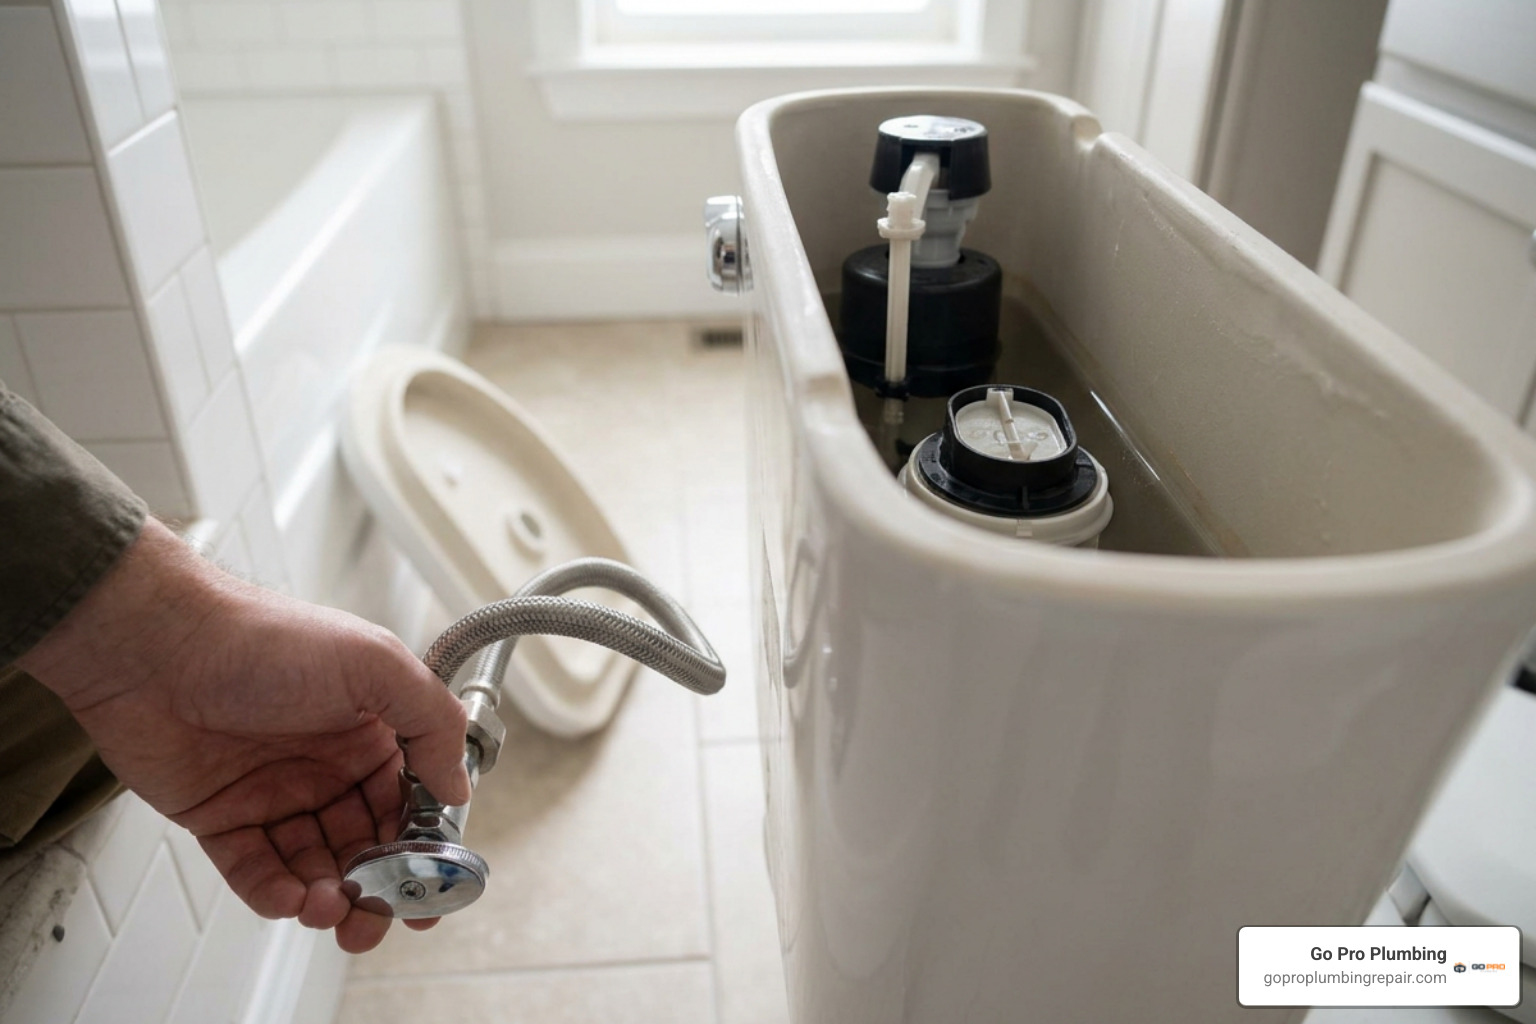
Turn the water shutoff valve counter-clockwise to restore the water supply. Watch the tank fill up and confirm that the incoming water shuts off automatically once it reaches the stamped waterline (typically one-half to one inch below the top of the overflow tube). If the water continues creeping upward, you may need to stop the running water by fixing your broken fill valve today.
Push the flush lever. The toilet should flush with a swift, powerful surge and release completely. Check the bowl surface carefully to ensure water stops flowing entirely within 30 to 45 seconds after the flush cycle concludes.
What to Do If the Toilet Still Runs After Diaphragm Replacement
If water continues to trickle into the bowl after installing a fresh diaphragm, work through these troubleshooting checkpoints:
- Lift Rod Length and Chain Tension: If the connection to the flush handle is adjusted too tightly, it will hold the diaphragm slightly lifted off its resting seat. Add one or two links of slack so the piston drops all the way down.
- Misaligned Diaphragm Edge: The rubber membrane may have pinched or buckled when you snapped the syphon housing back together. Shut off the water, unclip the upper housing, and verify the seal sits centered and flat.
- Excessive Water Level: If your fill valve float is adjusted too high, water will constantly spill over the top edge of the syphon overflow tube. Adjust the float screw clockwise to lower the resting water line.
- Cracked Lower Housing or Corroded Seat: If the fixed base of the syphon has a hairline crack or the brass valve seat is pitted from years of hard water, replacing the rubber alone will not stop the leak. In this situation, review our toilet flush valve replacement guide to swap the entire assembly.
Frequently Asked Questions About Toilet Diaphragm Replacement
How often should a toilet syphon diaphragm be replaced?
Under standard residential water conditions, a quality syphon diaphragm lasts between 4 and 7 years. In regions with hard water or high mineral content, rubber compounds stiffen and crack faster, requiring replacement every 3 to 4 years. Using drop-in chlorine bleach tablets inside the cistern can degrade flexible elastomer components in as little as 12 to 18 months, which also voids most manufacturer warranties.
Can I replace a syphon diaphragm without removing the entire cistern?
Yes, provided your toilet uses a modern two-part syphon assembly. These units allow you to unclip and lift out the upper chamber while leaving the threaded base bolted through the bottom of the cistern. However, if your toilet utilizes a legacy one-piece syphon, you must remove the tank-to-bowl bolts and pull the tank to access the large back-nut on the underside. For standard flapper-style units, explore our tips on replacing toilet flush valve without removing tank setups.
What is the cost difference between DIY diaphragm repair and hiring a professional?
A DIY replacement is an economical repair. A standalone replacement diaphragm or universal repair kit costs between $7 and $30 at local plumbing supply shops. If you hire a licensed plumbing contractor, professional labor and diagnostic service generally range from $125 to $450, with the national average sitting around $270. You can review detailed budget breakdowns in our toilet flush valve replacement cost analysis.
Conclusion
Fixing a worn diaphragm flush valve protects your home from unnecessary water waste and restores dependable flushing power. A short DIY repair that costs under $30 can prevent hundreds of dollars in wasted water utility charges over the course of a year.
If you run into corroded fasteners, a cracked porcelain cistern, or a hard-to-reach valve assembly, the local team at Go Pro Plumbing is here to help. We provide prompt plumbing solutions across Sacramento, Rancho Cordova, and the surrounding Northern California communities. Contact us today to schedule an appointment for professional toilet repair services and let our licensed technicians handle your plumbing repairs quickly and cleanly.